AirDrop is a wireless file transfer feature that allows you to rapidly share files between Apple devices, such as a Mac and iPhone, iPhone and iPad, etc. You can send files between your own devices or to other Apple users’ devices. Once you know how to set up and use AirDrop to transfer files, you’ll never go back to other slower solutions!
Good to know: learn how to use Text Replacement to create text shortcuts on iPhone, iPad or Mac.
The Advantages of Using AirDrop
AirDrop is one of the solutions to share data between Apple devices. For example, you can use iCloud to transfer your files. So why choose AirDrop? There are several great advantages to this technology:
- With AirDrop, it’s easy to share files between compatible Apple devices without an Internet connection or additional software
- AirDrop uses Bluetooth and Wi-Fi to create a peer-to-peer connection between devices, allowing (much) faster file transfer speeds than other methods
- Encryption is used to protect the privacy of your files during the transfer process
- AirDrop supports a wide range of file types
- AirDrop is available on all Apple devices that support Bluetooth LE (Low Energy) technology, which is virtually all of them released in recent years.
To start using AirDrop to transfer files between Apple devices, you’ll first need to make sure that the feature is enabled.
How to Use AirDrop in macOS
AirDrop should be enabled by default on your Mac, but you may need to check its settings and make sure it’s ready to use. Before proceeding, however, you should double-check that your Wi-Fi and Bluetooth are enabled on your Mac.
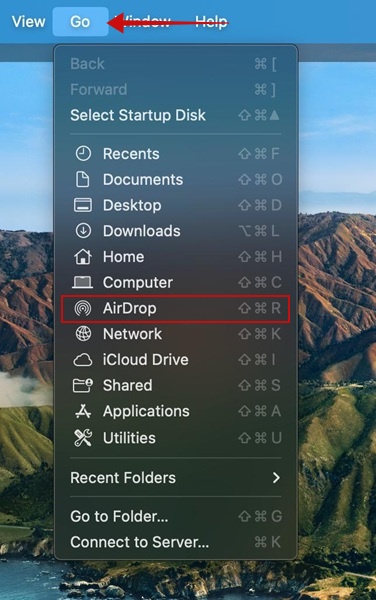
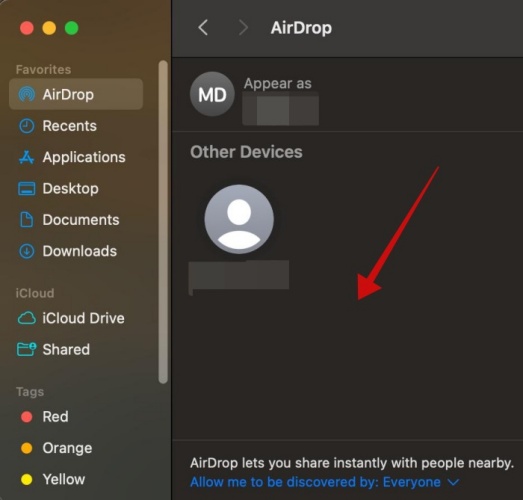
Click Go in the menu bar on your computer and select AirDrop.
Press AirDrop in menu on the left.
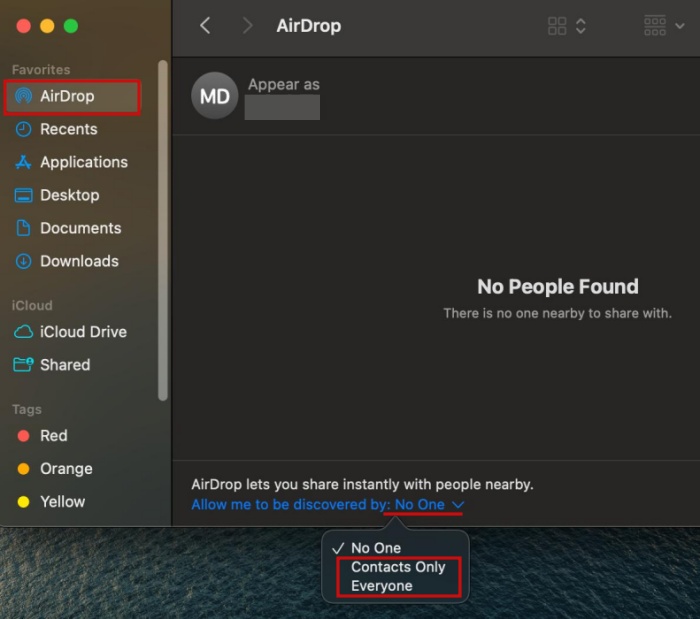
At the bottom, if it says No One, it means the option is off. Click and switch to Everyone of Contacts Only.
Alternatively, you can access AirDrop on Mac by click the Control Center icon in the menu bar. Select the AirDrop icon from there.
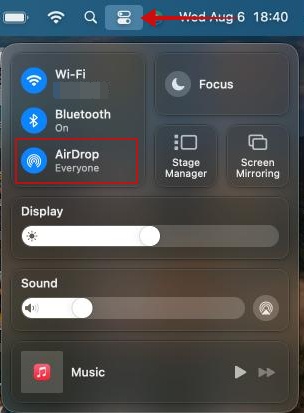
Toggle on AirDrop if the option is not already enabled.
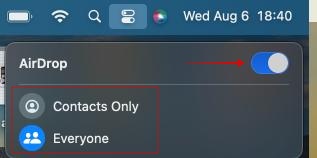
Here you can select who can send items to you by clicking the arrow next to AirDrop and then selecting Contacts Only or Everyone.
Tip: AirDrop not working on your Mac? Check our suggestions on how to get the feature up and running again.
Sending files via AirDrop
Make sure that both Macs are within 10m (30 feet) range of each other and have Bluetooth and Wi-Fi enabled.
On the Mac that will be sending the files, open AirDrop . This will open a new window showing nearby devices that are compatible with AirDrop.
Drag and drop the files that you want to share onto the device you want to send them to. Using this method, you can send multiple files easily.
The recipient will receive a notification that they have received a file and can choose to accept or decline the transfer. The file will be saved to their device if they accept the transfer.
If you’re sending files between your own devices, you don’t have to confirm the transfer, as the file will open in the right app or be saved to a folder on your device.
Alternatively, go to the file you wish to send on your Mac device. Right-click it and select Share in the context menu.
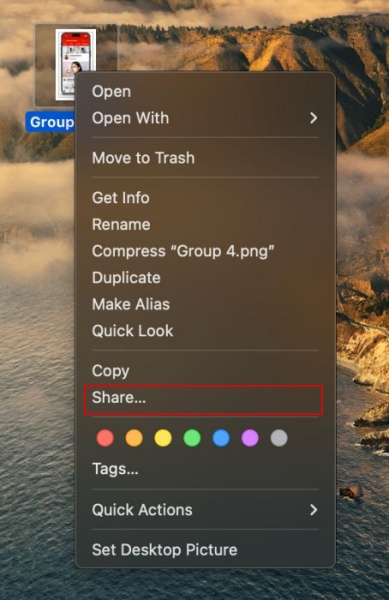
Press on AirDrop from there.

Select the recipient you want to share with in the pop-up.

The file should be on its way, once the recipient approves the transfer on their respective device.
You can also initiate a file transfer from the Mac’s Finder. Click the icon in your dock.
Select the AirDrop icon in the sidebar. Then drag the item you want to share on to the person you want to send it to.
How to Use AirDrop in iPhone and iPad
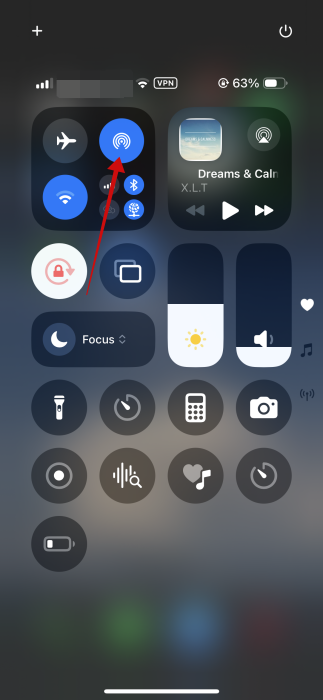
Open Control Center on your device by swiping down from the top-right corner of the screen (on an iPhone/iPad without a home button) or swiping up from the bottom of the screen (on an iPhone/iPad with a home button).
From the Control Center, tap on the AirDrop icon (it looks like the representation of a signal) to turn the feature on.
Long-press on the AirDrop icon.
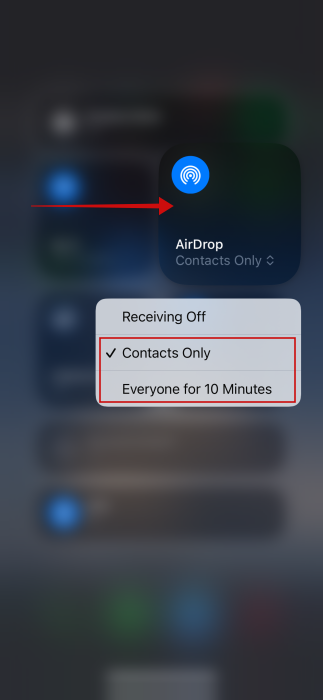
Tap the AirDrop card once again to select between Contacts Only and Everyone. In some regions, you’ll see Everyone for 10 Minutes instead (like is the case here).
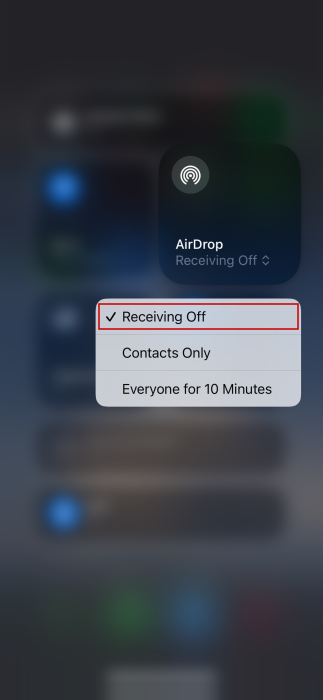
To disable AirDrop, long press on AirDrop again in Control Center and select the Receiving Off option.
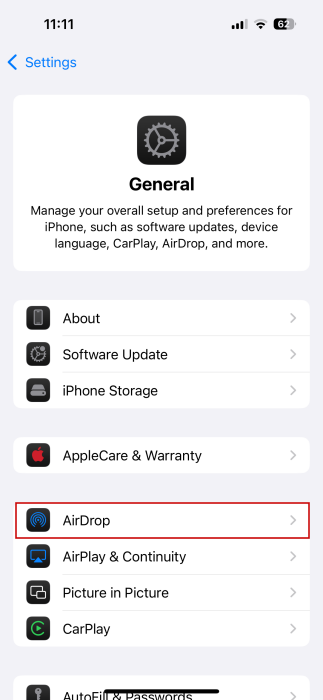
You can also enable AirDrop from the Settings app on your iPhone or iPad. Navigate to Settings → General.

Go to AirDrop.
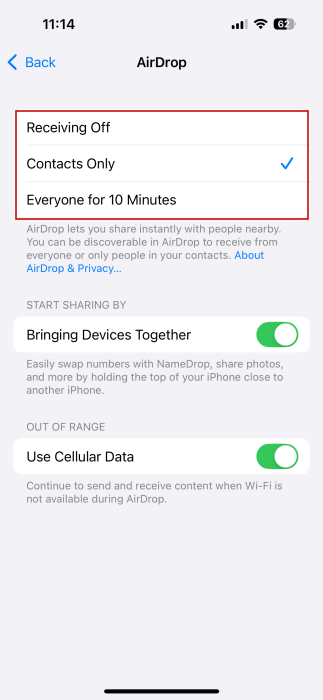
From the AirDrop menu, select either Contacts Only or Everyone to enable AirDrop. Or you can disable the feature.
Tip: learn how to fix Finder search not working on your Mac computer.
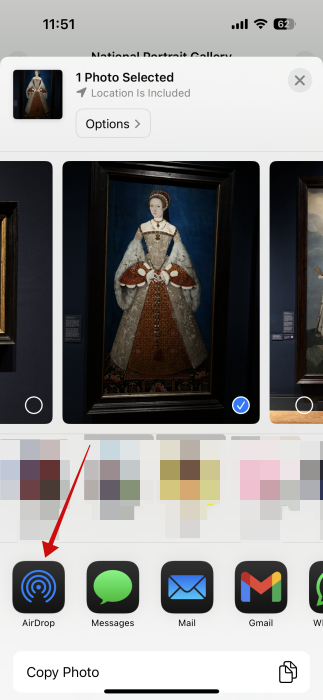
On the device that will be sending the files, locate the file(s) that you want to share, and tap on the Share button.

From the Share menu, tap on the AirDrop option. This will search for nearby devices that are compatible with AirDrop and display them in a list.
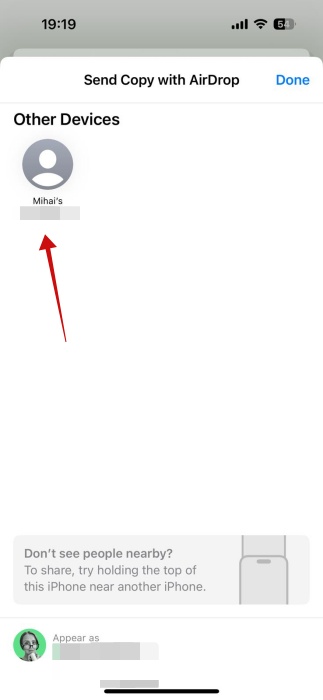
In the list of nearby devices, tap on the device that you want to receive the files.
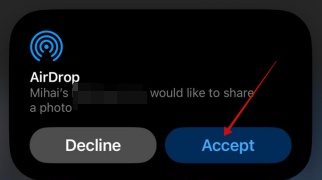
The recipient will receive a notification that they have received a file and can choose to accept or decline the transfer. The file will be saved to their device if they accept the transfer.
FYI: learn how to use the Autofill function on your iPhone like a total pro.
AirDrop Files Between macOS and iPhone/iPad
Sending files from a Mac to an iOS device or vice versa works the same as described above. Follow the same initial steps for macOS or iOS, respectively, and pick the target device in the list.
Frequently Asked Questions
Can I use AirDrop to share files with devices that are not made by Apple?
No, AirDrop is only available for use between Apple devices. It uses proprietary technology that is not compatible with devices made by other manufacturers. If you want to share files with a device not made by Apple, you will need to use a different file-sharing method, such as email, a cloud storage service, or a third-party file-sharing app like the ones in our post.
Can I share files of any type using AirDrop?
Yes, as long as the recipient’s device is compatible with the file type. AirDrop supports the sharing of many different file types, including photos, videos, and documents. However, some file types may not be supported by certain devices, in which case the recipient may not be able to open the file. The recipient may have to download the right type of app on their device to open a file.
Where do AirDrop files go?
Most items are saved in the app they’re sent from. As such, a photo sent from the Photos app will be saved in the Photos app. Alternatively, some files might be saved in other locations. For instance, on iPhone/iPad, you might find them in the Files app. On Mac, some files may go in the Download folder.
What is NameDrop?
With iOS 17, Apple introduced NameDrop, as an additional option for AirDrop. This allows you to share contact information, as well as photos and videos, between two iPhones by bringing them close to each other. NameDrop only works on iPhones, not other Apple devices. To enable the feature, navigate to Settings → General → AirDrop and toggle on the option to Bring Devices Together.