Cloud storage offers a convenient way to store photos, but it often comes with limitations on space and privacy. What if you could create a beautiful and secure space for your photos, completely under your control? Look no further than your trusty Raspberry Pi! In this article, we’ll guide you through setting up a self-hosted photo gallery using PhotoPrism, a powerful and user-friendly photo gallery app.
What Is PhotoPrism?
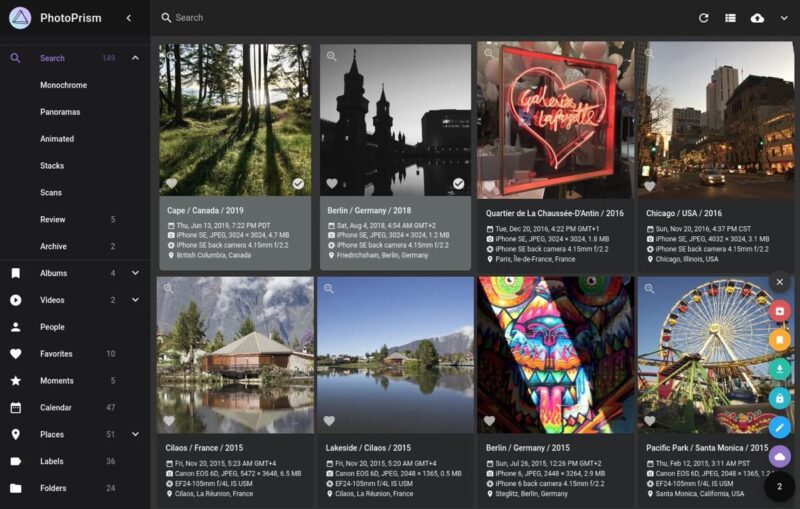
PhotoPrism is an open-source photo management software that uses AI technology to tag and organize your photos. It is a self-hosted solution that allows you to keep your photos and videos completely under your control.
Here are some of its features:
- PhotoPrism handles RAW photos, videos, and common image formats like JPEG and PNG.
- You can use powerful search filters to help you track down exactly what you’re looking for, whether it’s a picture from your recent vacation or a specific family member.
- Automatically pinpoint the location of your photos on high-resolution world maps.
- Let facial recognition and automatic image classification categorize your pictures based on content.
- Your photos stay stored on your local storage device and are never uploaded to any cloud service unless you choose to do so.
Even better, installing PhotoPrism on your Raspberry Pi is remarkably straightforward.
What You’ll Need
Before you begin setting up your self-hosted photo gallery with PhotoPrism, you’ll need to have the right equipment and software. You will require a Raspberry Pi 4 or 5 with at least 4 GB of RAM. It is important that your Raspberry Pi runs a 64-bit operating system to handle the demands of PhotoPrism effectively.
For those who have yet to install an operating system on their Raspberry Pi, we recommend checking out our detailed guide on setting up Raspberry Pi OS. This will walk you through the installation process and get your device ready for use.
In addition to the Raspberry Pi itself, you will need a reliable storage solution for your photo collection. In this setup, I’ll be using an external 3.5″ hard drive, which offers ample space and dependable performance for storing large photo libraries. However, you are not limited to this option; a larger USB flash drive or a local NAS (Network Attached Storage) could also serve as effective storage solutions, depending on your preference and availability.
Note: While the PhotoPrism developers do provide a microSD card image specifically designed for the Raspberry Pi, it is important to note that this image is currently outdated. Therefore, I don’t recommend using it for this setup.
How to Install PhotoPrism on a Raspberry Pi
The first step to getting PhotoPrism up and running on your Raspberry Pi is to install Docker Compose, a tool designed to define and run multi-container Docker applications.
To begin, you need to add Docker’s official GPG key and repository to your Raspberry Pi’s software sources:
# Update your package lists
sudo apt-get update

# Install packages to allow apt to use a repository over HTTPS
sudo apt-get install ca-certificates curl

# Create a directory for Docker's keyring
sudo install -m 0755 -d /etc/apt/keyrings

# Download Docker's official GPG key
sudo curl -fsSL https://download.docker.com/linux/debian/gpg -o /etc/apt/keyrings/docker.asc

# Add the Docker repository
echo \
  "deb [arch=$(dpkg --print-architecture) signed-by=/etc/apt/keyrings/docker.asc] https://download.docker.com/linux/debian \
  $(. /etc/os-release && echo "$VERSION_CODENAME") stable" | \
  sudo tee /etc/apt/sources.list.d/docker.list > /dev/null

# Update your package lists again after adding the Docker repository
sudo apt-get update
Once the Docker repository is added, you can proceed to install Docker along with other essential components, including Docker Compose:
sudo apt-get install docker-ce docker-ce-cli containerd.io docker-buildx-plugin docker-compose-plugin
After installing Docker, you should add your user to the Docker group so that you can execute Docker commands without using sudo:
sudo usermod -aG docker $USER
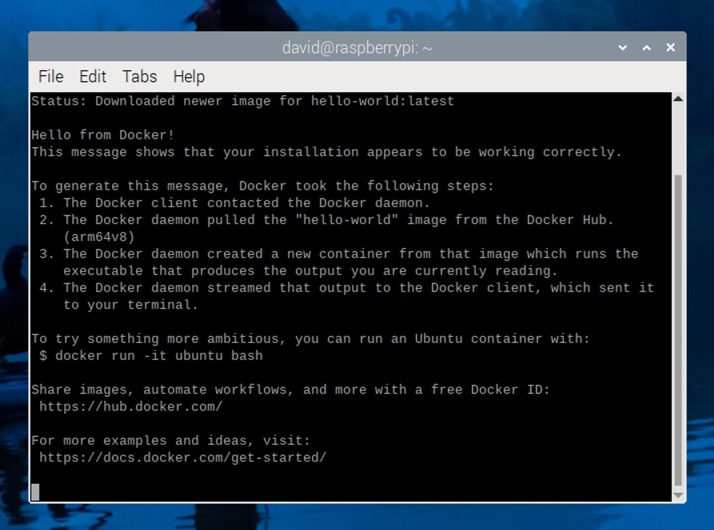
Finally, verify that Docker has been installed correctly and that you can run containers as a regular user:
docker run hello-world
Now that you have installed Docker Compose, it’s time to install PhotoPrism itself. The process is straightforward, and it involves downloading the docker-compose.yml file, making some changes to it, and running a command to start the application and database services.
Download the docker-compose.yml file to any folder you prefer using the following command:
wget https://dl.photoprism.app/docker/docker-compose.yml
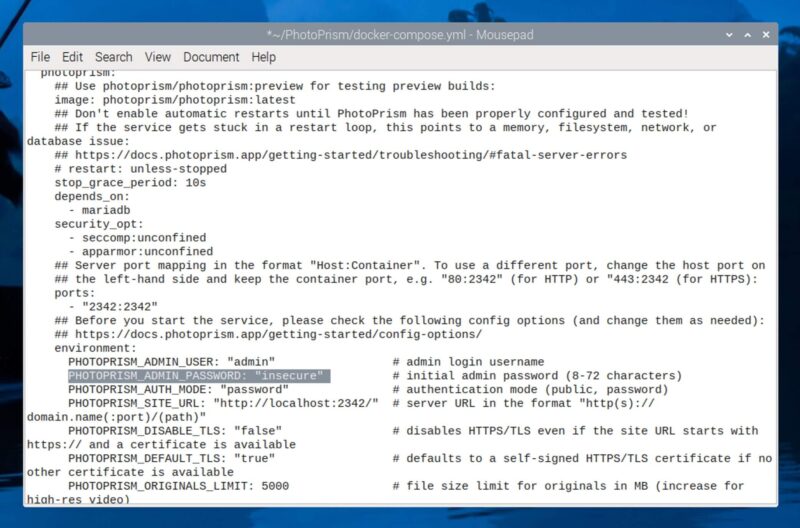
Open the file in your preferred text editor (you can use nano if you’re accessing your Raspberry Pi remotely via SSH) and change all default placeholder passwords (“insecure”) to secure ones, especially the PHOTOPRISM_ADMIN_PASSWORD.
Adjust the volume mount paths to point to the locations where you want to store your photos and PhotoPrism’s data. For instance, if you have an external drive mounted at, for example, /media/david/extdrive, you might configure it as follows:
services:
  photoprism:
    volumes:
      - "/media/david/extdrive/Photos:/photoprism/originals"  # Where PhotoPrism will store original media files
      - "/media/david/extdrive/PhotoPrismStorage:/photoprism/storage"  # Used for PhotoPrism's cache, database, and sidecar files

  mariadb:
    volumes:
      - "/media//extdrive/PhotoPrismDatabase:/var/lib/mysql"  # Database storage for MariaDB
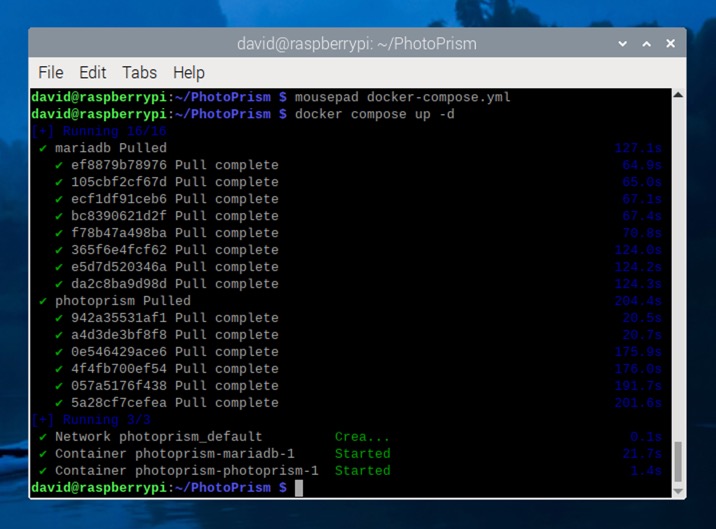
With your docker-compose.yml file configured, you’re ready to launch PhotoPrism. Navigate to the directory containing your docker-compose.yml file and run the following command:
docker compose up -d
Using PhotoPrism on Raspberry Pi
Once Docker and PhotoPrism are up and running on your Raspberry Pi, you can begin managing and viewing your photos through PhotoPrism’s web interface. Open your preferred web browser and navigate to http://
At the login screen, enter the username admin and the password you set for PHOTOPRISM_ADMIN_PASSWORD during the setup process. After logging in, you’ll be greeted by the PhotoPrism dashboard.
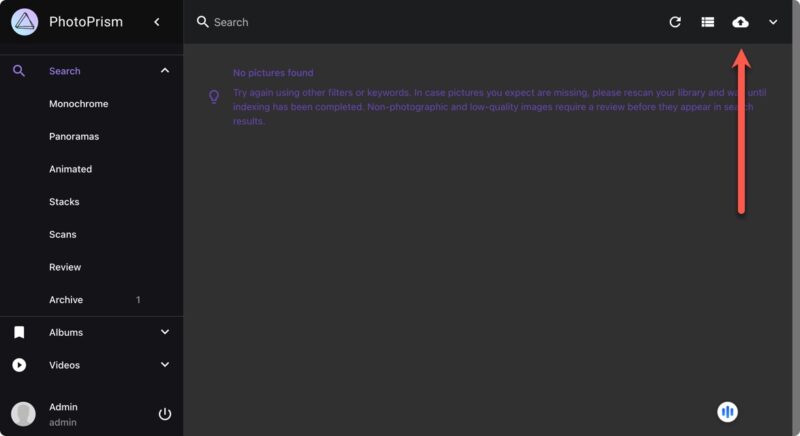
To start adding photos to your gallery, click the upload button located in the top-right corner of the interface. This allows you to select photos from your computer and upload them directly to your Raspberry Pi’s PhotoPrism library.
Since you probably have a lot of photos to upload, you should set up an import folder on your Raspberry Pi. To do that, you need to stop your running PhotoPrism containers to modify the docker-compose.yml file:
docker compose stop
Now, edit your docker-compose.yml file to include a volume mount for an import folder:
services:
  photoprism:
    volumes:
      - "/media/david/extdrive/Import:/photoprism/import"
This folder will act as a staging area for photos before you import them into your main gallery. After making these changes, save the file and restart PhotoPrism:
docker compose up -d
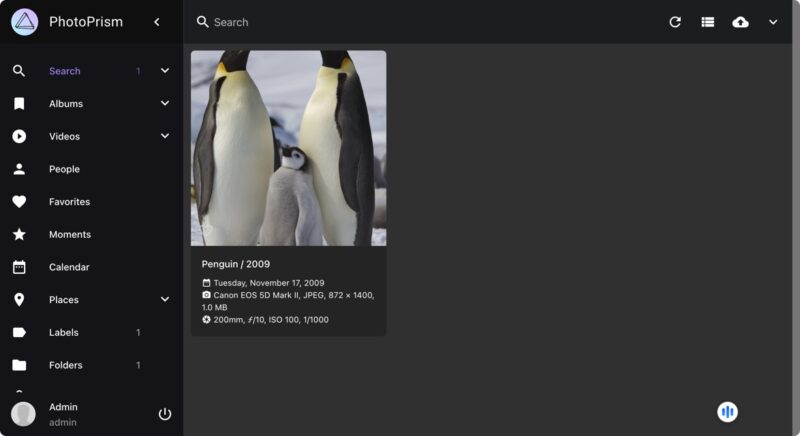
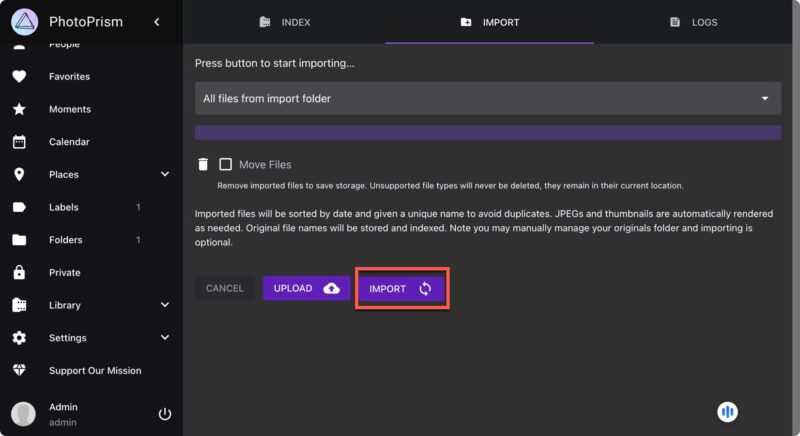
You can now move photos into the import directory, navigate to Library -> Import in the PhotoPrism web UI, and start the import process.
To protect your precious photos, it’s essential to back up the PhotoPrism storage device regularly. That way, you can easily restore in case of any unexpected issues or hardware failures. Enjoy exploring and customizing your new photo gallery!
Screenshots by David Morelo. Cover image by DALL-E.