Everyone has a flash drive. They’re great little things, and they make moving data around easy. However, sometimes flash drives can get corrupted or just flat-out quit working. Thankfully, if you’re using Linux, you already have access to an array of tools that can help you fix the problem. We are using Ubuntu for this tutorial, but everything applies to most modern Linux distributions. Here is how you can repair a corrupted USB drive in Linux.
In this article, we prioritize the safety of your data. First, you’ll see how you can back up your flash drive’s contents and then proceed to various fixes for the problem at hand. This way, if an attempt at fixing the problem ends up making it worse, you may still be able to revert to the snapshot of the current state of your flash drive.
Take a Compressed Full Backup Image
In Linux, there are many tools for backing up any storage device. However, the tried-and-tested approach relies on dd and gzip.
Before jumping into backup mode, it’s worth checking if the drive is genuinely corrupted. A simple first step is to plug the USB into a different USB port or even a different computer. Sometimes, the problem isn’t the drive itself – it could be something as simple as a loose connection or a flaky port.
Now, to make a backup of your flash drive, first connect USB to your computer. Fire up your favorite terminal (or press CTRL + Alt + T). After that, locate your flash drive with this:
ls /dev/disk/by-id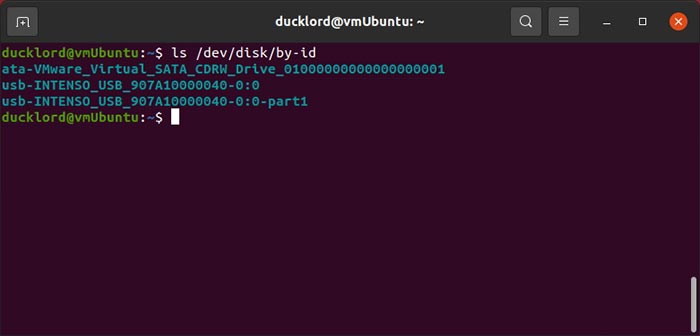
Alternatively, you can identify your flash drive by running lsblk or sudo fdisk -l to find the device name (e.g., /dev/sdb, not a partition like /dev/sdb1).
Next, back up your flash drive to an image file compressed with GZIP in a single command, use:
sudo dd if=/dev/disk/by-id/YOUR_FLASH_DRIVE status=progress | gzip -c > /home/USERNAME/backups/BACKUP_NAME.img.gz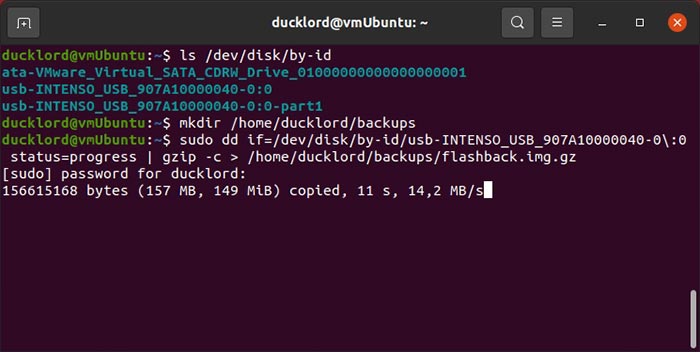
Also, make sure that “/home/USERNAME/backups/” exists (create it with mkdir -p /home/USERNAME/backups). Further, the if= parameter specifies the flash drive, and gzip compresses the output.
To restore the backup, you’ll have to reverse the two commands’ sequence and define your flash drive as the output device. The full command will look like this:
sudo gzip -cd /home/USERNAME/backups/BACKUP_NAME.img.gz | sudo dd of=/dev/disk/by-id/YOUR_FLASH_DRIVE status=progressNote: This overwrites the entire flash drive, erasing all data. Double-check the device name to avoid data loss.
Fix Corrupted Filesystem with FSCK
With the flash drive’s contents backed up, it’s time to try fixing it. For that, you can turn to fsck. This tool is great for removing bad file blocks, as most (if not all) corruption and unreadability come from problems like this.
For this command, you’ll have to define the partition instead of the full drive. You’ll find it with a similar name as your device by issuing:
ls /dev/disk/by-id/usb*Then, run fsck on it with:
sudo fsck -v -y /dev/disk/by-id/YOUR_FLASH_DRIVE-PARTITION-TO-CHECK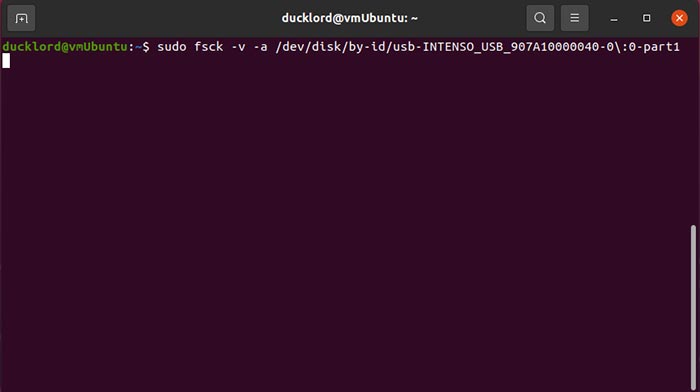
In this command:
sudo fsckruns the fixing tool with administrative rights.-vtells it to show us detailed information about the proceedings.-ystates we want it to automatically try repairing any errors it finds./dev/disk…is the partition that will be checked for errors.
Format USB Drive with Fdisk/MKFS from the Terminal
If fsck didn’t manage to repair the device’s filesystem, you can try to format it to use it as if it is new.
The first step is to erase any existing filesystem structures and recreate them from scratch. You can use fdisk for this. Run it with sudo on your device with:
sudo fdisk /dev/disk/by-id/YOUR_FLASH_DRIVE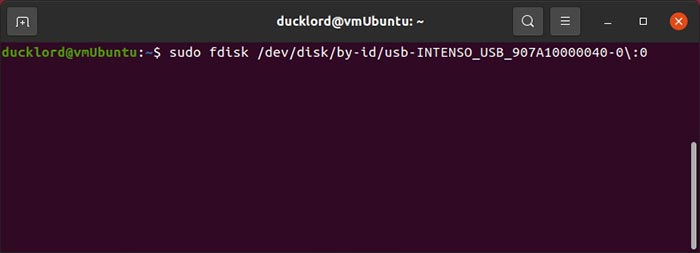
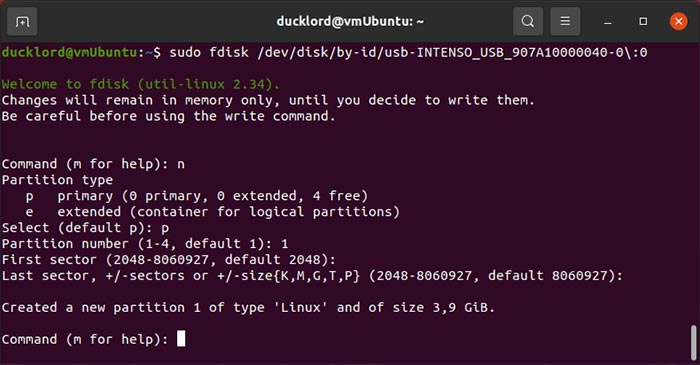
Press o followed by Enter to create a new DOS partition table on it to have your USB drive readable everywhere. If you only want to use it on your modern computer and OS, you can replace o with g to create a new GPT partition table instead.
Press n followed by Enter to make a new partition, then p to make it a primary one. If you used e instead of p, it would be created as an extended partition, but there’s no point in doing so if you aren’t planning to create more than three partitions on the drive. Then, you can just press Enter when asked about the partition’s number, first and last sectors, to accept the defaults and have the partition span the whole USB drive.
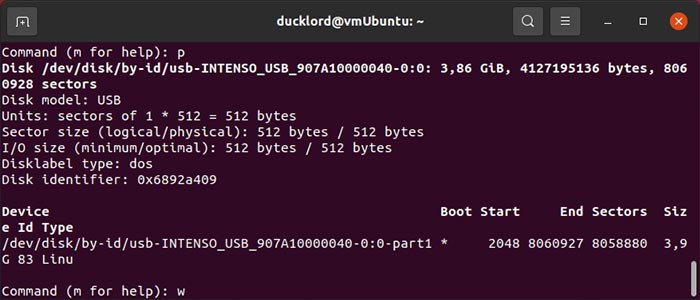
Press p and then Enter to check out the new storage structure in your USB drive. Then, press w followed by Enter to write the changes to the USB drive and exit fdisk.
Formatting the new partition with a filesystem
Your partition will be unformatted, and since it won’t have a filesystem yet, it will be unusable. You can create a filesystem by using one of the mkfs tools that come with all modern Linux distributions. To format your partition as FAT32, usable by most devices, use:
sudo mkfs.fat -F 32 /dev/disk/by-id/YOUR_FLASH_DRIVE-PARTITION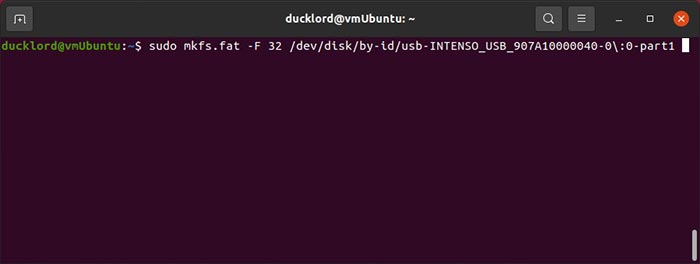
To format your partition with NTFS, for use with modern versions of Windows, or with EXT4, for use only with Linux, use:
sudo mkfs.ntfs /dev/disk/by-id/YOUR_FLASH_DRIVE-PARTITIONor
sudo mkfs.ext4 /dev/disk/by-id/YOUR_FLASH_DRIVE-PARTITION
The EXT4 is optimized for Linux but isn’t natively supported by Windows or macOS without additional software.
After formatting, you can mount the USB drive and confirm it’s working. Simply, use lsblk again to check that the partition has a filesystem and is mountable.
The GUI Way to Check and Fix USB Drive with Disks
If you don’t like typing commands, you can turn to the Disks tool for checking and formatting your USB drive. Disks is pre-installed on Ubuntu.
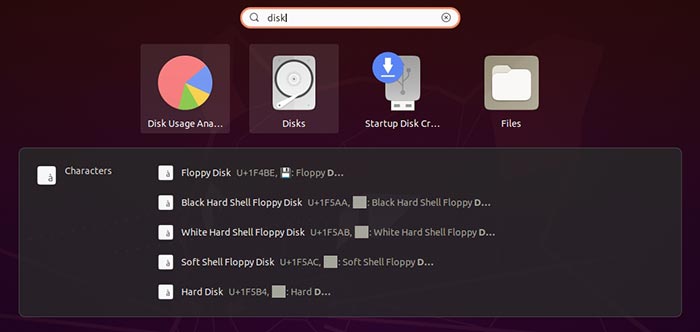
Visit your apps menu and search for Disks. Launch the app when you locate it.
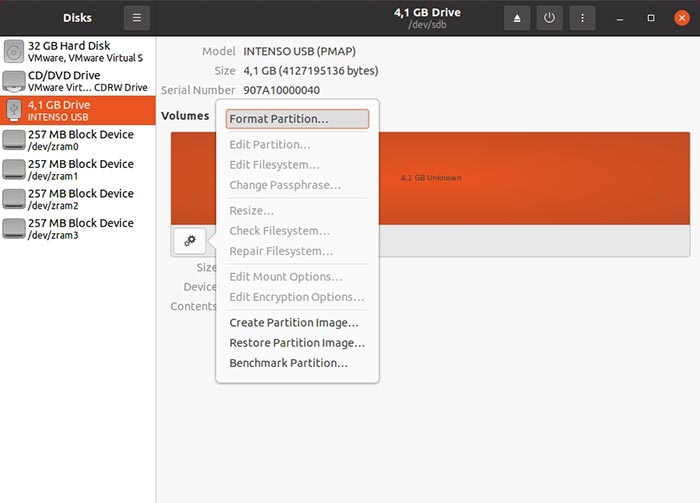
Choose your USB drive from the list on the left and click on the gear icon. Then, select Repair Filesystem and follow the steps of the wizard to fix the filesystem.
In our case, we weren’t dealing with a hardware problem but with filesystem corruption. Although the issue was beyond repair, we could reformat our USB drive and keep using it. To do that with disks, with the USB drive selected, click on the icon with the gear icon again and choose Format Partition.
Enter a name for your USB drive in the Volume Name field and choose from the three most popular filesystems for it:
- Ext4 for use with Linux
- NTFS for use with modern versions of Windows
- FAT for use with both, as well as other types of devices (from smartphones to gaming consoles)
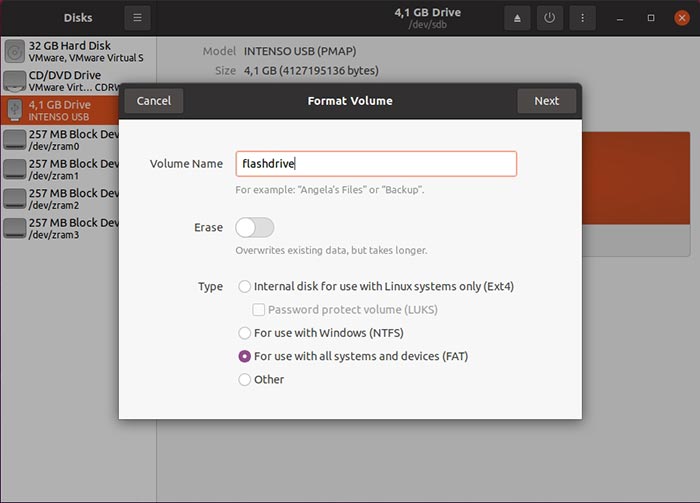
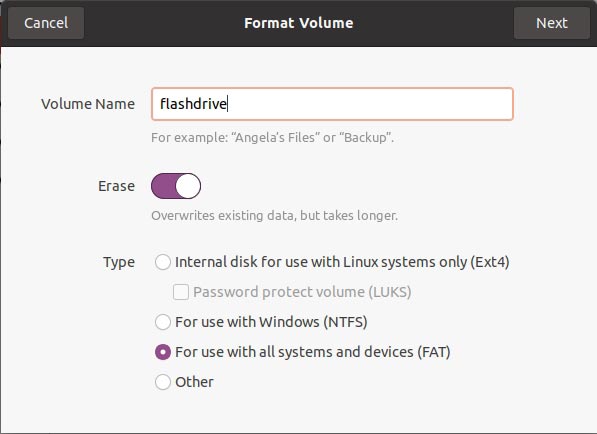
Note the Erase option. Leave it disabled for a quick format. Flick it to On for a complete format that will fully erase your device’s contents. When dealing with corrupted devices that could also have some bad blocks, it’s better to go for the full erase option.
Repairing with GParted
If you prefer not to use the command line, GParted is a great graphical tool for managing disk partitions and repairing drives. It’s very similar to default disks option but with more advanced options.
First, install GParted by typing:
sudo apt install gpartedOnce GParted is installed, you can launch it either from the app menu or by typing gparted into the terminal and entering your password when asked.
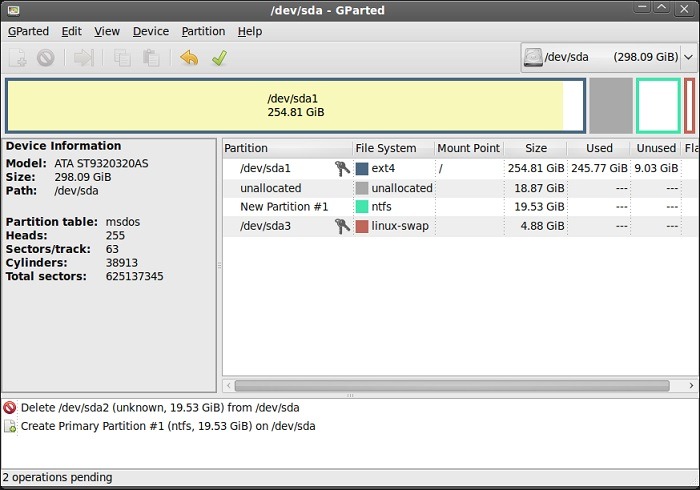
After launching GParted, choose your USB drive from the top-right dropdown menu—just be very careful not to select your system drive by mistake. Further, If the drive is mounted, right-click it and unmount it. Then you can either run a filesystem check by selecting the check option or format the partition entirely using the Format to option.
Final Thoughts
Now that you have repaired your corrupted USB drive, you can use it again like a brand-new drive. And if you are looking to create a Linux Live USB drive, follow the instructions here.


