Open WebUI is a self-hosted, open-source platform that lets you run AI language models on your own machine with full control over your data. It supports local models like Ollama as well as OpenAI-compatible APIs. You can self-host Open WebUI using Docker, Python, or Kubernetes. Here, we’ll demonstrate a step-by-step process to install Open WebUI on your local machine.
Why Use Open WebUI?
Open WebUI gives you an easy and flexible way to use AI on your terms. It supports different AI models and works on any major operating system. It has a clean, ChatGPT-style interface, offering features like Markdown, LaTeX, plugins, and a built-in memory system for storing useful content.
You can integrate plugins, connect APIs, and manage multiple chats at once. Moreover, you can save prompts to keep your best ideas ready to use. As an open-source tool, it evolves quickly with community contributions, ensuring you always have access to new features and improvements.
Install Open WebUI
To install Open WebUI using Docker, first, you need to set up a project directory, and then navigate to it:
mkdir openwebui
cd openwebui
Now, create a “docker-compose.yml” file in any editor like Notepad:
nano docker-compose.ymlPaste the following content in the “docker-compose.yml” file:
services:
  ollama:
    image: ollama/ollama:latest
    container_name: ollama
    ports:
      - "11434:11434"
    environment:
      - OLLAMA_USE_GPU=false
    volumes:
      - ollama_data:/root/.ollama
    restart: unless-stopped

  openwebui:
    image: ghcr.io/open-webui/open-webui:main
    container_name: openwebui
    ports:
      - "3000:8080"
    environment:
      - OLLAMA_BASE_URL=http://ollama:11434
    depends_on:
      - ollama
    volumes:
      - open-webui:/app/backend/data
    restart: unless-stopped

volumes:
  open-webui:
  ollama_data:
This Docker Compose file runs two services, ollama and OpenWebUI. ollama uses the ollama/ollama image, listens on port 11434, disables GPU use, and stores data in the ollama_data volume. On the other hand, Open WebUI uses the open-webui image, maps port 3000 to 8080, connects to ollama via its base URL, and saves data in the open-webui volume. Both services restart unless stopped, and named volumes keep data persistent.
Save the docker-compose file and start the Docker service:
docker compose up -d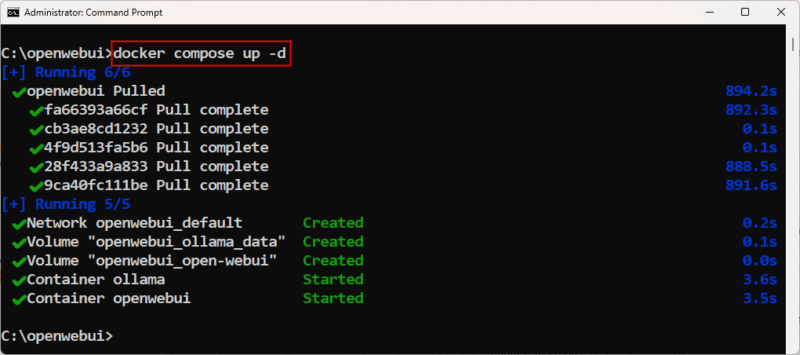
Access and Use Open WebUI
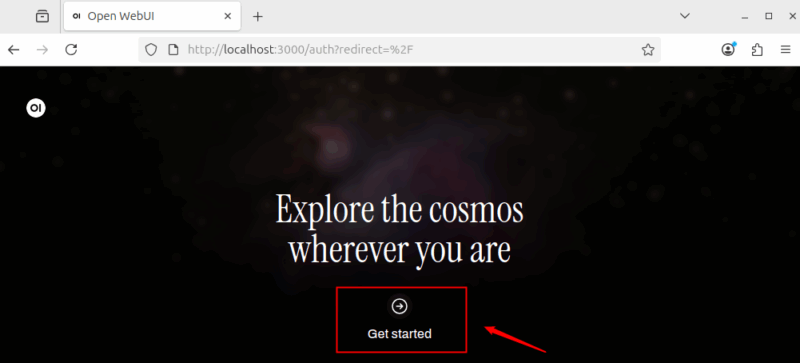
After starting the containers, open a web browser and go to http://localhost:3000. It will load the Open WebUI interface from your local machine. Click on the Get Started button to proceed with the Open WebUI setup.
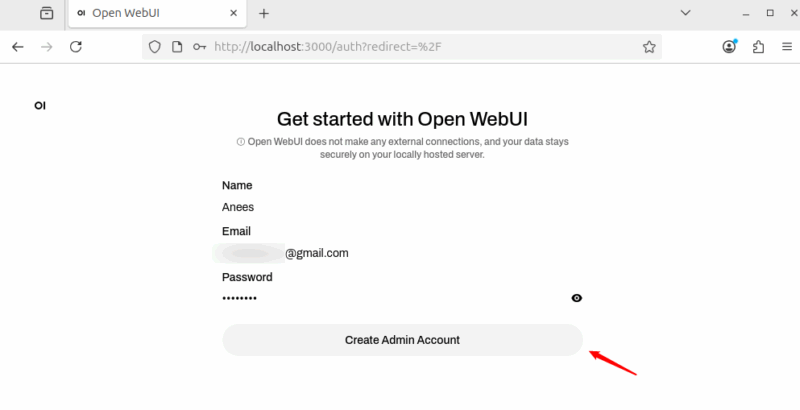
Provide your Name, Email, and Password, and then click the Create Admin Account button to create your Admin account.
Once your account is created, you can then log in to access the Dashboard.

Install AI Model via Ollama
Open WebUI only provides the interface. You still need to install at least one local AI model for it to work. Luckily, Open WebUI makes it easy to do so via Ollama. You can install different models, such as llama3, mistral, gemma, or vicuna, depending on your needs and system resources.
In this example, we’re installing gemma:2b because it’s more resource-efficient compared to larger models. To do that, click on your profile icon and select the Admin Panel option to access the management dashboard.

Click the download icon in the top-right corner to download the model.

Specify the model name and click the download button.
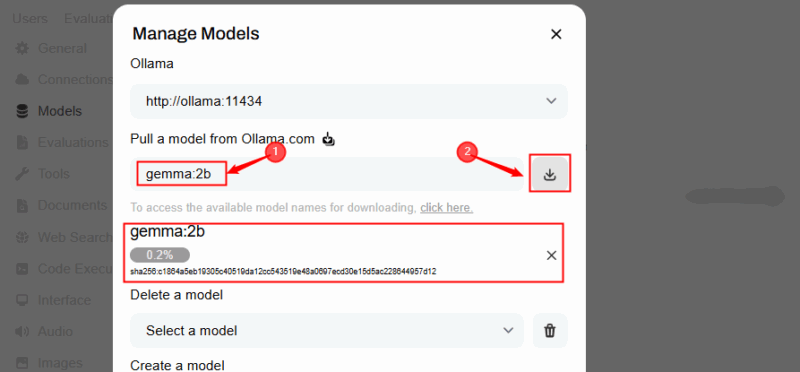
Once your model is successfully downloaded, you will be notified with the success message, as shown below:

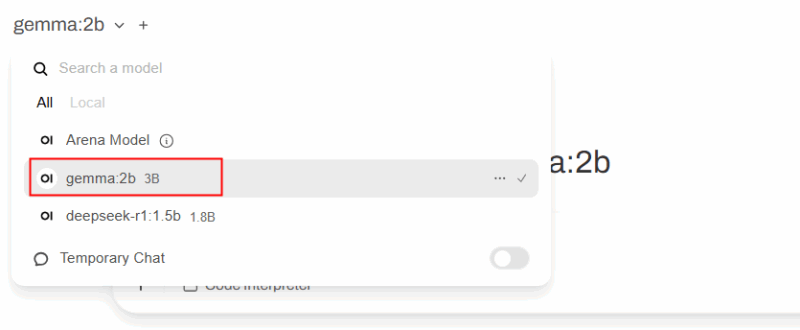
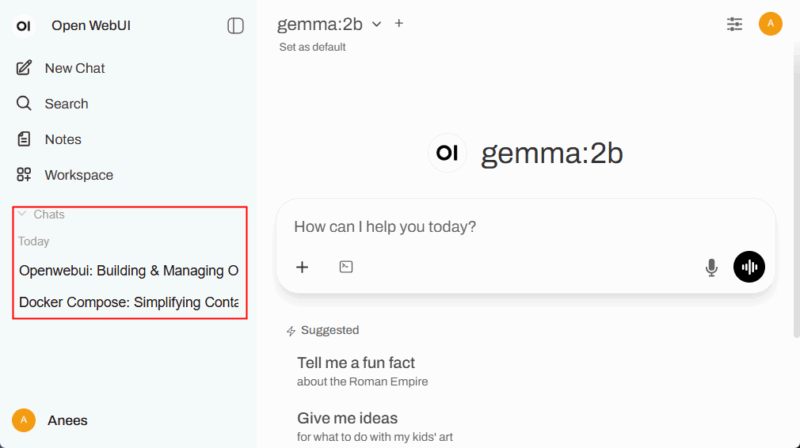
Now you can simply select a model from the Open WebUI interface and start using it for your queries.
How to Use Open WebUI
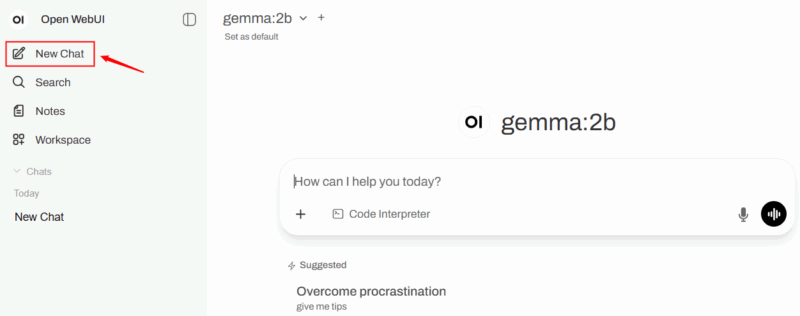
Once you select a model, you can start asking questions. For example, I asked “What is Docker Compose?” and Open WebUI returned the following response:

Click New Chat from the left menu to start a fresh conversation without carrying over previous messages or context. This feature is useful when you want to discuss a completely different topic without influence from earlier chats.
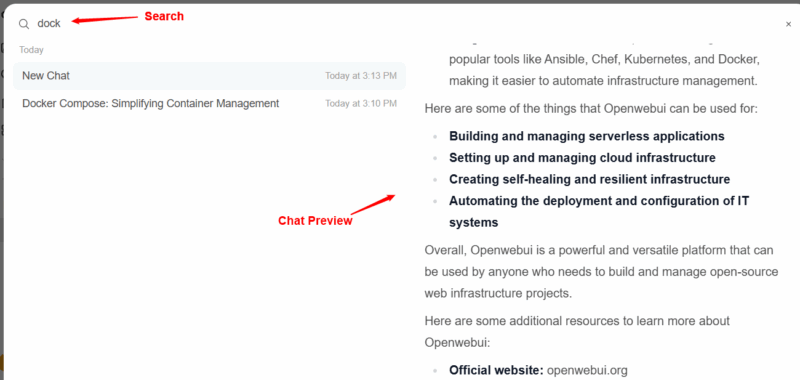
The Search section allows you to find past conversations or specific keywords in your saved chats. For this purpose, you can type a word or phrase, and it filters results to help you quickly revisit old answers or prompts.
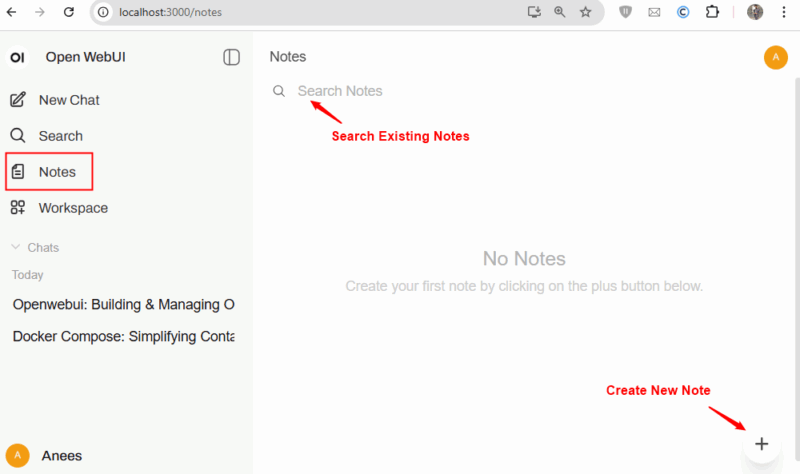
Another useful feature is Notes. It is a built-in notepad for storing text, ideas, or references. It works separately from chats, so its content isn’t used as conversation context unless you paste it into a chat. It’s ideal for saving reminders, research snippets, or frequently used prompts.
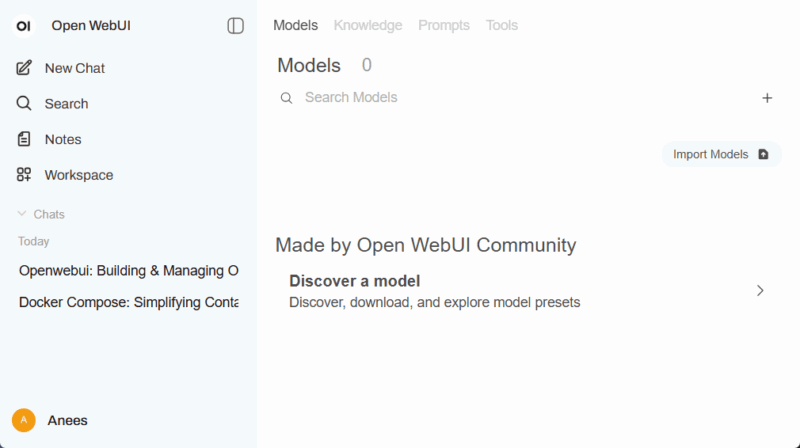
Workspace in Open WebUI is an organized space for managing multiple projects without mixing them up. It is useful for coding, writing, or long-term work. The Open WebUI includes the following tabs:
- Models Tab discovers and downloads community models or presets, imports models from external sources, and configures installed models.
- Knowledge Tab browse community knowledge packs or import your own files (PDF, text, CSV) for the AI to use when answering questions.
- Prompts Tab discovers community templates, imports prompts, and reuses them across chats.
- The Tools Tab finds or imports tools like code executors, scrapers, or summarizers, and uses them directly in chats for automation or specialized tasks:
Chats show your conversation history with the AI. You can reopen past chats to continue them or delete ones you no longer need:
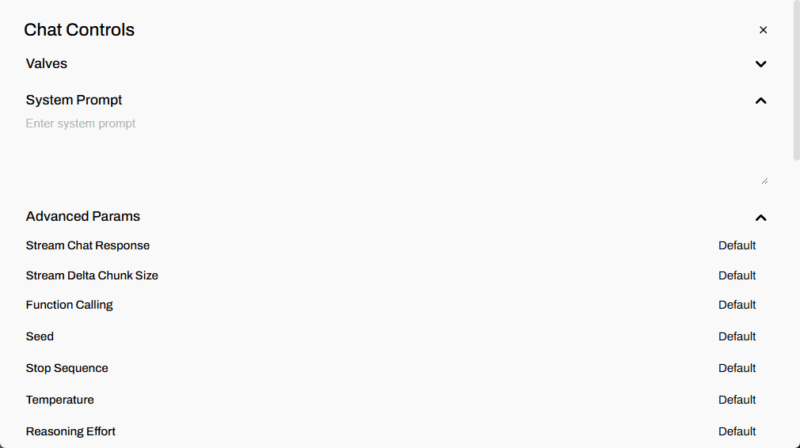
Chat Controls in Open WebUI
The Chat Controls panel lets you adjust how the AI responds in a conversation. You can set a System Prompt to guide tone or behavior, and fine-tune Advanced Parameters like streaming chat responses, chunk size, function calling, seed, stop sequence, temperature, and reasoning effort. Each parameter can be customized or left at its default for standard behavior.
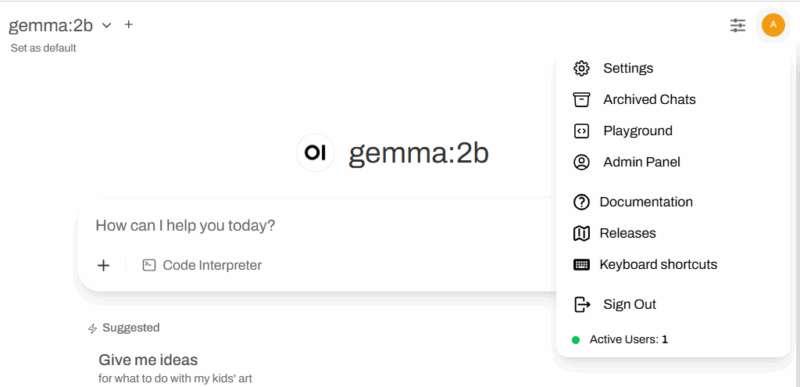
Click the profile icon to access the user menu, which includes options for settings, archived chats, playground, admin panel, documentation, releases, keyboard shortcuts, sign out, and viewing active users.
Wrapping Up
Self-hosting Open WebUI requires some initial setup, but once configured, it offers full control, privacy, and flexibility. You can choose models, use your own data, and customize the interface, all without relying on third-party servers. Once the model is installed locally, you can run it entirely offline, just like running the Gemini CLI AI Agent in your terminal.