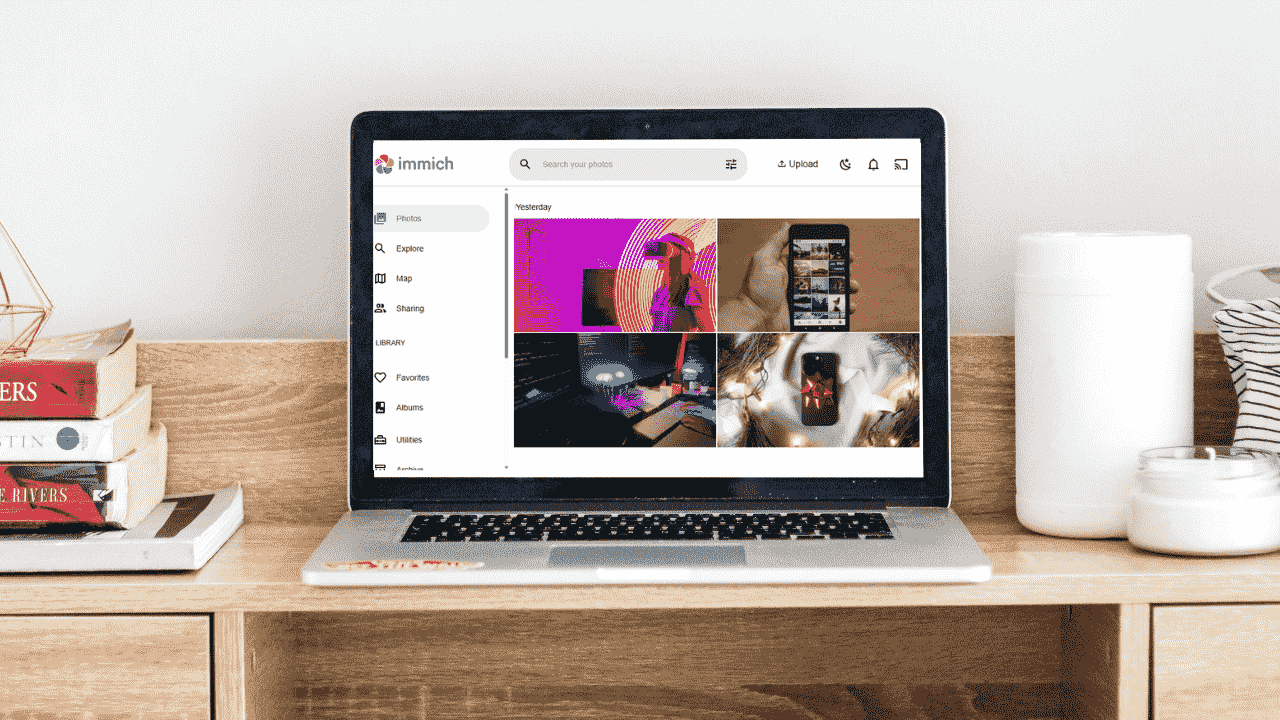
Many of us have been using Google Photos to store and organize our pictures for years. While it’s convenient and easy to use, the free storage perks eventually end, and subscription fees can start to add up. In addition to this, your photos are stored on someone else’s servers, not your own devices. If you want more control over your photos and prefer to keep them on your own hardware without monthly costs, Immich is a great alternative. Immich is an open-source photo backup system that works like Google Photos but stores everything on your own devices. In this guide, I’ll show you how to move your photos from Google Photos to Immich, so you can take control of your digital memories.
Why Move from Google Photos to Immich
Immich provides you with complete privacy because all your photos are stored on your own server, rather than being stored on Google’s cloud. There are no storage limits as long as your hardware can handle it, and you avoid Google’s compression, changing policies, and subscription costs. You also gain full control over your photos and can manage them the way you want. On top of that, Immich offers powerful features like map view, search, and face detection.
Why You Shouldn’t Upload Google Photos Directly to Immich
Moving your Google Photos files directly to Immich may seem simple: you export your files from Google Photos, and import them to Immich. The only issue is that Google stores the images’ metadata (such as the original timestamp, GPS location, camera details, album information, and sometimes face tags) on separate files. If you simply import those images to Immich, they will be missing the metadata and you won’t be able to organize them effectively.
Additionally, uploading without a proper tool can result in duplicate files if the same photo exists in multiple albums or exports.
Things to do Before Migration
It’s important to take a few precautions to ensure a smooth migration. First, keep a copy of your Google Takeout as a backup. Then, verify that your Immich server has enough storage, RAM, and CPU resources to handle the upload. Next, consider uploading files in smaller batches to maintain stability. Finally, schedule the migration during idle hours to minimize interruptions and avoid overloading your system.
Moving Your Photos From Google Photos to Immich
Immich-Go is a powerful command-line tool designed specifically for large-scale imports into Immich. It works with Google Photos Takeout, iCloud, and local folders. It’s fast, reliable, and preserves metadata.
We recommend this method because it handles your JSON metadata correctly, keeps your EXIF data intact, and prevents duplicate photos during import. It also supports RAW and JPEG pairs, which is helpful if you shoot in multiple formats.
This approach works smoothly even with very large libraries, including collections with more than 100,000 photos. The best part is that you don’t need Node.js or Docker to use it, and it runs on Windows, macOS, and Linux, making it easy for anyone to follow.
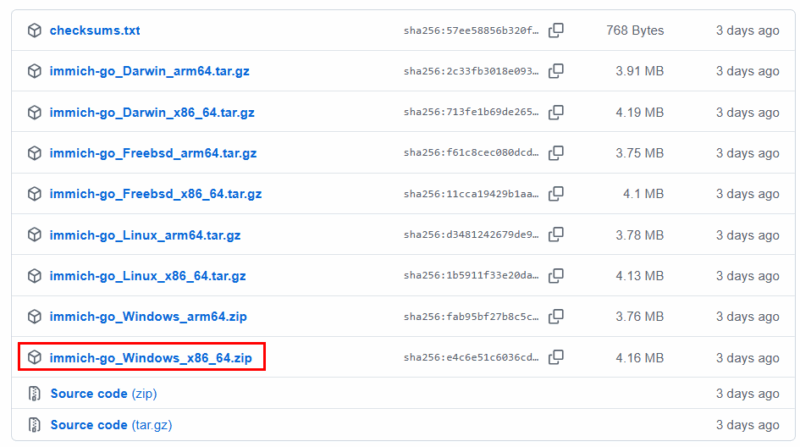
To use Immich-Go, go to the Immich-Go GitHub releases page and download the binary that matches your operating system. For example, on my Windows PC, I downloaded the “immich-go_Windows_x86_64.zip” file.
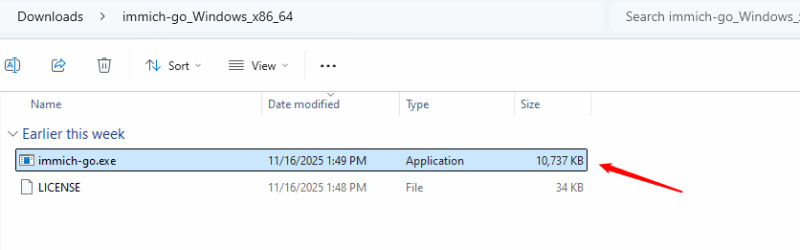
Extract the downloaded folder, and inside the extracted folder, you’ll see a file named “immich-go.exe”. You can run this “.exe” directly through CMD. No installation required.
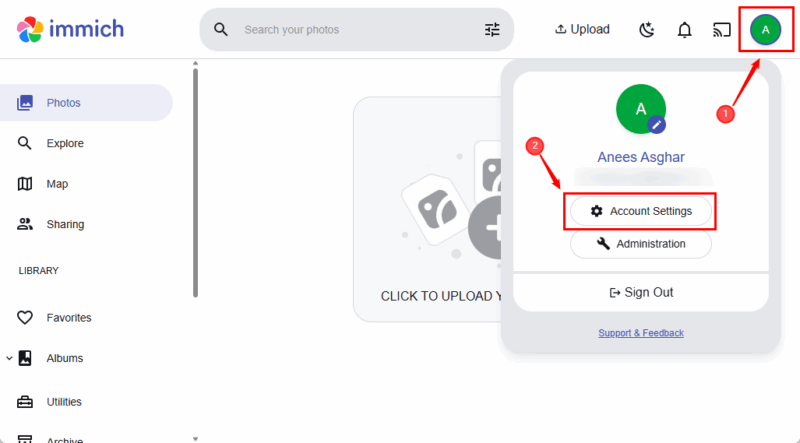
After downloading Immich-Go, you need an API key to authenticate it with your Immich server. To do this, open your Immich web dashboard in a browser and go to Account Settings:
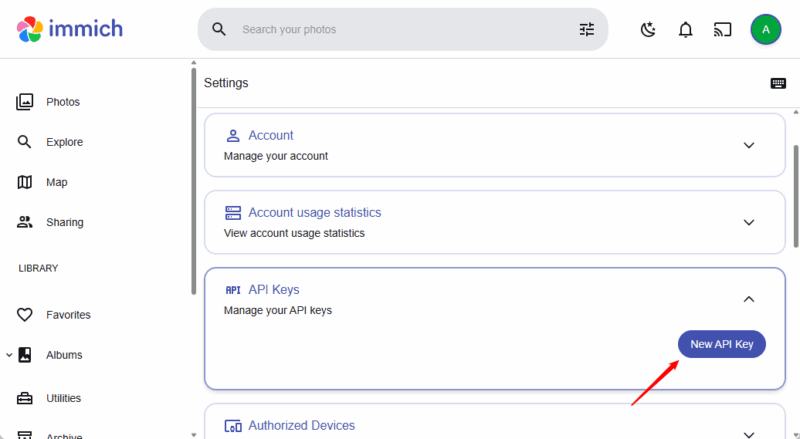
Select API Keys and then click the New API Key button to create a new key.
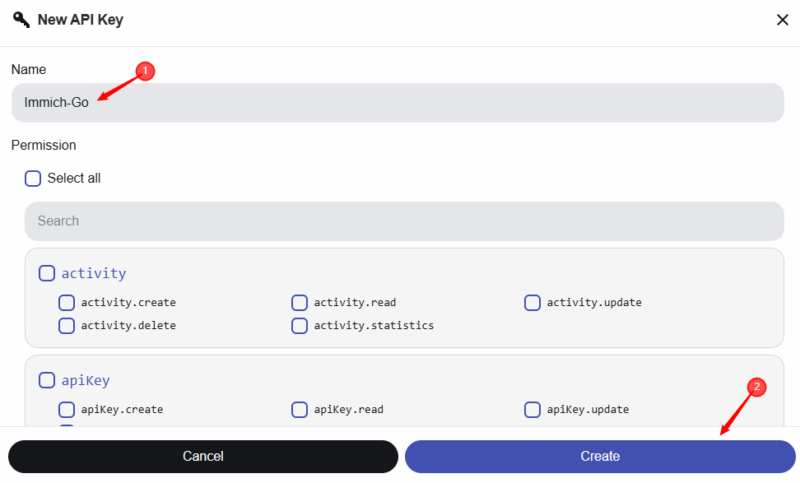
Give it a name for reference, e.g., “Immich-Go”, select Permissions, and then click the Create button.
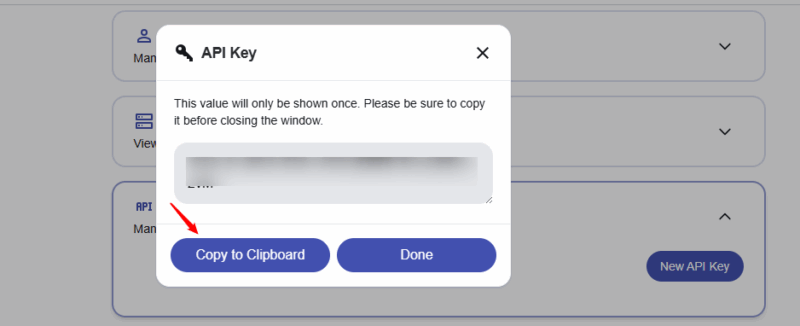
Now, copy the generated key to the clipboard.
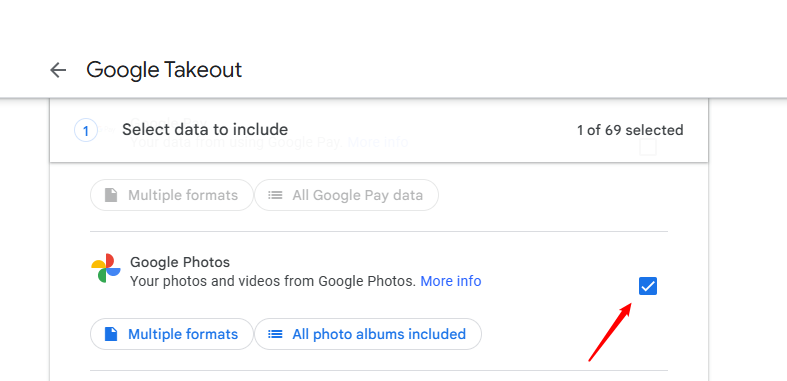
Next, open your web browser and navigate to the Google Takeout page. Log in with the Google account that has your photos. You’ll see a list of all Google services. Click Deselect all to avoid downloading unnecessary data. Scroll down and check the box next to Google Photos.
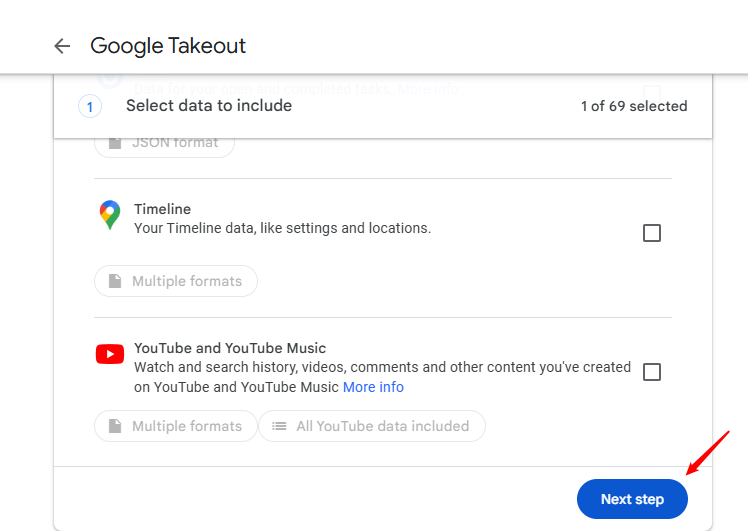
Scroll to the bottom and click Next step to proceed with the migration.
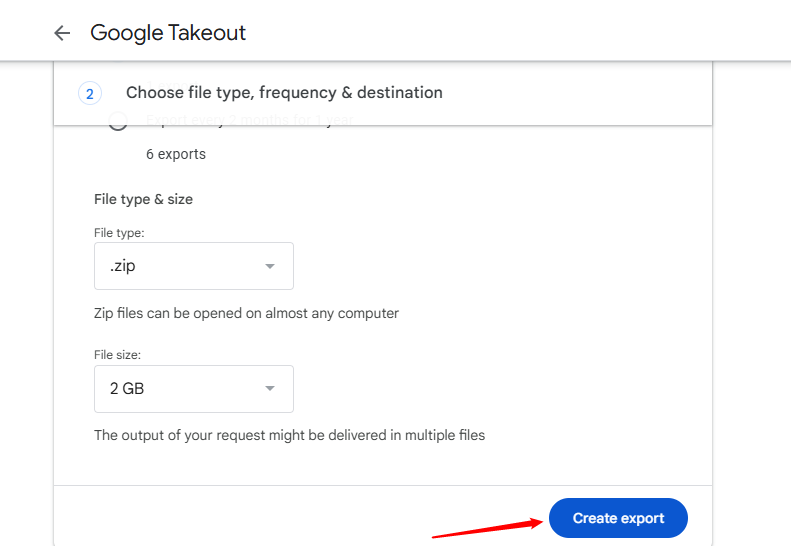
Choose your export preferences, such as delivery method, frequency, file type, and size. Then, click the Create export button.
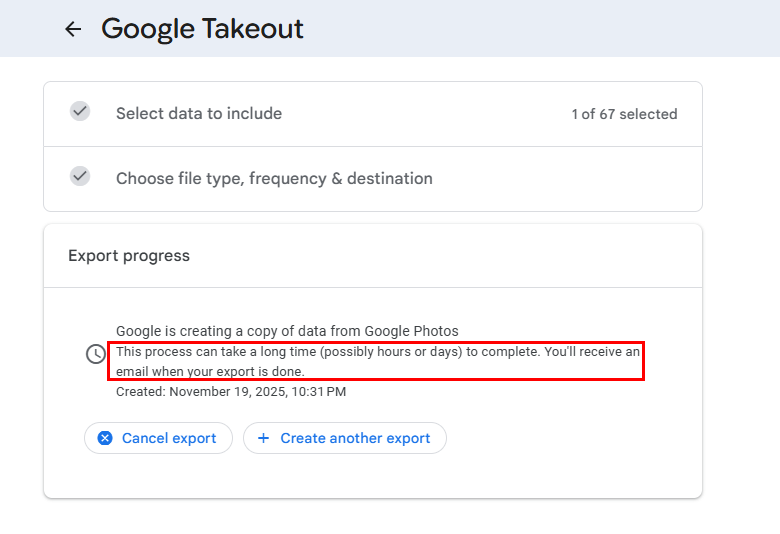
Google will start preparing your files. This may take minutes to hours, depending on how many photos and videos you have.
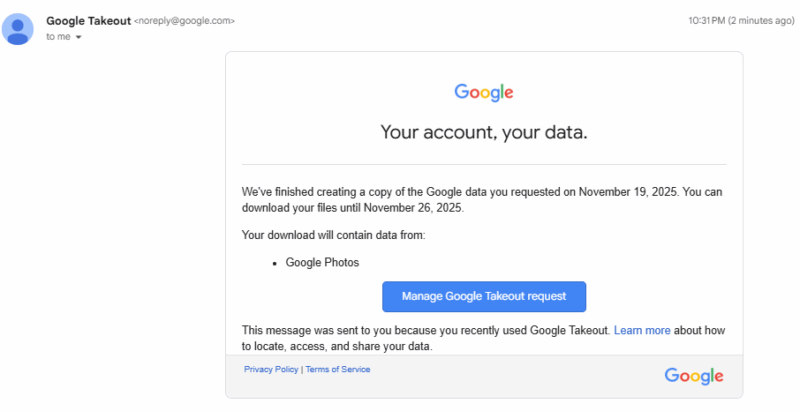
You’ll receive an email notification once the export is ready. Open the email from Google Takeout.
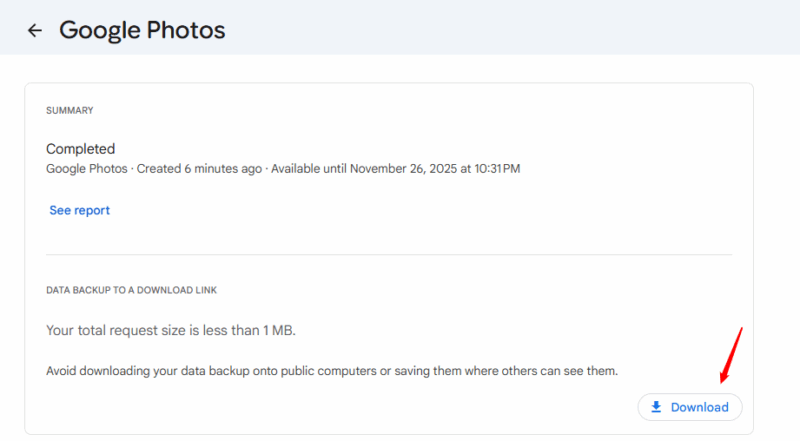
Click the Download button to download your files.
Save all the ZIP files to a folder on your computer. Extract all of them into one folder.
After this, open CMD, navigate to the folder containing immich-go, and run the following command.
immich-go.exe upload from-google-photos --path "C:\path\to\Takeout\Google Photos" --api-key YOUR_API_KEY --server-url http://your-immich-server:2283Replace the path, API key, and server URL with your actual data.
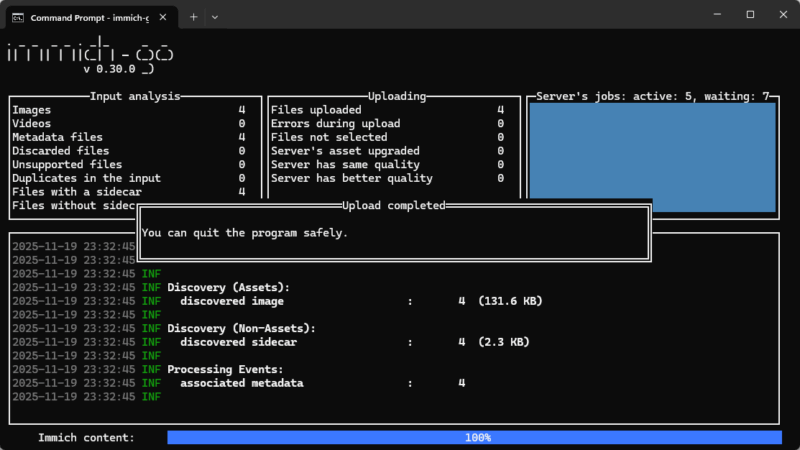
Finally, review your uploaded data by opening the Immich web dashboard.
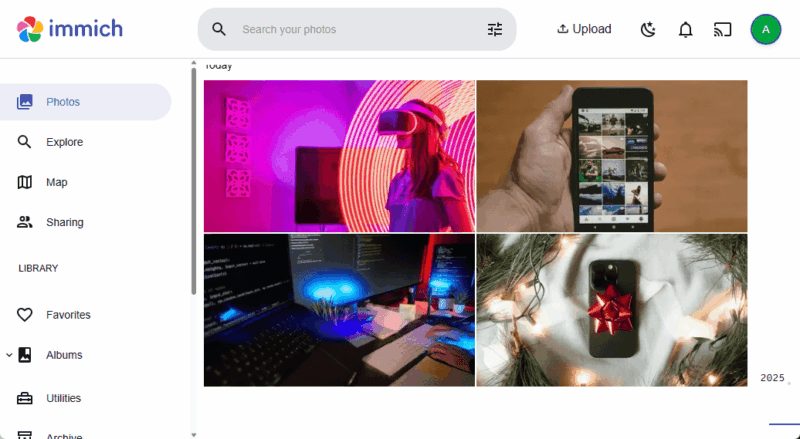
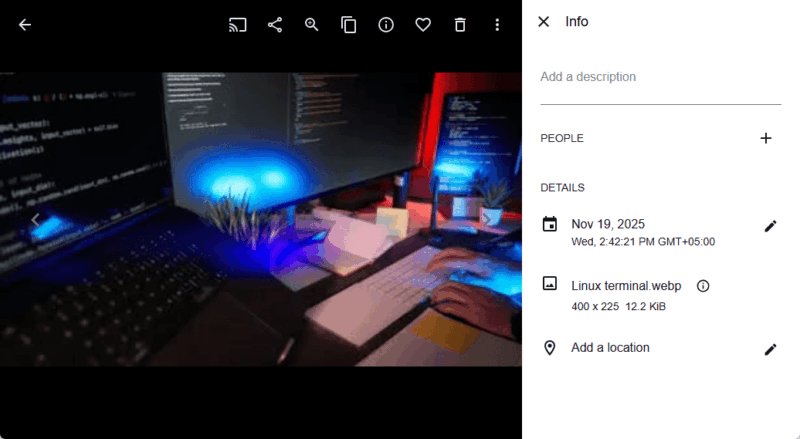
Check that your albums imported correctly and verify the photos show the right dates and locations. Also, confirm there are no duplicates and make sure any RAW and JPEG pairs are properly merged.
Once confirmed, your migration is complete!
Wrapping Up
Migrating your photos from Google Photos to Immich is a simple way to take ownership of your digital memories. You can export your Takeout and upload your photos with Immich-Go to preserve all metadata, avoid duplicates, and keep your library well-organized. Once the migration is complete, you can enjoy Immich’s features like albums, map view, and face detection without relying on cloud storage or subscription services.
Besides Immich, you can also explore other Google Photos alternatives and choose the one that’s best suited for your needs.