Apple’s Standby Mode, introduced in iOS 17, transforms charging iPhones into useful bedside displays showing info at a glance. Think that sounds handy? Android users aren’t left out, there’s a way to bring that functionality to your device too.
Good to know: check how to create App Pairs on your Android device.
1. Use Android’s Screen Saver Feature
Android phones have a built-in screen saver feature that can display different things while your device is charging (and docked). However, it’s rather simplistic compared to iOS’s Standby Mode. Nevertheless, if you’d like to give it a go, here’s how.
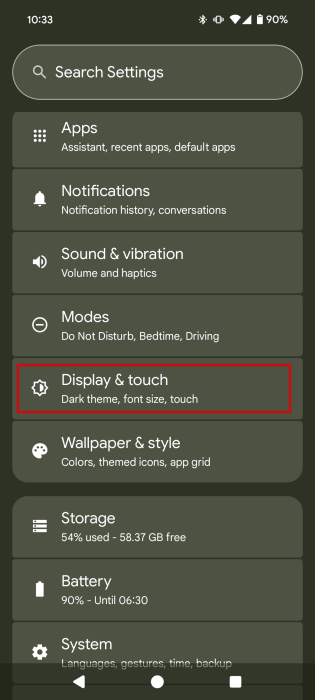
On your Android phone, navigate to Settings -> Display & touch.
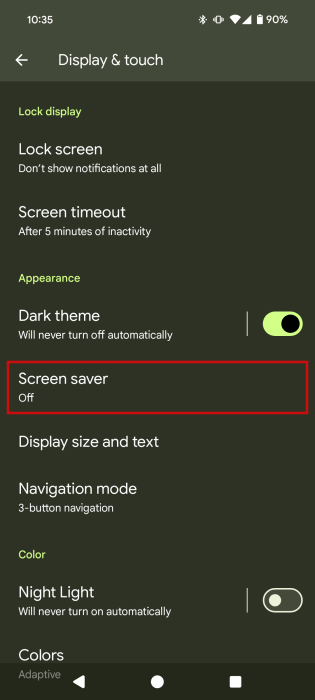
Go to Screen saver.
Toggle on the Use screen saver option at the top.
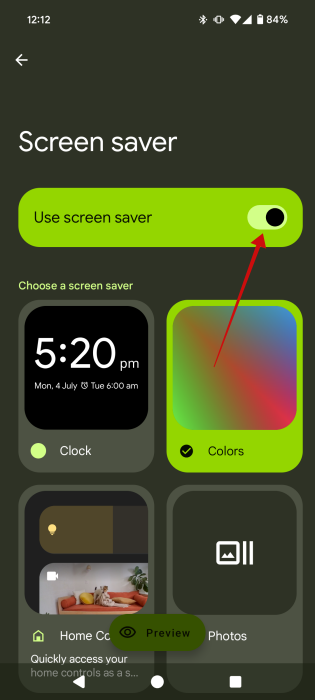
Browse the available options. You can use the Preview button at the bottom to view what these screen savers would look like.

The first one is a very simple Clock that also shows the date and alarms. You can opt between Analog and Digital styles, and you can also enable a Night mode for it. But that’s it. This screen saver is really basic, and you’re not allowed to add any other information on the screen or to move the widget around.

The second option is to display a Color screen. Only one color scheme is available. You can also opt to have it display other things, such as time, weather, and more.

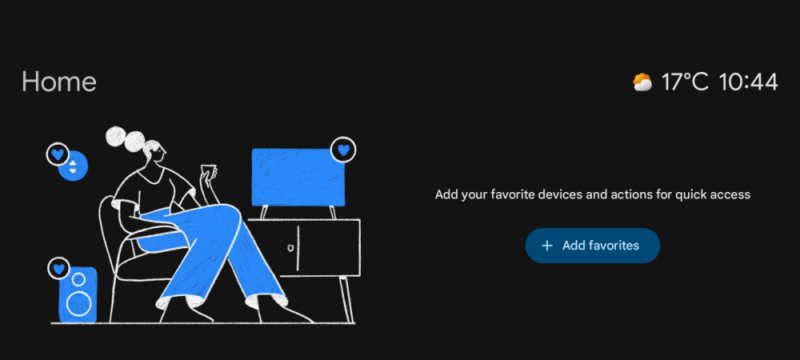
Another option is to add a Home Controls screen when your device is charging. Here you can add your favorite devices and actions for quick access. The screen saver will also display time and weather info.
Finally, the last option can be set up to display a carousel of photos from your device.

FYI: learn more about customizing your lock screen on Android.
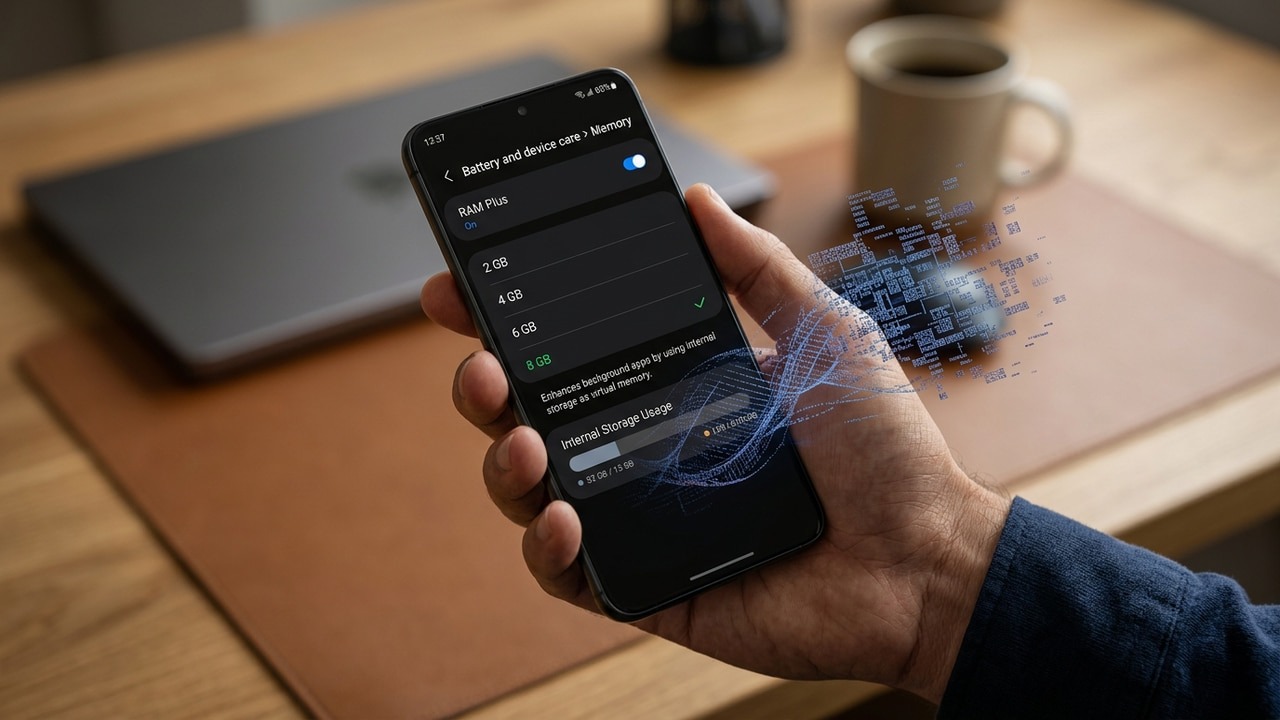
2. Take Advantage of Android’s Always On Display
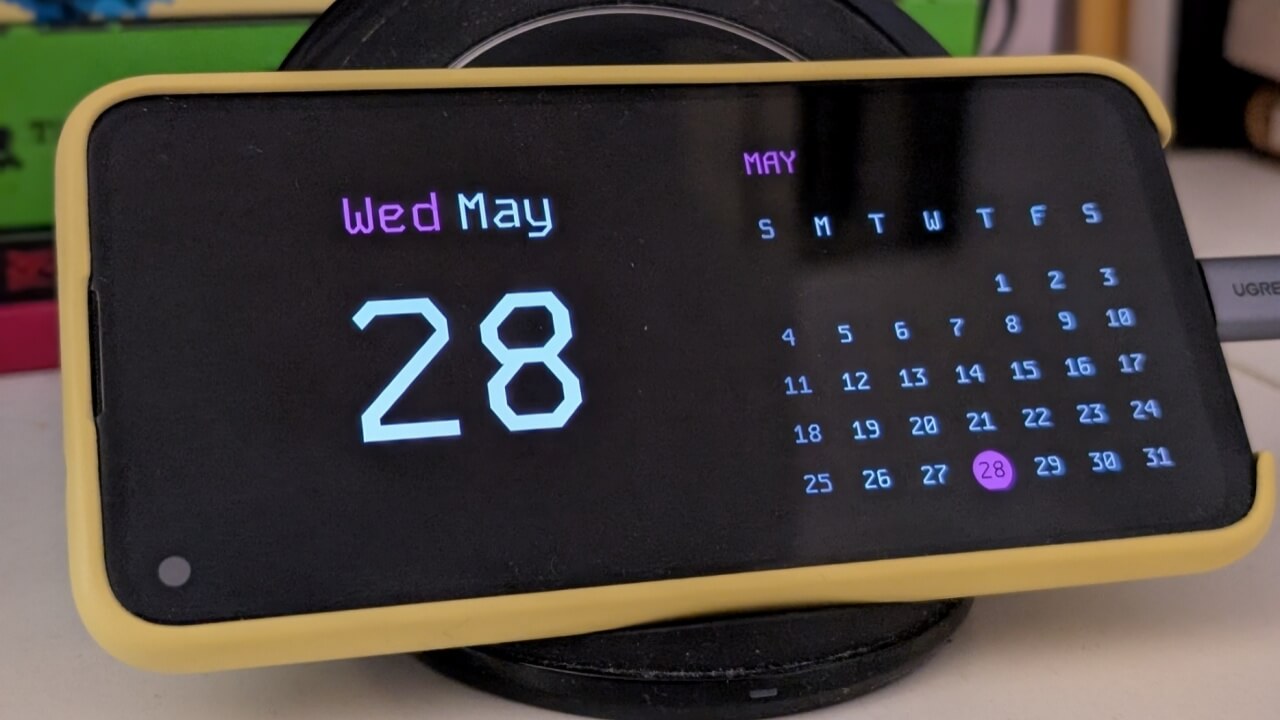
Most of the newer Android devices these days have an Always On Display feature that can be set to act as a Standby mode replacement. Sort of, as it won’t activate when your device is charging, but when it’s sitting idly.
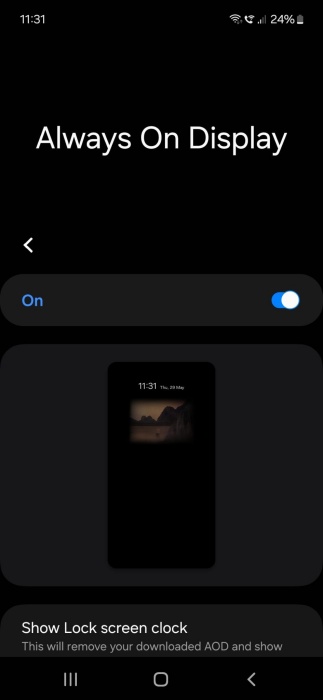
For instance, on a Samsung Galaxy device, you can find it by going to Settings -> Lock Screen -> Always On Display.
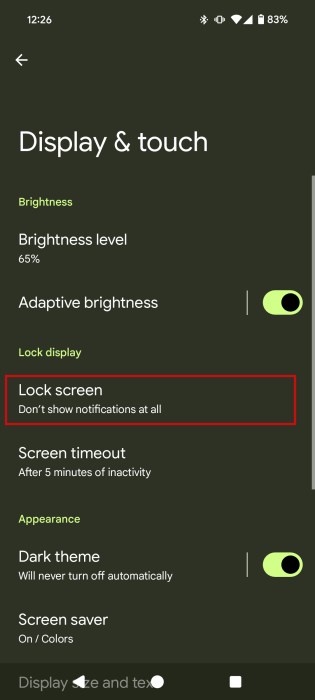
On a Pixel device, similar options are available under Settings -> Display & touch -> Lock Screen.
Swipe down to the When to show section and enable the Always show time and info toggle.
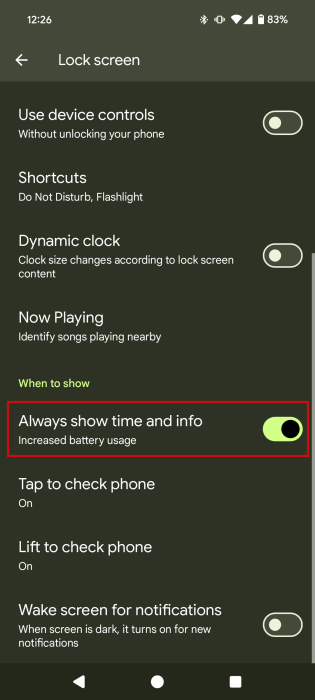
Now, whenever your phone is idle (not charging), you’ll be able to see the time, as well as weather and battery info on your screen.
On a Samsung Galaxy, you can opt to have this Always On Display in landscape mode and configure it further to show music app info, alarms, and more.
Tip: this is how you can enable flash notifications on Android and never miss an alert again.
3. Using Third-Party Apps
If you think the methods we shared with you so far are too limited, no problem. You can turn to third-party apps instead. For instance, the StandBy Mode Pro app offers quite a few options to customize your charging Android screen.
Launch the app and decide its orientation. We’ve opted for Landscape.
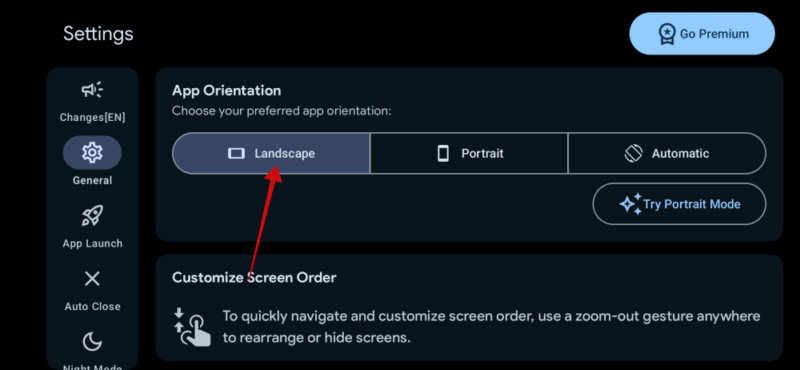
While you’re in Settings, tap on App Launch in the menu on the left.
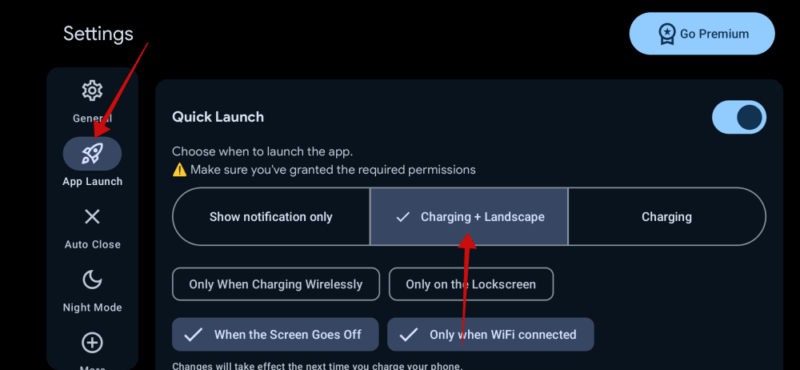
Under Quick Launch, select the conditions when you want to StandBy screen to launch. We’ve opted for Charging + Landscape.
Note: the app might ask you to grant some permissions. Do so before you proceed to set up your Standby screen.
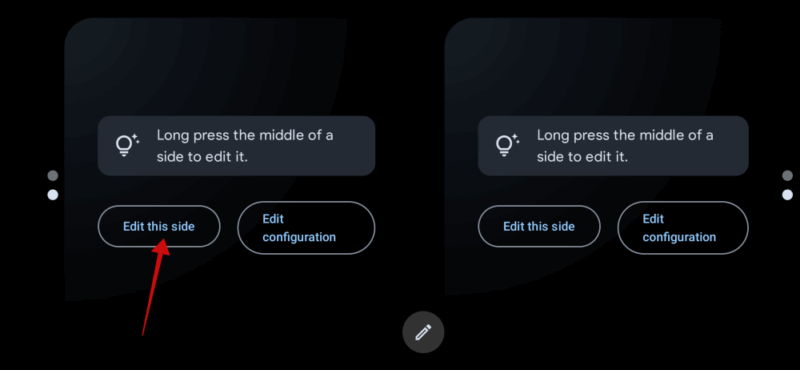
Swipe on the screen from right to left to view the creation screen. The first option you’ll stumble upon is Duo, which splits the screen into two equal parts. Press Edit configuration if you want to resize the two sections. If you’re happy with how it is by default, press Edit this side to begin adding info.
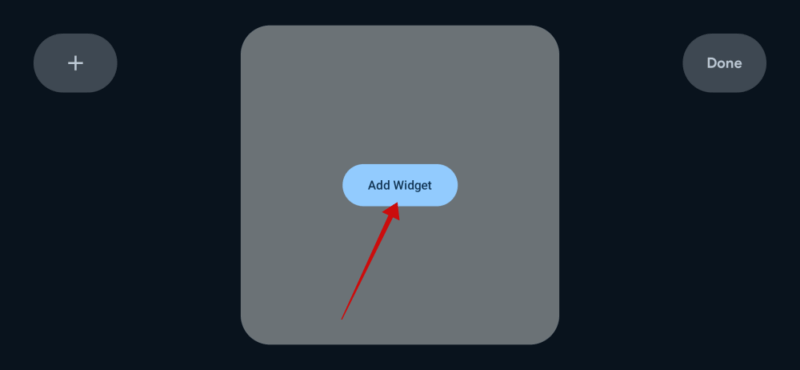
Press the Add Widget button.
Browse the options available, which are grouped into categories that you can see on the left. Note that some options are only available in the Pro version, but there are some free options you can try.
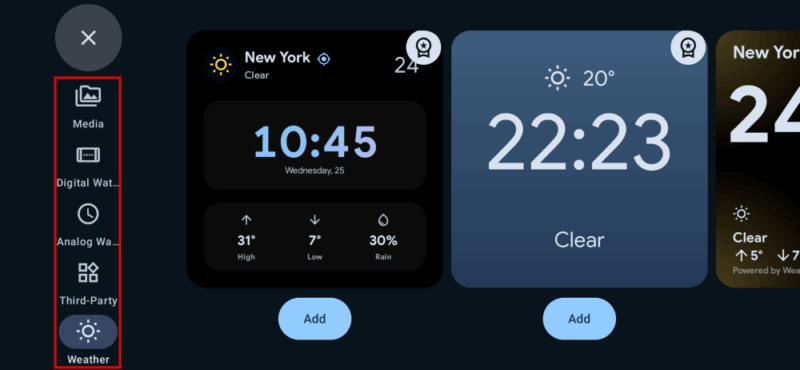
Once you’ve made your selection, press Done.
Next, add the second widget by retracing the same steps.
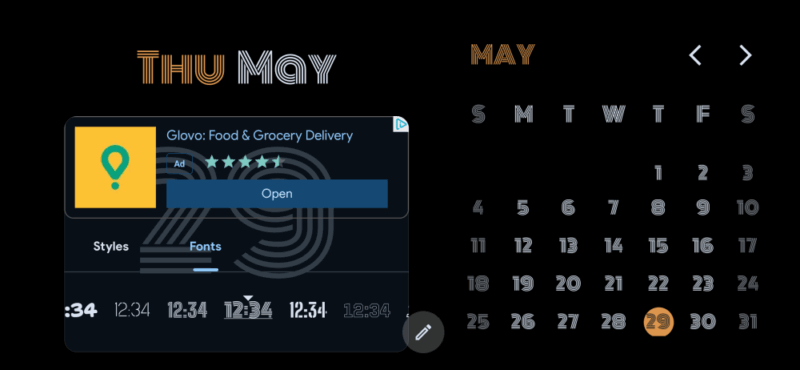
If you wish to modify the color or font for these widgets, press the gear icon that appears when you tap a widget twice.
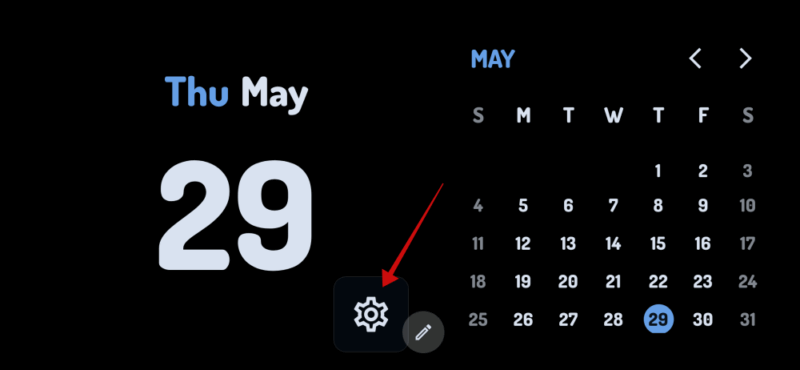
Make your selection from here.
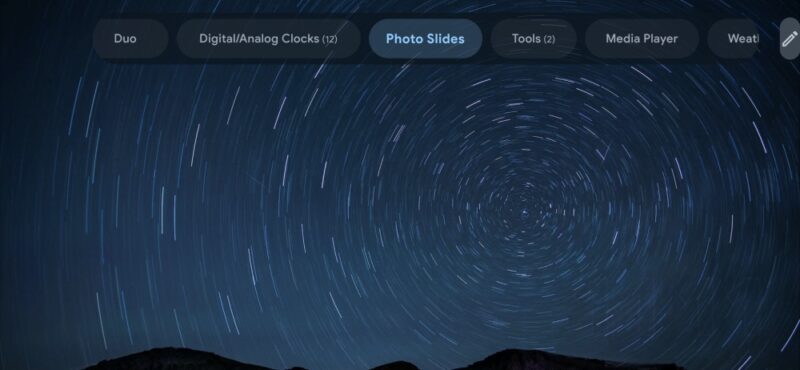
If you don’t want to have a Duo screen, you can opt for alternative Standby options by swiping from right to left on your screen.
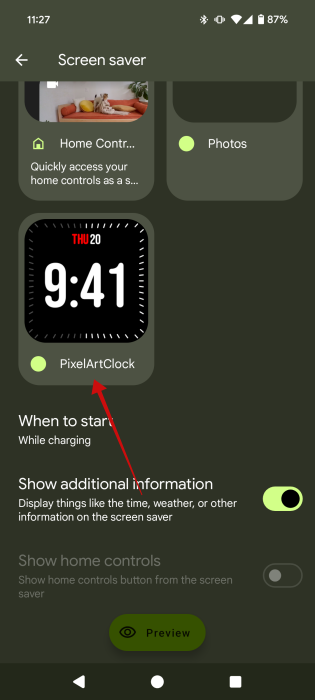
Once you’re satisfied with your standby screen, you’ll need to set StandBy Mode Pro as the default Screen Saver app.
You can do this by going to Settings -> Display & touch -> Screen saver and selecting the last option called PixelArtClock.
Now, when you place the phone to charge horizontally (or depending on your configuration), you’ll see the standby screen you’ve configured in the app.
Other similar apps you might want to try are StandBy Mode Always On Display, and Widget Screensaver.
If you’d like to port more iPhone features to Android, here’s how to get the Dynamic Island only our handset. Alternatively, here are some apps that can replicate the AirDrop functionality on Android.