As the new school year kicks off, Google is rolling out fresh tools to make learning easier. Its studying and research app NotebookLM now features a new addition called Video Overviews, designed to transform complex notes and study materials into simple, narrated video slides. Read on to find out how you can create Audio Overviews in just a few steps with NotebookLM.
Good to know: also discover how to add your preferred sources in Google Search.
Creating a Video Overview in NotebookLM
The Video Overview feature is currently only available in the NotebookLM web version. In the mobile app, you only have the option to create Audio Overviews.
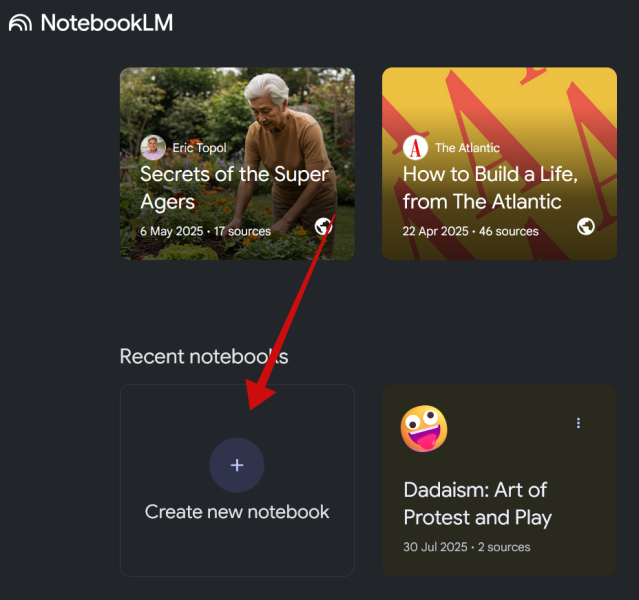
To use NotebookLM on your PC, you’ll need to first sign in with your Google account. Once that’s done, you’ll be automatically redirected to the main NotebookLM page. Click on the Create new notebook option at the bottom.
Adding sources
The next step is to add your sources. You can add up to 50 sources for a notebook. It’s possible to drag-and-drop PDFs, links, upload sources, or simply paste text.
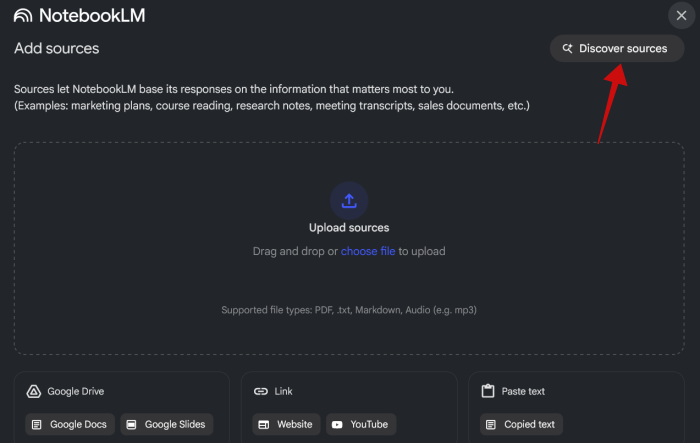
Additionally, you can also discover data sources by telling NotebookLM what you’re interested in. Our article shows you how to take advantage of this feature.
For this guide, we’ve also added 10 data sources using the discovery option. You can see them on the left side of the screen, and you can browse through each one.

If you wish to include any other source in your notebook, press the +Add button.
Tip: here’s how students can use Notion to improve their academic life.
Customizing your Video Overview
Once you cover this step, check the Studio section on the right side of the display. You should see the Video Overview option in the menu. Don’t press it just yet.
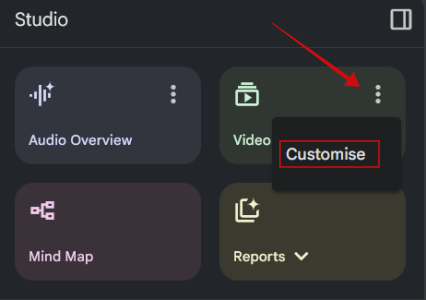
Instead, tap on the three dots on the card and select Customize.
A new pop-up will appear, allowing you to change the language in which you can have your Video Overview. The default is set to English, but Google recently added access to up to 80 new languages. This means, you can upload sources that are in English and then have NotebookLM generate a Video Overview in another language such as Spanish or French.
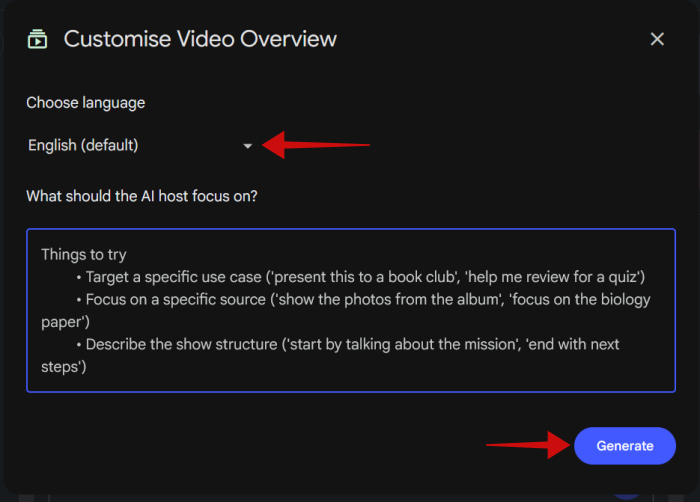
At the same time, you can also provide the AI with additional instructions on how to create the video. For instance, you can ask it to focus on a particular source or target a specific use case such as to create a review combining the info of all the sources. Or you can even detail the exact structure you want the video to have.
Tip: check here for suggestions on where to buy cheap books to help with your studies.
Generating your Video Overview
Once you’ve added all these details, press on the Generate button to have the AI start the process. Note that you don’t have to necessarily customize your video’s settings. You can proceed with the default specifications if you want to.
It takes a while for NotebookLM to generate the Video Overview, so you might want to switch to another task while you wait for it to be ready.
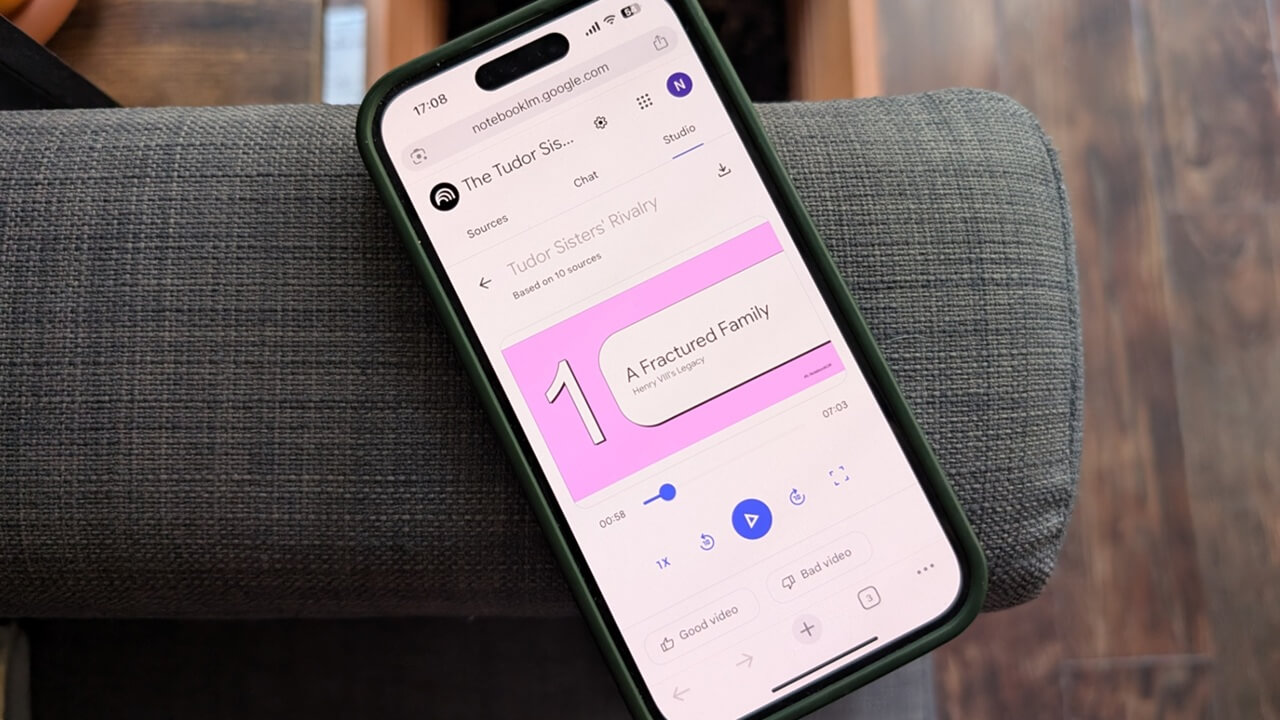
When the process is done, the Video Overview will appear underneath the Studio options. Go ahead and press the play button next to it to start viewing its contents.
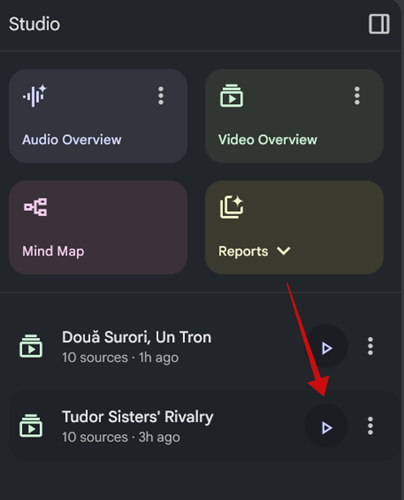
The specific Video Overview window will now open on the right side. Press Play again to start watching in the NotebookLM interface. Or if you, prefer you can also watch in full screen by pressing on the relevant icon.
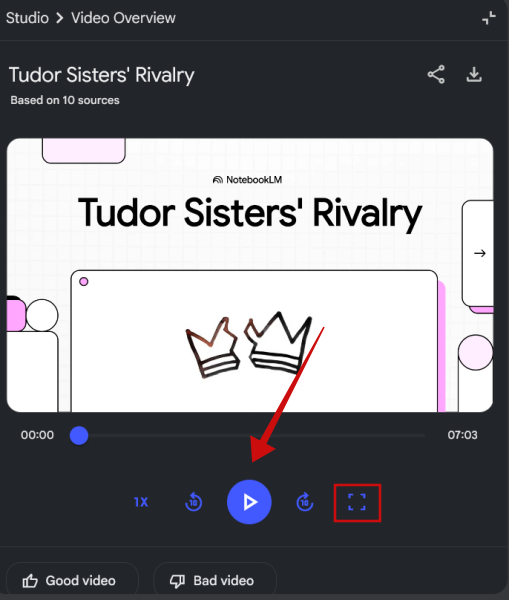
In our testing, NotebookLM produce a 7-minute video which successfully covered the main ideas presented in the sources – all in a comprehensive, logical fashion. Surely, many details weren’t included in the result, but the clip was able to deliver a clear overview of the subject covered (in this case, the relationship between two royal sisters).
After watching the video you can rate it as Good or Bad. This is a way to notify Google’s AI that you appreciated or disliked a certain video and it will learn from your feedback.
Currently, only narrated slides are available as an option when creating Video Overviews, but additional formats will be added at a later date by Google.
Downloading and sharing
From the video preview window, you can easily download the video to your machine for storage or later viewing.
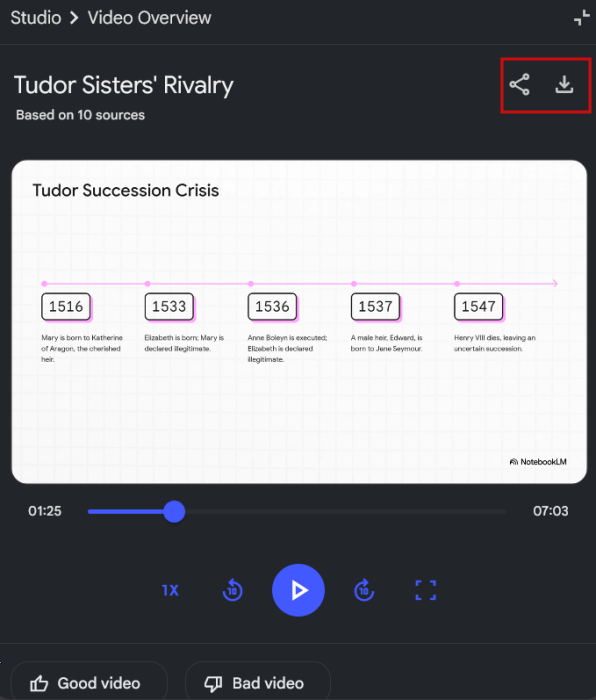
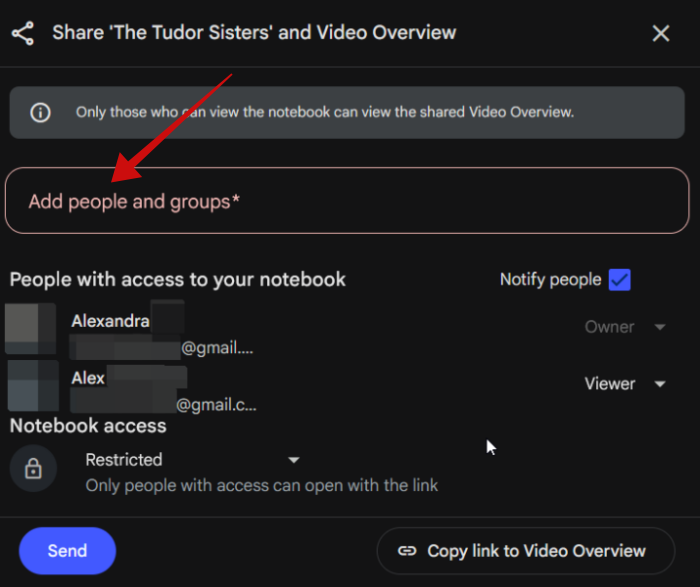
Alternatively, it’s possible to share the video with others. You can add people from your Google contacts list. NotebookLM will email them featuring the link to the clip.
You can also get a link for the video manually by pressing on Restricted and switching to Anyone with a link, then clicking on the Click link to Video Overview. With the link copied to your clipboard, you can share it with whoever you want.
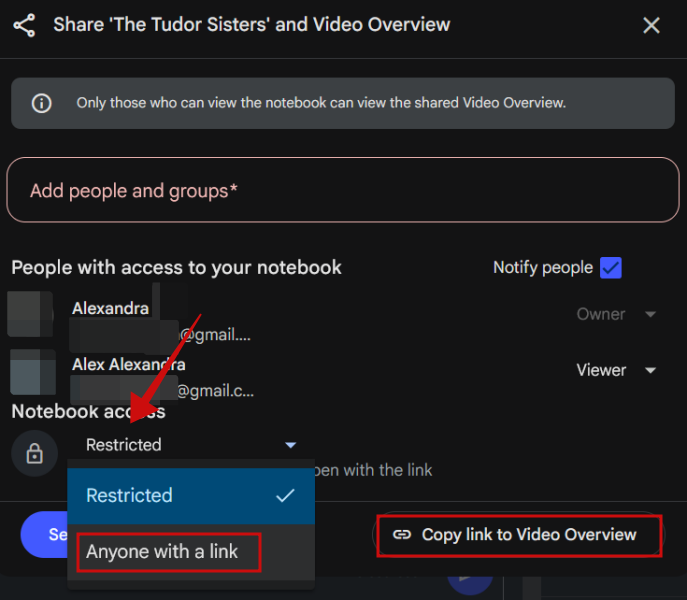
Note that in order for a receiver to view a Video Overview via link, they also need to log with a Google account.
Google’s NotebookLM is slowly becoming an essential study-buddy for anyone that loves to learn new things. However, if you still feel that you need additional help while studying and you use a Windows PC, check these essential apps all students should have.