If you have a modern laptop, it supports advanced touchpad gestures. But many of us are simply unaware of them. It’s not uncommon for users to “discover” a gesture years after owning a laptop. This shouldn’t happen since the touchpad is a powerful tool built for much more. Here is a short, handy list of Windows touchpad gestures to improve your productivity.
Check If You Have a Precision Touchpad First
For many gestures below to work properly, you need a Precision Touchpad (PTP). All modern Windows 11 laptops have one, as it’s mandatory for Windows 11 certification. They’re also common in mid-range and high-end Windows 10 laptops.
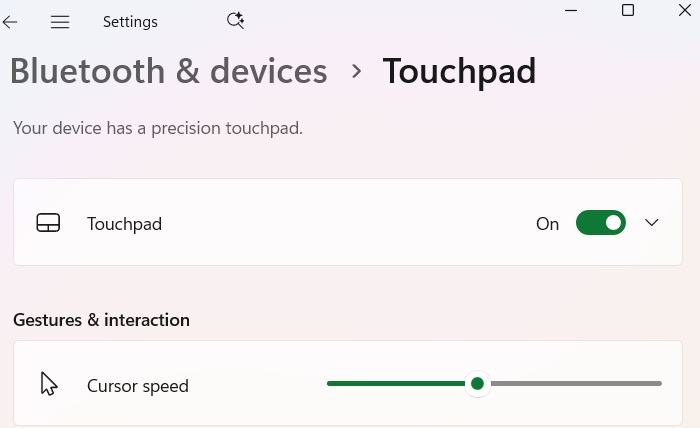
On Windows 11, go to Settings -> Bluetooth & devices -> Touchpad, and ensure it’s toggled on. Windows 10 users should go to Settings -> Devices -> Touchpad. Now check if there is a sentence that reads, “Your device has a Precision Touchpad.”
Microsoft has introduced many new touchpad gestures in Windows. If you are familiar with the touchpad gestures on Mac, then these gestures on Windows 10 and 11 are pretty much the same. You can also customize them if you want.
One-finger Touchpad Gestures
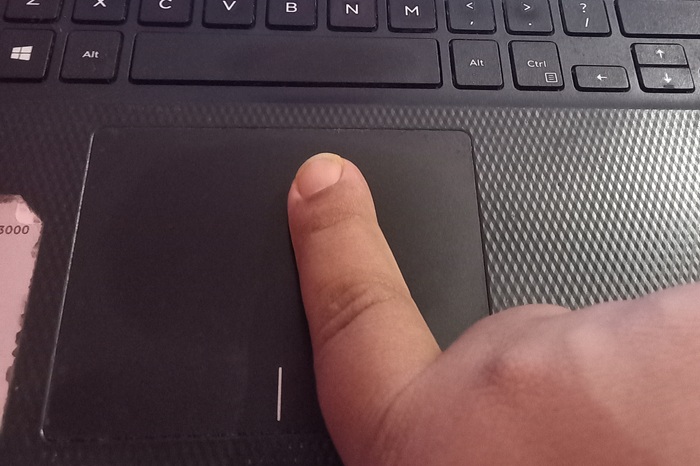
You would be well-familiar with one-finger touchpad gestures. They’re used for regular activities on a laptop touchpad as shown here:
- Basic clicks and scrolls: this is used for scrolling within any window. Tapping or pressing anywhere in the touchpad area acts as a mouse left-click, while the lower-right area triggers a right-click. Some touchpads lack separate buttons for left and right clicks.
- One-finger drag: press and hold anywhere on the touchpad and drag it up or down. This highlights text in a browser or within applications like Word. In File Explorer, it moves files and folders to another folder, or between various tabs.
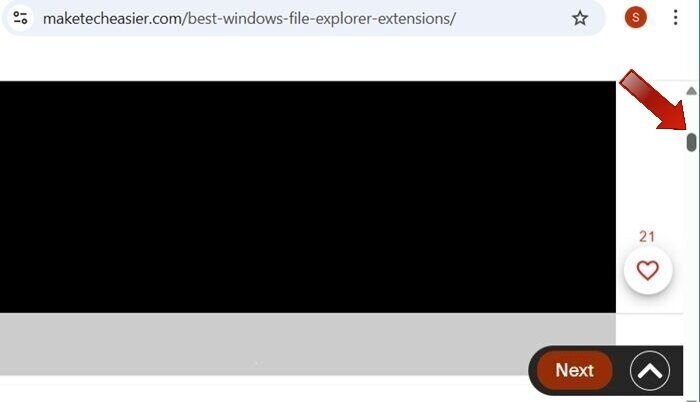
- One-finger drag swipes: It takes just one finger to scroll along the edge of your touchpad. This works for vertical scrolling on a browser’s scrollbar or horizontal scrolling on a slider in an image editing software.
Related: mouse, trackball or touchpad have different uses as explained in this guide.
Two-finger Touchpad Gestures
While two-finger touchpad gestures have always been around, many users forsake it for the familiarity and convenience of single-finger scrolling. Also, it’s more common to choose menu buttons directly on a browser window rather than use the touchpad to zoom, rotate, and more.
- Hold with two fingers and move horizontally or vertically: this allows you to scroll a web page and other windows where scrolling is possible. Scroll up and down by holding two fingers and moving it up and down. For horizontal scrolling, move it left and right.
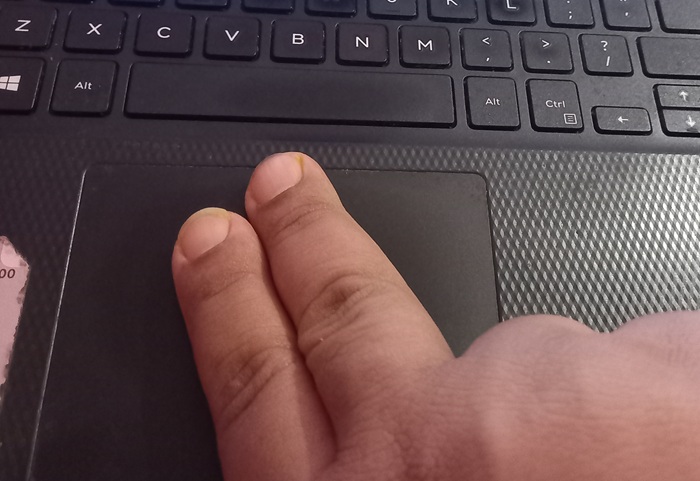
- Tap with two fingers: open right-click menu. This is the same as the right-click button on your touchpad. You can even open the right-click menu by tapping with two fingers on the icons.
- Use two fingers to pinch and stretch: zoom in/out. Pinch out to zoom in and pinch in for zoom out.
- Use two fingers to rotate: go to a compatible image editing app, such as Photoshop, and select an image. Now you can place two fingers on the touchpad, and rotate it in any direction.
Related: find out how to simulate a middle click on a Windows touchpad.
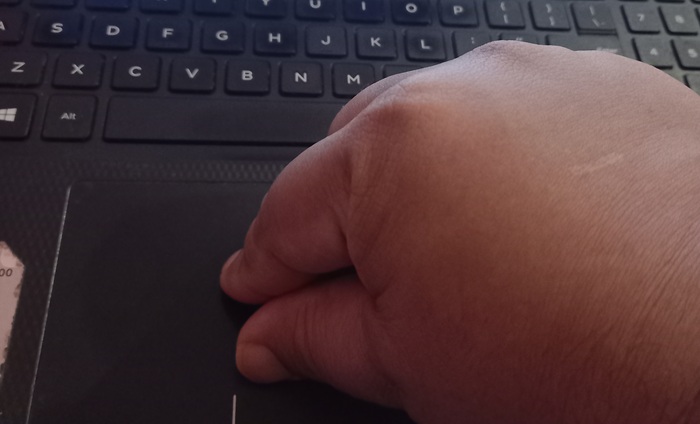
Three-finger Touchpad Gestures
Three-finger touchpad gestures are more advanced and less common in daily use. But once you learn them, they save significant time in many tasks. You can edit these gestures to perform actions other than the default ones shown below.
- Use three fingers and slide downwards: go to Desktop. This will minimize all the windows and will switch to the desktop, a very useful requirement.
- Use three fingers and slide upwards: this will open the Task View that will allow you to see all open windows across all the desktops.
- Use three fingers and slide left or right: switch between open windows. It’s equal to the ALT + Tab shortcut to switch between apps.
- Tap with three fingers: this will activate the Windows search window where you can search for recent open apps or perform a PC search.
Good to know: did your laptop touchpad stop working? Try these fixes.
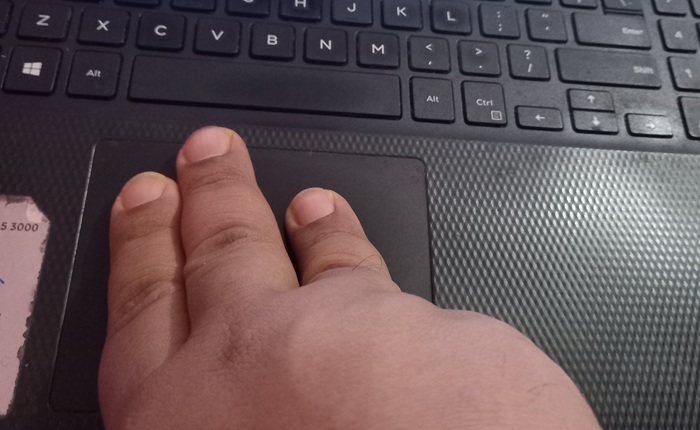
Four-finger Touchpad Gestures
Using four fingers on your touchpad may seem like a lot, but it unlocks functions that save time in busy moments. Here’s a quick overview:
- Swipe up and swipe down: using four fingers to swipe up and down does the same trick as with three fingers, that is you can switch between multiple windows, and quickly show the desktop.
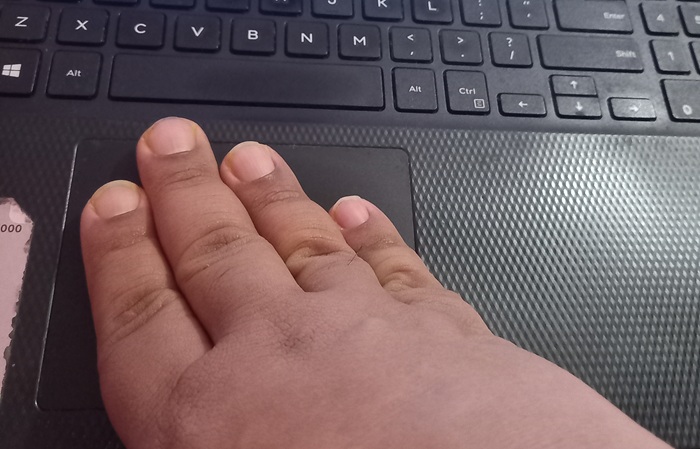
- Swipe left and right: swiping left and right with four fingers, again, does the same trick as three fingers, as you can choose between the different apps that you’re working on simultaneously.
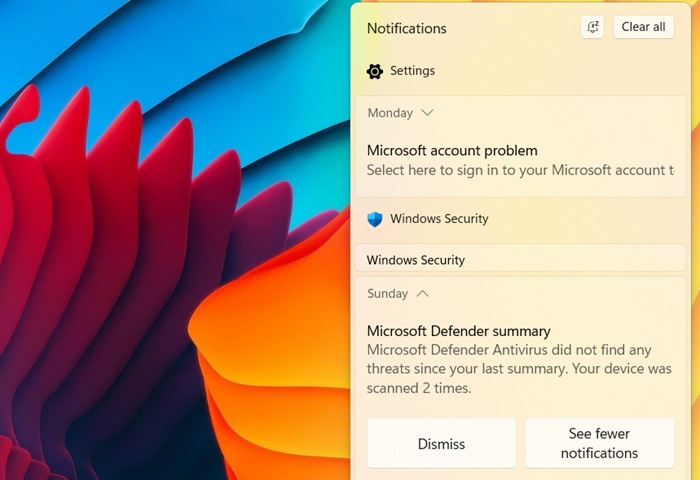
- Tap with four fingers: a four-finger tap gives you direct access to notifications center and the Settings window on your right. Both options are frequently used and it’s indeed easier and effortless to touch those extra fingers on your touchpad rather than click the correct option in single-finger mode.
The above list of touchpad gestures in Windows are a small but handy list for most casual users on a standard Precision Touchpad (PTP) device. There are many more advanced gestures that may require you to install laptop manufacturer drivers, such as the ones for Asus. Surface laptops released after 2024 are haptic, which are vibration-based and require no physical clicks
Most of the gestures mentioned above should work on your Windows laptop alone. If you have an old laptop, make sure you update the trackpad drivers to PTP. These touchpad gestures should help you in multitasking and make you more productive.


