If you’ve decided to move your PC from Windows 10 to Windows 11, wiping your hard drive and do a clean installation is the better choice instead of simply hitting “Upgrade” in your settings. Although the in-place upgrade promises to preserve your files and configurations, it can prevent you from enjoying Windows 11’s full security benefits. Curious how? Let’s dive in.
Why Clean Install Windows 11
There are many reasons why you should upgrade to Windows 11, but one reason that is often overlooked is Windows 11 Smart App Control security. Smart App Control is a Windows 11 exclusive security feature that will save your PC from malicious apps before they can execute.
However, if you want to use this security feature, you must do a clean Windows 11 install, deleting all previous data. This is one of the main prerequisites for this feature to function, and there is no official way to enable it without a clean installation. While there are workarounds, they just reset after a Windows restart or a new update.
What is Smart App Control
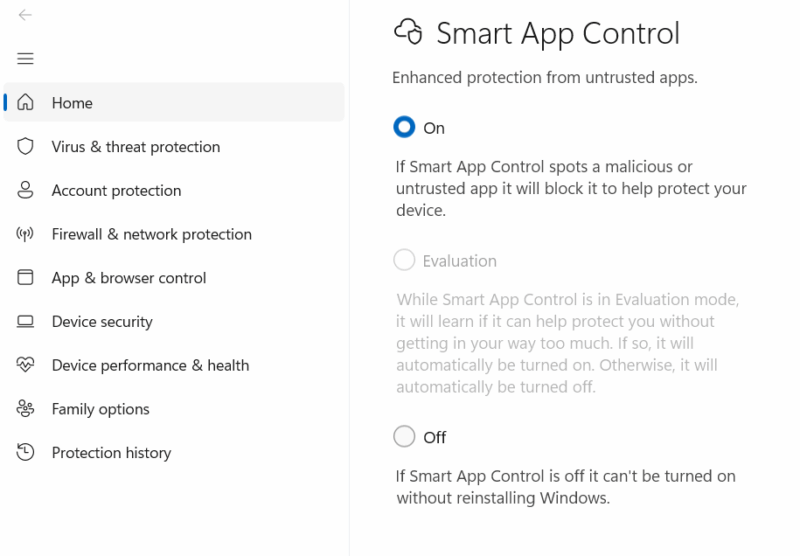
Smart App Control is a powerful security feature of Windows 11 that protects your PC from malicious and potentially unwanted programs (PUPs). It works as a gatekeeper that ensures only safe and verified apps are executed. Unlike antivirus software, it doesn’t wait for program execution to block; it just blocks it at the slightest sign of malicious intent.
Microsoft documentation suggests it heavily weighs the digital certificate of an app to consider if it’s safe. It also uses AI and cloud intelligence to predict app safety based on behavior patterns and telemetry data. As long as an app is properly digitally signed, Smart App Control should let it pass. For the unsigned apps, it uses the AI to determine if it’s safe or not.
More importantly, it takes a zero-trust approach and only allows apps that it’s safe to run. The apps it blocks can’t be unblocked; you must disable Smart App Control, which is difficult, as it requires a reset or clean installation to turn back on. Of course, this is a bit too aggressive, but it offers enterprise-grade whitelisting security to everyday users.
The Right Way to Install Windows 11 for Smart App Control to Work
If you are ready to do a clean installation of Windows 11, you need to make sure you do it the right way so Smart App Control activates and you don’t lose anything. Before you wipe your hard drive clean, make sure you go through the following steps:
- Create an external backup: The safest route is to back up your important data externally, either in cloud storage or on an external hard drive.
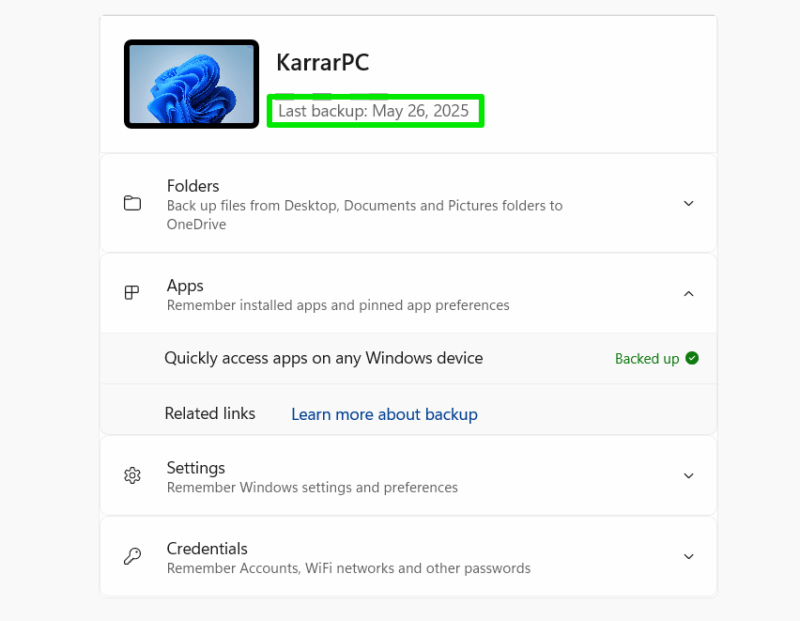
- Sync data with your Microsoft account: make sure you are logged into your Microsoft account so your settings and app preferences are synced. Open the Windows Backup app to see when everything got synced last.
- Note your software and product keys: you don’t want to risk losing local keys stored in your PC.
- Enable Secure Boot and TPM support: enable both TPM and Secure Boot in UEFI as Windows 11 won’t install without these enabled.
Using the Windows Media Creation Tool is the easiest way to install Windows 11. You can check our guide on installing Windows using the Media Creation Tool for step-by-step instructions. Just make sure you select the custom install option and delete the system partition before installing Windows 11.
When setting up, it’s also necessary to enable the Send optional diagnostic data option; Smart App Control depends on it to work. After installation, you can search “smart app control” in Windows search to open the feature and see its status. It should start in Evaluation mode immediately after installation.
It’s worth mentioning that if you often use unsigned apps, Smart App Control may turn off after evaluation. You’ll have to reset Windows and avoid using such apps to gain Smart App Control security. As you are setting up your new Windows 11, make sure you follow these essential steps for an optimal experience.


