Working from home comes with its perks, but staying productive and accountable can be challenging. Like many remote workers, I juggle tasks for multiple clients, follow a daily schedule, and yet procrastination often sneaks in, pushing deadlines further. I tried many to-do apps, task prioritization, and even tracking how long I spend on each task, but nothing really clicked until I discovered TimeTagger.
What’s so Great About TimeTagger
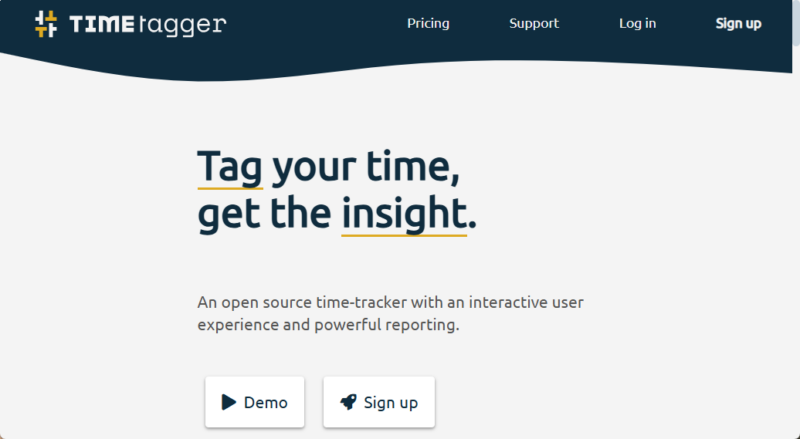
TimeTagger stands out as a powerful yet minimalist tool that puts users in full control of their time tracking. Its simple, tag-based, and easy-to-use interface lets you focus on what’s necessary. It lets me see exactly how I spend my day by tracking time in real-time, organizing tasks with custom tags, and generating useful reports. This has helped me spot wasted time, like unnecessary breaks or overextended meetings. This allows me to reallocate time more effectively.
The best thing about TimeTagger is its self-hosted setup, which ensures complete data privacy. Your records stay on your own server, free from third-party access or subscription traps. This is a game-changer for anyone concerned about data security in an era of cloud-based apps that often harvest user information.
Moreover, it offers smooth cross-device syncing. This feature lets me start tracking on my desktop and continue on my phone without losing any data. This way, I can stay consistent even while I’m away from my desk. Overall, it empowers me to reclaim control, reduce guesswork, and achieve a more balanced, focused routine.
Setting Up TimeTagger
Setting up TimeTagger was easier than expected. I used Docker, which made the process smooth. For this purpose, first, I used a dedicated folder to store TimeTagger data and then navigate to it using the cd command.
mkdir timetagger
cd timetagger
Next, create a “docker-compose.yml” file and paste the following code in it. This pulls the official Docker image of TimeTagger.
services:
  timetagger:
    image: ghcr.io/almarklein/timetagger
    container_name: timetagger
    ports:
      - "8080:80"
    volumes:
      - ./_timetagger:/root/_timetagger
    environment:
      - TIMETAGGER_BIND=0.0.0.0:80
      - TIMETAGGER_DATADIR=/root/_timetagger
      - TIMETAGGER_LOG_LEVEL=info
      - TIMETAGGER_CREDENTIALS=test:$$2a$$08$$zMsjPEGdXHzsu0N/felcbuWrffsH4.4ocDWY5oijsZ0cbwSiLNA8.
TimeTagger requires a username and password stored as a BCrypt hash. To generate one, visit the credential generator, where you can enter your chosen password and obtain the corresponding BCrypt hash.
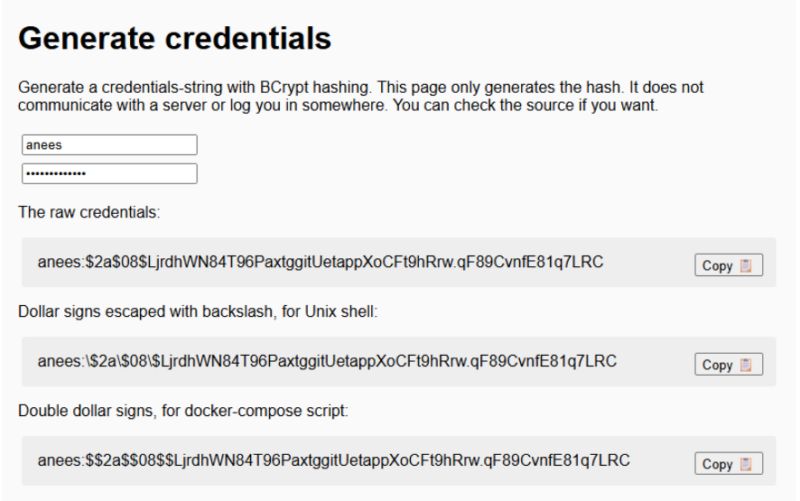
Once generated, copy the hash and replace the test:$$… portion in your “docker-compose.yml” file with your own username and hashed password. Note that in Docker Compose, you must double every $ in the hash ($$) to prevent Docker from interpreting it as a variable.
For example, if your username is anees and the generated hash is $2a$…, the line in your file should be TIMETAGGER_CREDENTIALS=anees:$$2a$$….
After configuring the password in the “docker-compose.yml” file, run this command.
docker compose up -dIt downloads the TimeTagger image, creates the container, and starts the service in the background.

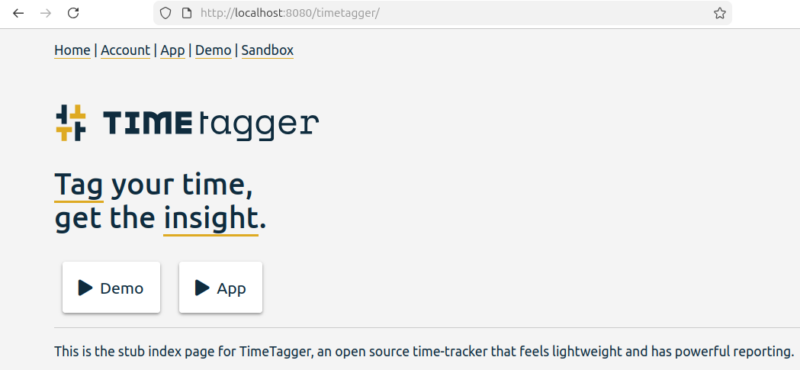
Once the container is running, open your browser and visit http://localhost:8080. If TimeTagger is hosted on another machine, replace localhost with its IP address. You’ll now see the TimeTagger dashboard.
How TimeTagger Helped Me Track My Day
What really makes TimeTagger different is its tag-based tracking. Instead of forcing you into fixed projects and task lists, it lets you track time in a more natural way. Most time-tracking tools ask you to set up clients, projects, and tasks before you can even start a timer. That setup works for large teams or strict billing workflows, but for solo work like mine, it often feels heavy and limiting.
My days don’t run in neat blocks. Writing one article typically involves research, writing, implementation, and editing together, which rarely fits neatly into rigid project structures.
TimeTagger offers a much simpler approach. When I click the Record button, I just type what I’m working on, such as “Blog post on productivity tools #writing #clientA #research”. Anything with a “#” instantly becomes a tag. There’s no setup and no planning ahead.
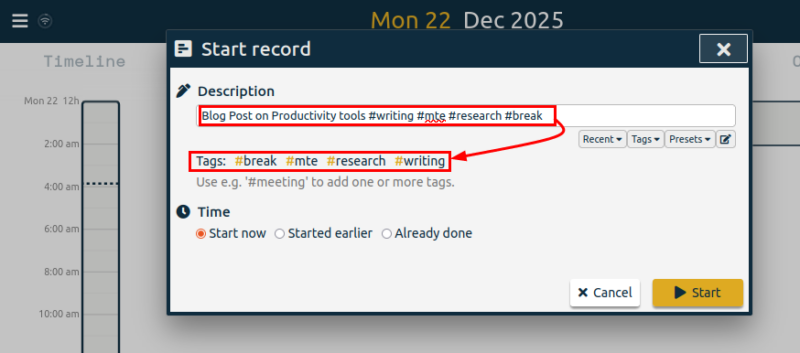
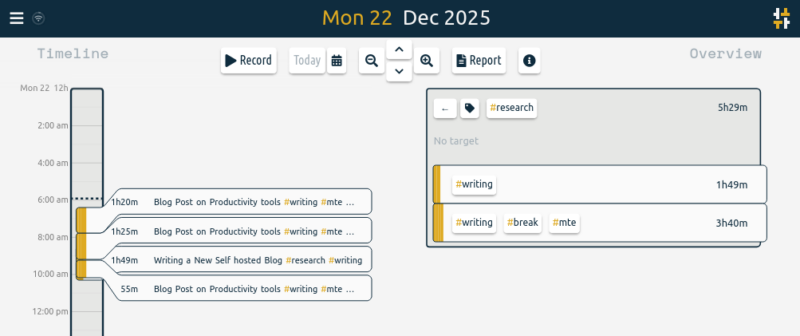
A single time entry can belong to multiple categories at once. For example, one session might include #writing, #mte, and #break. TimeTagger automatically reflects this in the overview, without any extra effort from me. The timeline shows my day in clear, color-coded blocks, and I can easily adjust entries later if I forget to stop a timer.
I no longer have to waste time to decide which project an activity belongs to. Tags let me work naturally and see clear patterns.
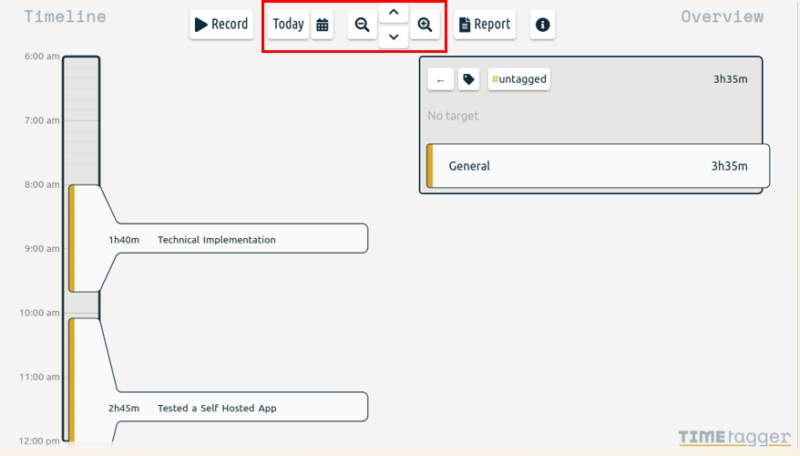
Navigation is another area where TimeTagger excels. Features like the Today button, calendar selector, and zoom controls make it effortless to focus on details or step back for the full picture. This smooth navigation saves me time and keeps me from feeling lost when reviewing my day.
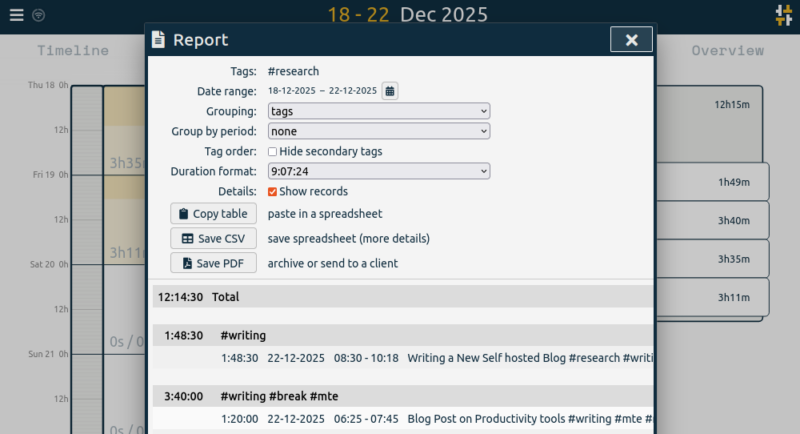
When I need deeper insights, the Reports feature comes in handy. It uses the same tags I track throughout the day, so the insights are accurate and relevant. I can review daily or weekly trends, filter by specific tags, and see exactly where my time goes. These reports have helped me spot hidden patterns, like over-researching or underestimating breaks, and make small adjustments that improve my overall productivity.
Even finding help feels effortless. The Info button opens clear guides with screenshots, letting me resolve questions in seconds without disrupting my workflow.
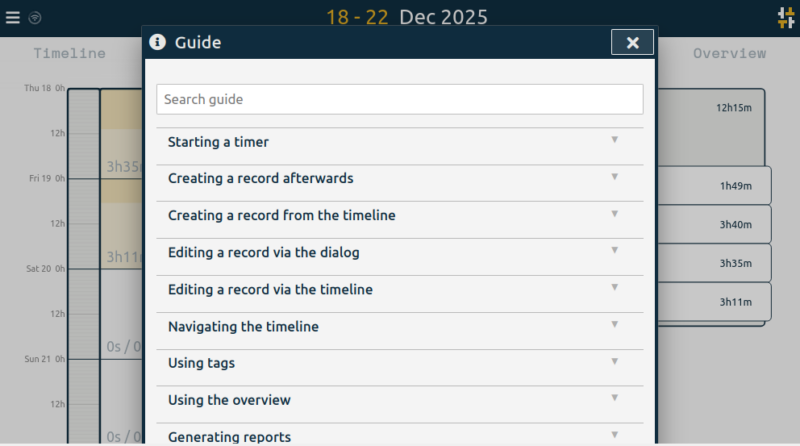
This instant support reinforces TimeTagger’s “keep it simple” approach and ensures I stay focused on work rather than troubleshooting the tool.
Wrapping Up
Overall, TimeTagger makes time tracking simple, practical, and stress-free. Its tag-based system fits naturally into real workdays and gives insights that actually improve productivity.
However, it’s designed for individual use and doesn’t support team collaboration, client management, invoicing, or advanced projects. There’s also no native mobile app, so agencies or heavy billing workflows might find it limiting.
Despite these minor drawbacks, TimeTagger remains a simple, effective, and privacy-focused tool that has genuinely helped me stay on top of my work. If you want to explore more ways to boost productivity, check out this list of useful Time-Tracking Tools.