
Being unable to install or update a program due to low storage can be frustrating, but you can’t always immediately delete data to free up space. However, you can temporarily free up space in Windows by sacrificing some non-mandatory functions until you can delete or move data. This guide lists methods to free up space in emergencies without deleting any important data.
1. Disable Reserved Storage
By default, Windows reserves some storage (minimum 7GB) to ensure it can smoothly download updates (main purpose), store temporary files, and system cache. While crucial for smoother updates, it isn’t needed when you aren’t actively updating the system. You can temporarily disable it to gain huge space and activate it later when you need to update Windows.
Open the Command Prompt as administrator and run the following command:
dism /Online /Set-ReservedStorageState /State:Disabled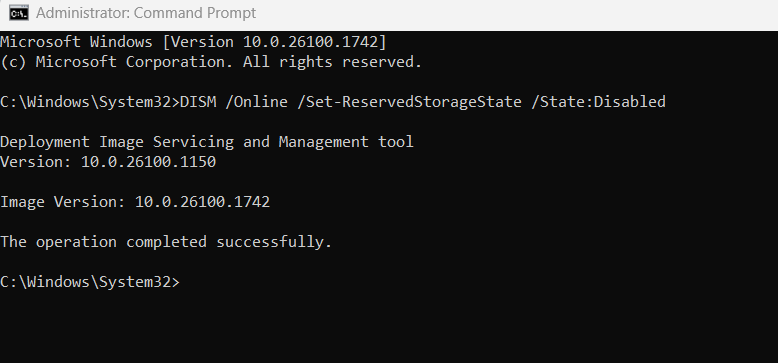
This will disable the reserved storage function, and you’ll immediately see a minimum gain of around 7GB. When you are done and have freed up space, you can enable this function with the following command:
dism /Online /Set-ReservedStorageState /State:EnabledIf a Windows update happens while reserved storage is disabled and you have consumed the freed-up space, you’ll get the “not enough disk space for Windows Update” error.
2. Turn off the Hibernation Feature
While we don’t recommend disabling the hibernation feature, it can be disabled temporarily without big drawbacks. It’s mainly needed when your PC has to hibernate after long inactivity and when the laptop shuts down due to low battery, or for the Windows Fast Startup feature. All of these functions aren’t immediately needed or affect normal PC functions. It takes storage space equivalent to about 75% of your RAM amount, which can be significant. Here’s how to disable it:
Open an elevated Command Prompt window again and enter the following command:
powercfg -h off
This will disable the hibernate feature and delete its hiberfil.sys file, but there won’t be a confirmation. You can enable it later with this command:
powercfg -h on3. Disable or Move Pagefile
For smooth functioning, Windows depends on the pagefile (virtual memory) for caching RAM contents. It’s a necessary function, but it can be manipulated to free up space under the right circumstances. If you have enough RAM (like 16GB+) to handle your common tasks, you can disable the pagefile without any big problems. It might still cause some issues with specific apps, but nothing serious.
If you don’t have sufficient RAM or you don’t want to risk PC stability, you can instead move the pagefile to a different drive to free up space. Here are guides to disable/enable the pagefile and change the pagefile location.
Make sure you enable the pagefile later, even if you have sufficient RAM, as disabling it can cause minor issues sometimes.
4. Enable CompactOS
CompactOS is a Windows function that compresses operating system files so Windows has a lower footprint on the drive. You can easily free up 5-10 GB of space with this method. However, it adds slight CPU overhead as it decompresses, which can slightly slow down things when system files are accessed. In most cases, the impact is minimal and limited to specific functions, like a slightly slower boot time.
Open an elevated Command Prompt window and enter the following command:
compact.exe /compactos:always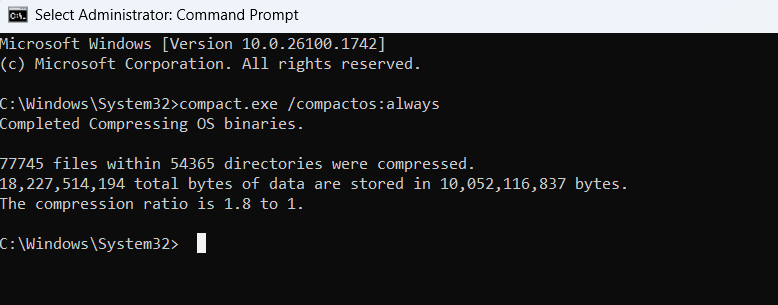
Windows will take some time to compress the system files and then show the total data space and how much it’s taking after compression. In our case, we freed up about 8 GB of space. You can decompress the OS again with the following command:
compact.exe /compactos:never5. Use NTFS Compression
NTFS compression can compress any data on your drive to free up space. Similar to CompactOS, it also adds a bit of CPU overhead when you access a compressed file. However, unlike CompactOS, it applies directly to your data, so the slight delay when launching a file/program will always appear (often negligible).
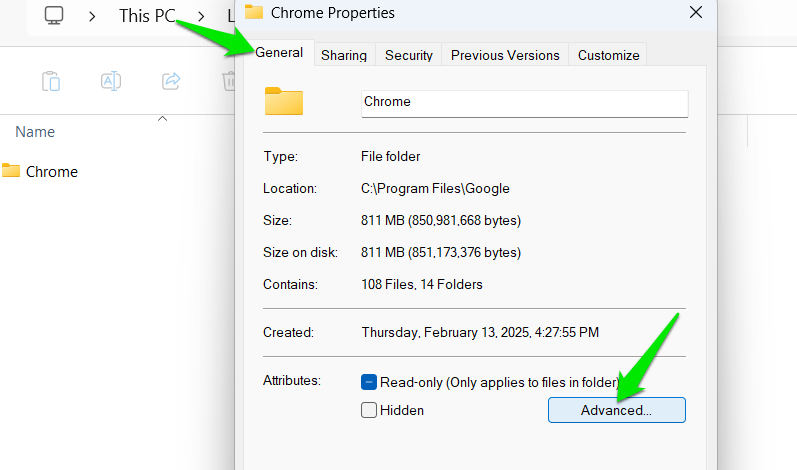
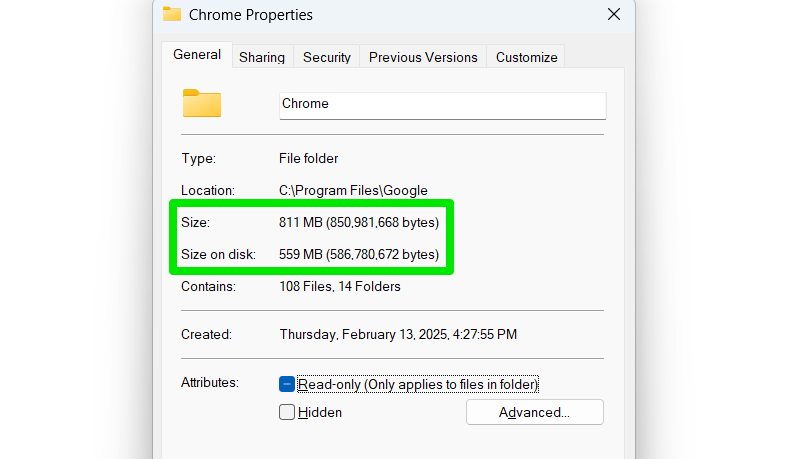
While you can compress the whole drive, we recommend you compress large programs/folders that you don’t need immediately. To do so, right-click on the folder (you can select multiple as well) and select Properties. Here, under the General tab, click on Advanced.
Now, enable the Compress contents to save disk space option, click on OK, and then Apply. Make sure you select the option to apply changes to the folder and subfolders.
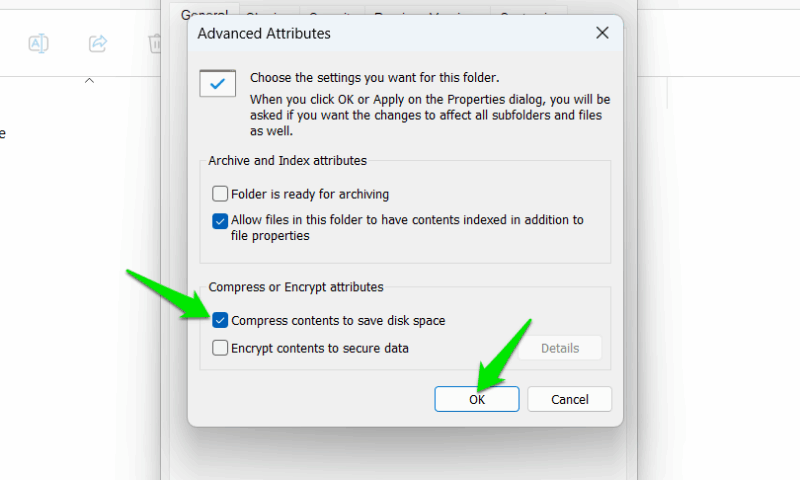
The gained space can be significant, but mainly depends on the type of files, like text files are compressed better. In our case, we compressed the Chrome browser, and it went from 811 MB to 559 MB. That’s a nearly 31% decrease in total size. You can undo the changes by disabling the Compress contents to save disk space option.
Among these methods, compressing the full drive will free up most space, but it can take quite some time. Disabling hibernation or reserved storage will be the fastest way to free up space. You might also be interested in these other ways to permanently free up space without deleting anything.


