Windows Media Center is legacy Microsoft software used as a digital video recorder (DVR), TV display unit, and rich media player. First launched in 2002 with Windows XP Media Center Edition, it lets you watch and record live TV, organize and play music and videos, stream content like Netflix, and view slideshows. Here’s how to install and set up Windows Media Center on the latest Windows versions.
Downloading Windows Media Center for Windows 11
Currently, Windows Media Center (WMC) is not available for direct download in Windows 11. It was officially discontinued from Windows 10 onward. However, the fans of this legacy software have resurrected the defunct Media Center. Of course, you’ll need to download a third-party package, extract and run it.
You can find various Windows Media Center (WMC) packages online. One option is a clean MSI file installer available on GitHub, which didn’t trigger any warnings from Microsoft SmartScreen or Microsoft Defender Antivirus on my Windows 11 device. Always scan any external package with VirusTotal to ensure it’s free of hidden malware.
You may find a compressed version of the above software on a Google Drive page. In that case, you need to extract the folder and all its contents.
Setting Up Windows Media Center
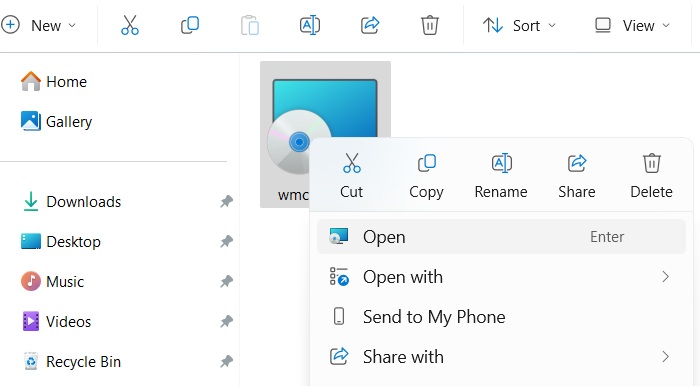
While on the surface, the WMC file has a simpler installation, there are certain dependencies which we will cover here. Open the MSI file normally.
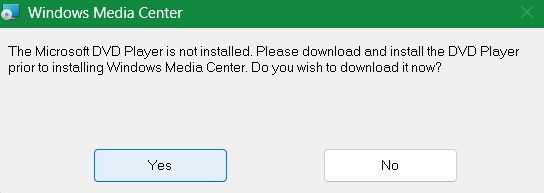
The first dependency is the Microsoft DVD player, which you will be prompted to download online. Click Yes to proceed.
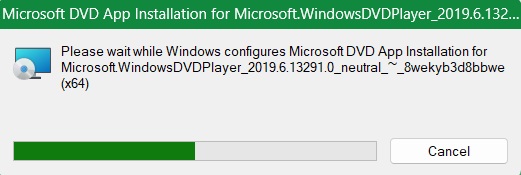
After the Microsoft DVD Player is downloaded, proceed with its installation. It doesn’t take very long and the app is named Windows DVD Player on your system.
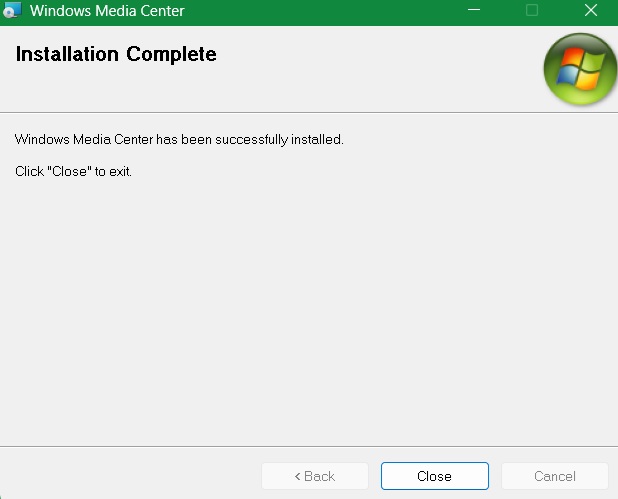
The WMC Setup Wizard comes into view. Click Next to start the installation. Proceed with the on-screen instructions till you see an Installation Complete message.
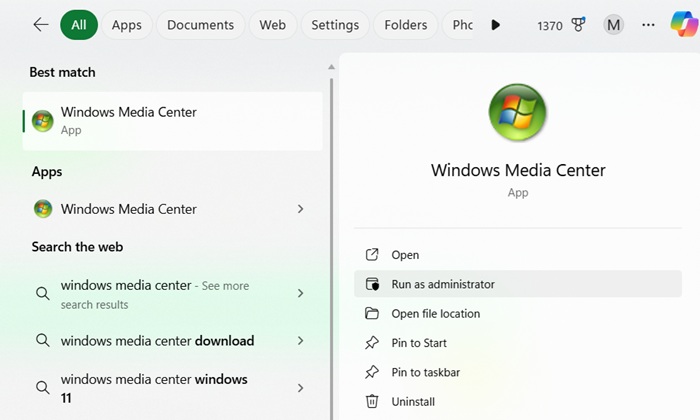
Windows Media Center should now be working on your PC, and you should be able to see it in the search bar. Always Run as administrator for some of the further settings discussed below.
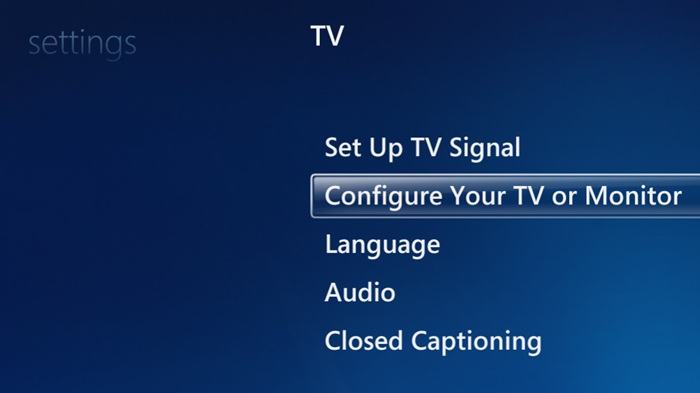
The next dependency is to configure it to be used with a TV in your vicinity. Your TV should first connect to your PC via HDMI cable or Ethernet. Go back to the WMC application. Under Tasks -> Settings, in the home screen, you’ll find an option TV -> Configure Your TV or Monitor.
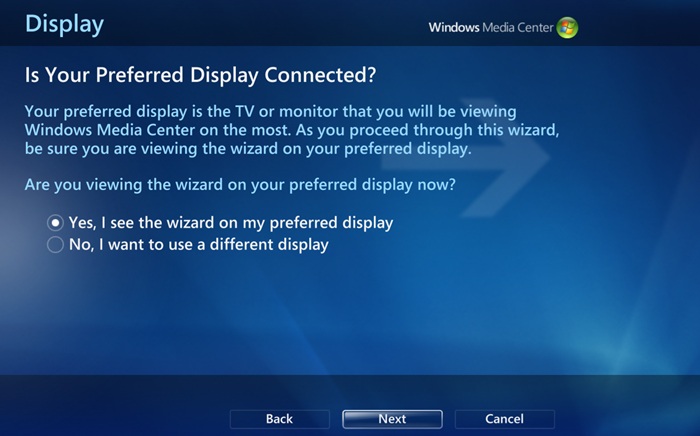
First, ensure your preferred display (TV or monitor) is connected via cable and click OK to Yes, I see the wizard on my preferred display. After that, click Next.
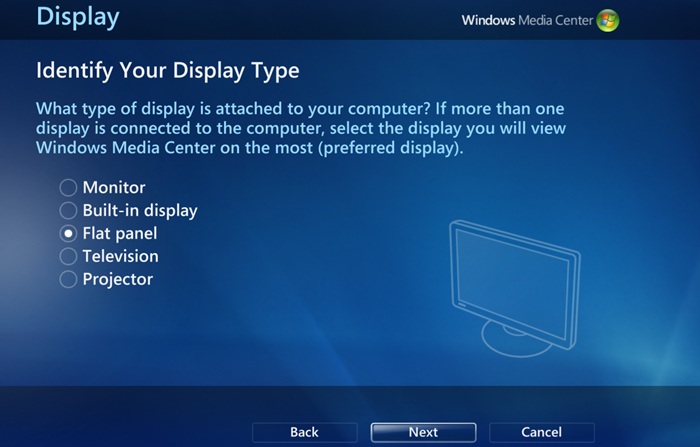
Choose the kind of display that you want to connect to. In this case, I chose a Flat Panel TV.
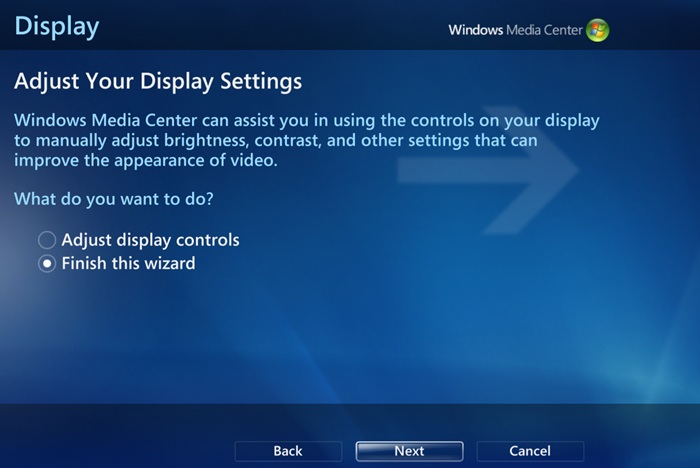
Next, you have to choose your connection type. If you’re connecting your TV or PC using HDMI cables, choose that option. Otherwise, choose the others. You can also choose the display width and resolution before clicking Finish this wizard.
Again, go back to the Settings -> Set Up TV Signal. If you see an error message, it would indicate no TV tuner is available. That would be the next setting to have.
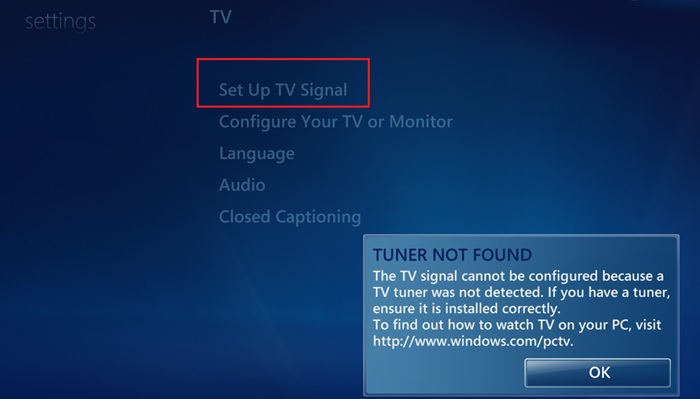
Related: are you facing a no signal problem in your TV? Here’s how to fix it.
Setting Up Live TV Tuner
Another dependency is to install a TV tuner which works with this application. Assuming you already own a TV tuner for your PC, here’s a guide based on that of one “GunnerHook” in the WMC revival community on how to install it.
First, you need to connect the HDHomeRun hardware. For that, plug the coaxial cable from an antenna or your cable provider into the HDHomeRun’s antenna/cable input. The HDHomeRun box has to be connected to your home router via Ethernet. Turn on the power cable for the HDHomeRun box.
Next, download the latest Windows software for the TV tuner software HDHomerun, then once you’ve installed it, open it and select Windows Media Center in the BDA Compatibility Mode drop-down.
The installation will happen through Microsoft Store in the background. It will check for user requirements and the download and installation will proceed normally.

Next, open the command prompt as an administrator and type the following command:
attrib -r C:\Windows\System32\Drivers\etc\hoststhen press Enter, and type this command:
notepad C:\Windows\System32\Drivers\etc\hostsIn the notepad file, replace the penultimate hash symbol with the following entry:
2.16.216.176 cdn.epg.tvdownload.microsoft.comThen on the next line, type the following if you live on the west or east coast in the US:
65.55.186.113 data.tvdownload.microsoft.comOr this if you live in the central or southern states:
65.55.5.170 data.tvdownload.microsoft.comGo back to the WMC application already set up on your system, and choose the TV tuner installation setting as shown below.

Save the above Notepad file, reboot your PC, then run Windows Media Center as admin to go through the Live TV setup process.
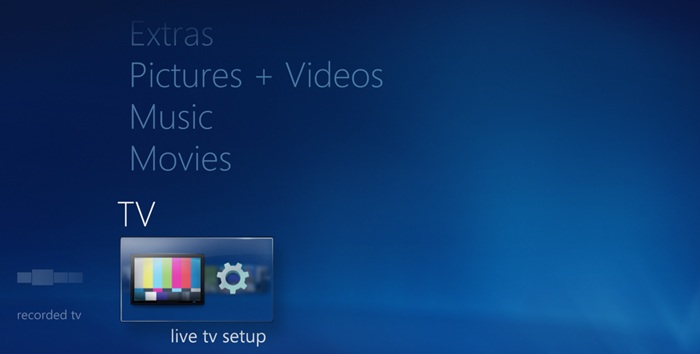
Go back to WMC’s home screen. Under TV, choose Live TV Setup and Windows Media Center should use HDHomeRun as its default TV tuner.
Also read: find out how to turn your PC into a media center with Plex.
Other Things to Do With Windows Media Center
Your Windows Media Center should now be back from the grave, alive and kicking in Windows 11. It’s not the simplest process, and the entire guide above needs to be used under the full understanding that it’s not guaranteed to work, as it’s a community-made workaround.
Once you’ve got the core software running, there are other things you can do with Windows Media Center:
- Use it a a Media Center Extender: from Tasks -> Add extender, there’s an option which allows you to watch any movies or videos on your laptop or computer on a big TV screen. You need a setup key on your TV device which has to be manually entered on WMC.
- Use it as a Pictures and video library: of course, you can use WMC to browse your entire PC’s collection of videos and photos. The slideshows and albums are more organized than what you’d get with the default Photos application.
WMC has a lot of hardware dependence to function as a proper DVR tool. It is far more common to use a Kodi device which is easy to set up on PC, or you can use one of its alternatives.


