Your iPhone can do more than just ring, it can announce who’s calling with style too. Thanks to Contact Posters, every incoming call can come with a bold, custom visual. Here’s how you can start designing posters for yourself and your contacts.
Good to know: here are the best ways to transfer contacts from Android to iPhone.
What Are Contact Posters and How Do They Work
The ability to create Contact Posters is available in iOS 17 and up, so make sure your iPhone is running a newer iOS version before you proceed.
Contact Posters are customizable contact cards that can display a full photo of you (or your contact) or a Memoji, and can be styled with different designs and effects for maximum impact.
When you create a Contact Poster for yourself, anyone who has you saved in their contacts and also uses an iPhone will see it when you call or text them. This replaces the default small caller ID notification with a full-screen visual. You can also create a poster for others, making it easier to identify who’s calling at a glance.
Finally, we should note that Contact Posters works with NameDrop, a feature that enables you to exchange contact information instantly by placing your iPhone near another iPhone.
Create a Contact Poster for Yourself on iPhone
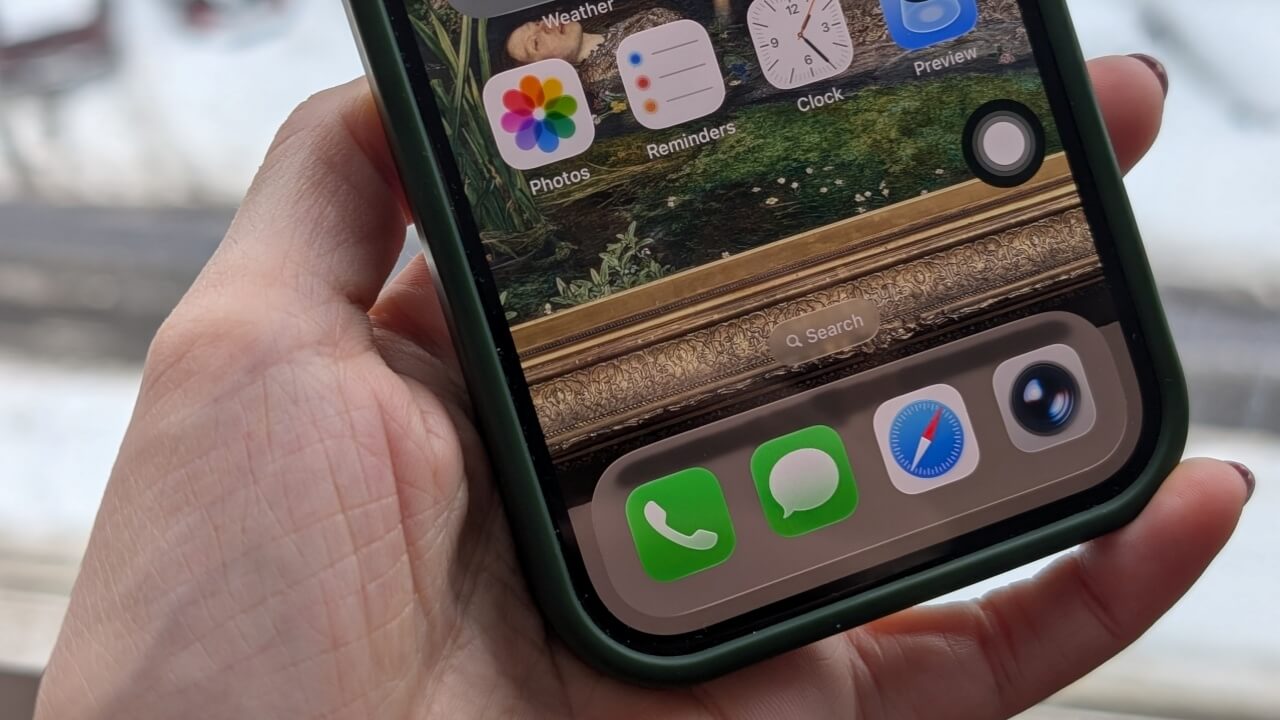
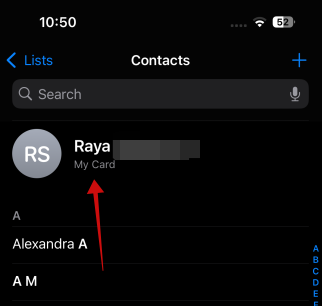
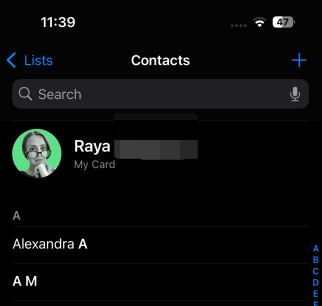
Open your Contacts app and go to All Contacts.
At the top, press on your name at the top. It says My Card underneath.
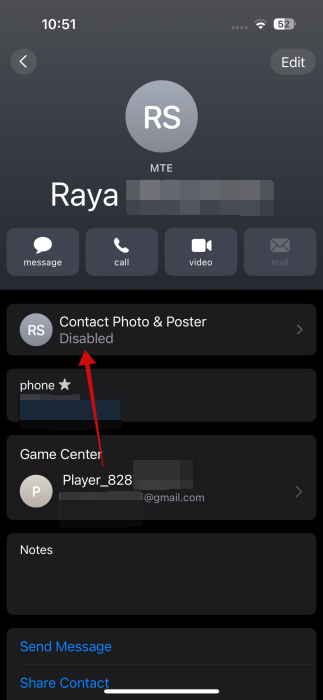
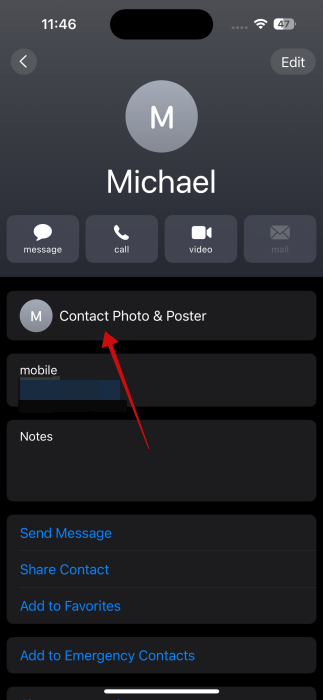
Press the Contact Photo & Poster option underneath.
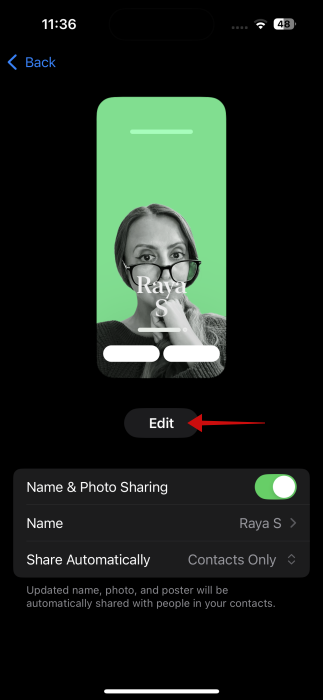
Turn on the toggle for Name & Photo Sharing. From here, you can also change the name that appears when you call someone. Make sure it says Contacts Only next to Share Automatically.
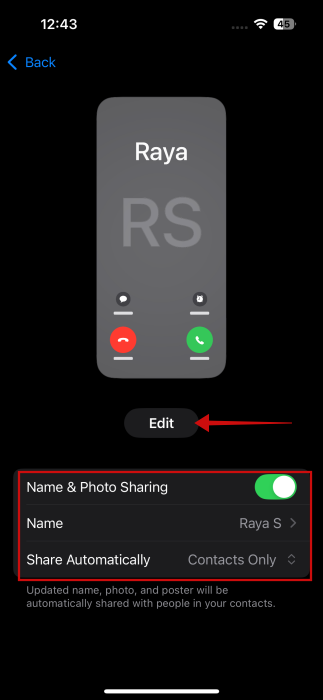
Next, press the Edit button under the changing calling screens that appear at the top.
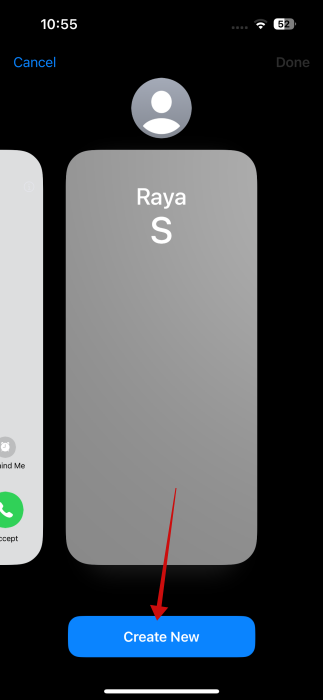
Swipe to the right until you see the Create New button appear. Tap it.
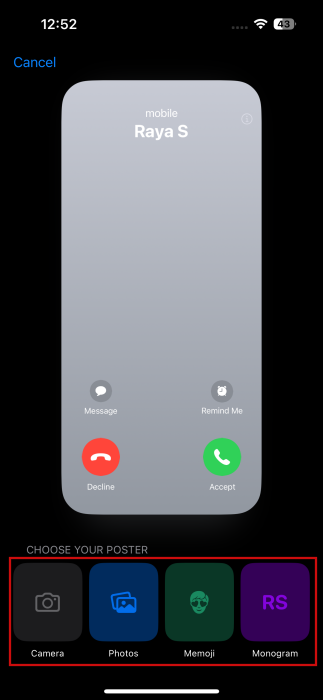
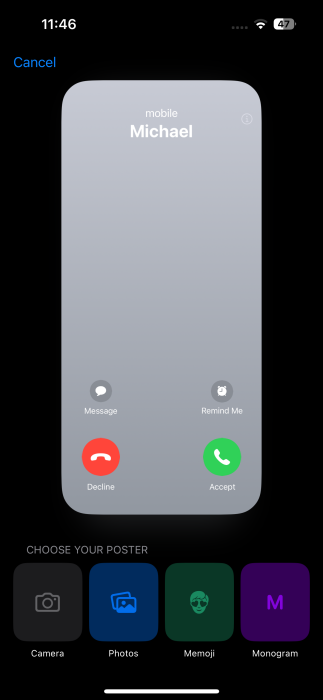
Now it’s time to choose the type of poster you want to create. You have several options. You can use your iPhone’s camera and snap a photo with it and use that. Alternatively, you can use an image from your gallery. Your iPhone will suggest some of the top selfies from your gallery. You can also browse all your photos if you want.
In this example, we’re creating a Contact Poster using a selfie uploaded from our own gallery. Once the image is added, you can pinch to zoom in crop the image according to your preference.
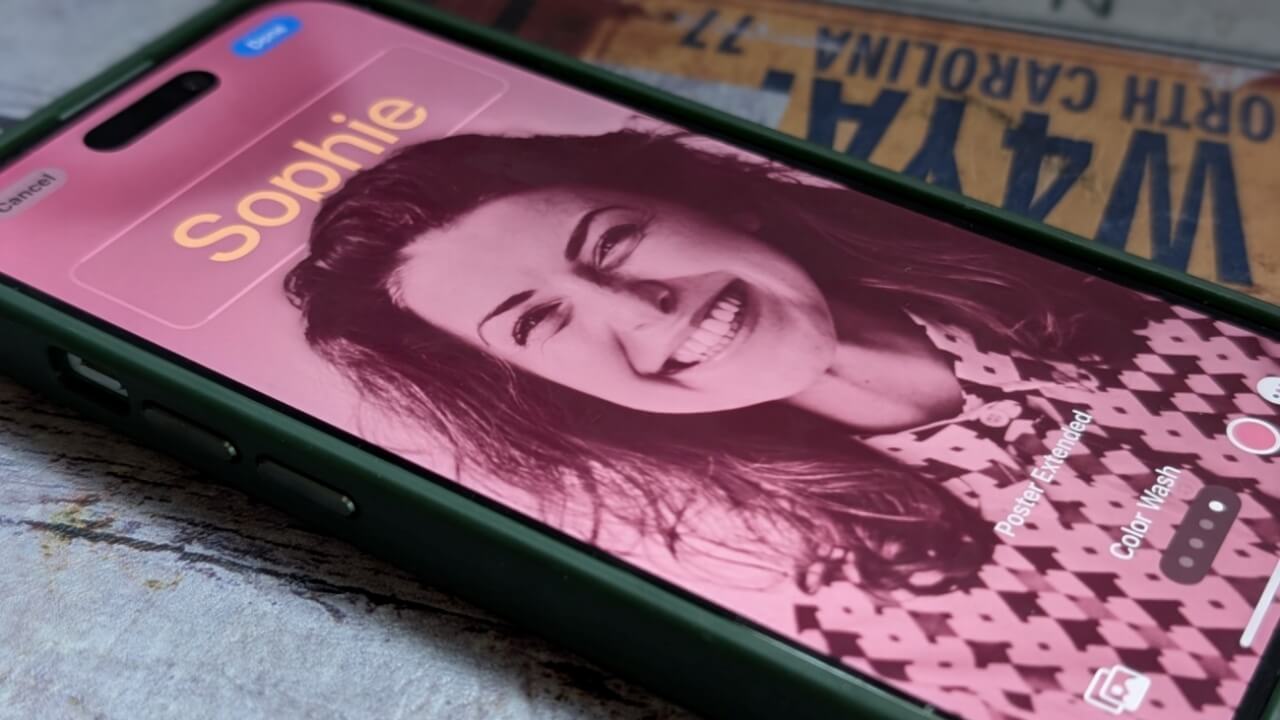
Next, swipe to the right to browse the filter effects.
For some, you can tweak the background color if you want.
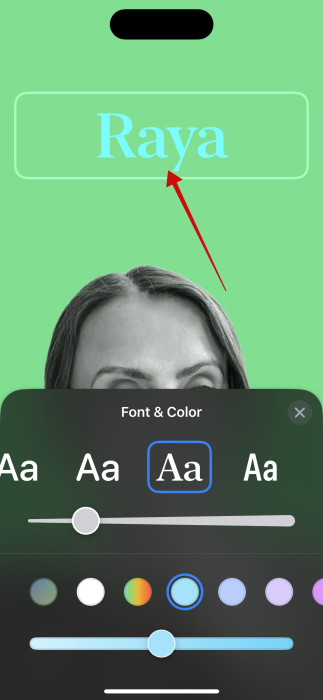
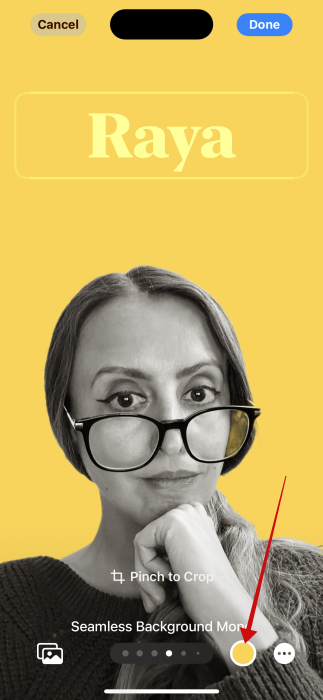
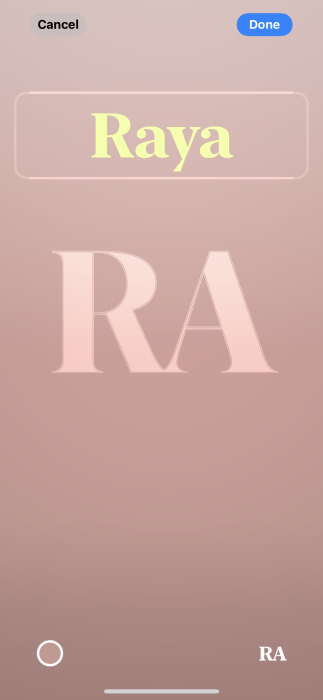
You can continue to customize your poster by pressing on your name at the top to bring up font suggestions and color options.
For some images, you can also add a Depth Effect by pressing the three-dot icon in the lower right corner.

Note: try disabling the Extent Poster option and then activating it again, if you want your shape cutout to appear over the name layer instead of in the background of it.
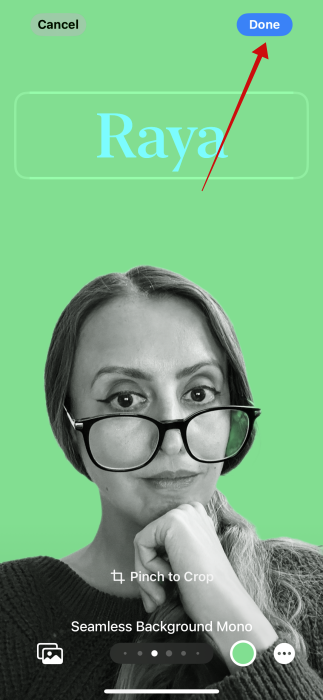
Once the poster is ready, press Done.
On the next screen, tap on Continue.
Crop your contact photo and add more filters if you want to. Then tap Continue.

Your new poster will show up on your card.
If you wish to create another poster, it’s possible. Just press the Edit button again and create another one. However, you will be able to use just one at a time. Press the Create New button once more to begin.
Now, when you go back to the Contacts screen, your Contact Poster will be visible at the top.
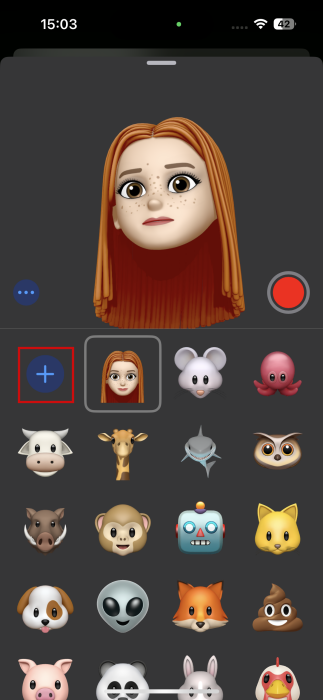
Alternatively, you have the option to create a poster using Memoji. To create your first Memoji, open the Messages app and tap on the + button on the right of the message box. Select Memoji from there. Swipe up from the bottom and press the + button again to start creating a Memoji. There’s also a library of pre-made Memoji to explore.
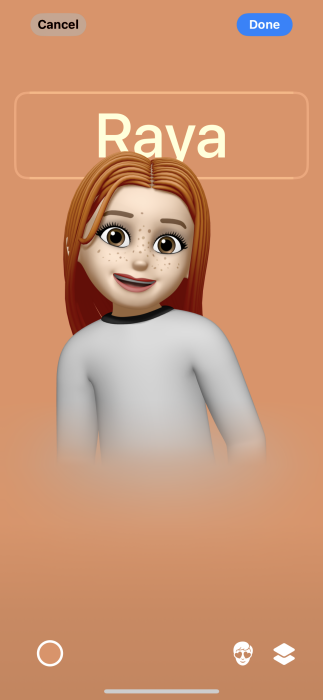
You can then opt to use one of the already created Memoji for your Contact Poster. You can customize the background and name font.
The last option to create your poster is the Monogram, which features the initials of your name (which you can edit). You can also change the background color.
Create a Contact Poster for Another Contact on iPhone
Want to create a contact poster for another contact? No problem. Open Contacts and tap on the name of the contact in question.
Select Contact Photo & Poster underneath.
Select your type of poster below. Continue to customize it as we showed you above.
Tip: here’s how to delete multiple contacts on your iPhone.
Edit or Delete a Contact Poster on iPhone
If you wish to edit an existing Contact Poster, navigate to the contact in question.
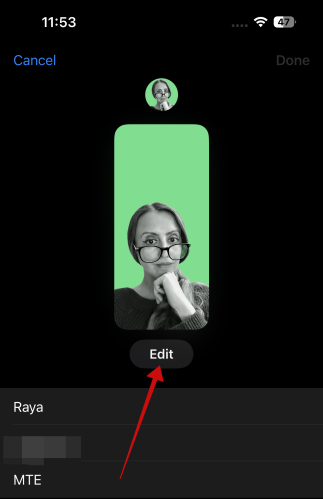
On the contact screen, press Edit.

Now, press Edit again underneath the image.
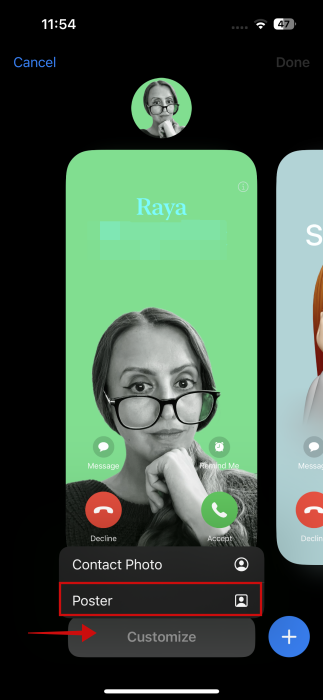
Find the poster in question for that particular contact and select Customize -> Poster.
Now you can go ahead and apply the edits. Don’t forget to save your poster again.
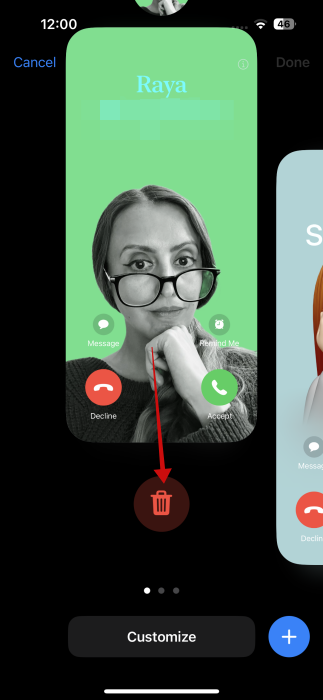
If you wish to delete the poster completely, then on the same screen where all your posters are featured, swipe up on the poster you wish to remove. Press the trash can icon to get rid of it.
In case you want to learn more about managing your contacts on your device, check this post that shows you how to share contacts on iPhone. Alternatively, check how to change default account for contacts on iPhone.