Immich is an open-source photo and video management tool you can host on your own server. It enables you to back up, organize, and browse your media independently of third-party services. Immich focuses on privacy and combines AI-powered features with a clean interface to make managing your photos and videos simple and efficient. Here, we’ll guide you through self-hosting your media using Immich.
Immich: A Self-Hosted Alternative to Google Photos
Immich provides many core features similar to Google Photos, but allows you to store everything on your own server instead of the cloud. You can upload photos from your mobile device, organize them into albums, and access them remotely. These features make Immich a strong, privacy-focused substitute for Google Photos.
Installing Immich
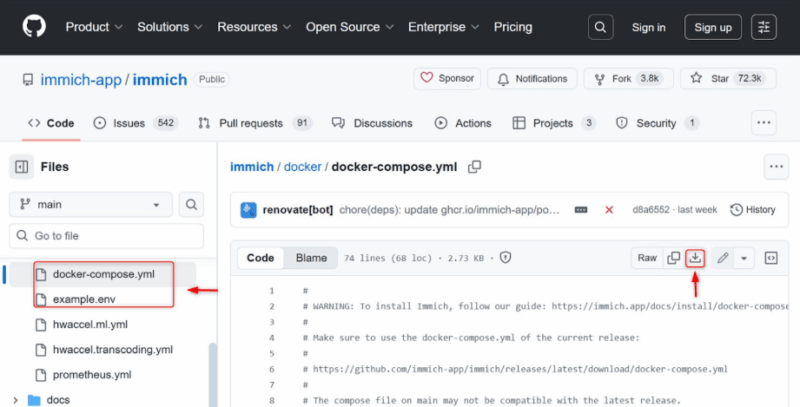
Visit Immich’s official GitHub repository and download the necessary files, including “example.env” and “docker-compose.yml”. These files are essential for running Immich on your server:
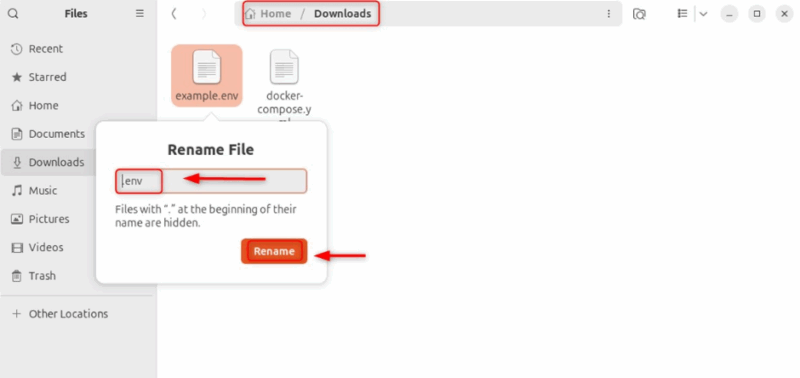
Rename the downloaded “example.env” file to “.env”. Immich’s Docker setup requires the file to be named “.env” to load the correct configuration settings:
Open your terminal or command prompt and navigate to the folder containing the “.env” and “docker-compose.yml” files:
cd DownloadsRun the following command to start the Immich server:
docker compose up -d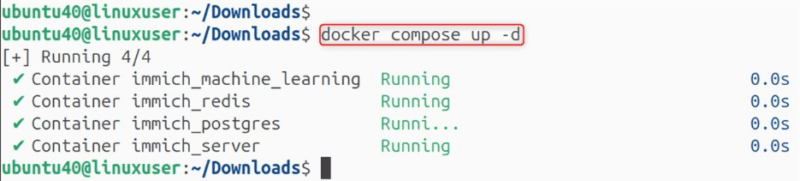
Accessing Immich
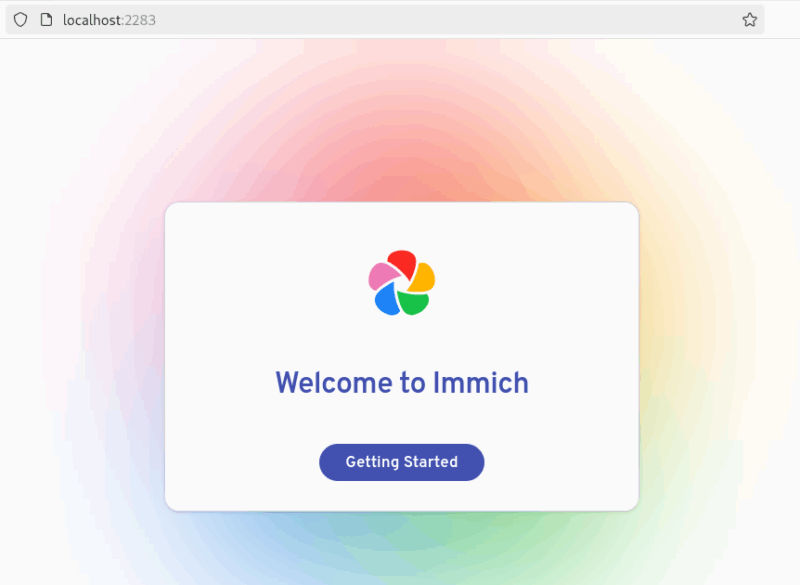
Open your web browser and go to http://localhost:2283 to access Immich’s web interface:
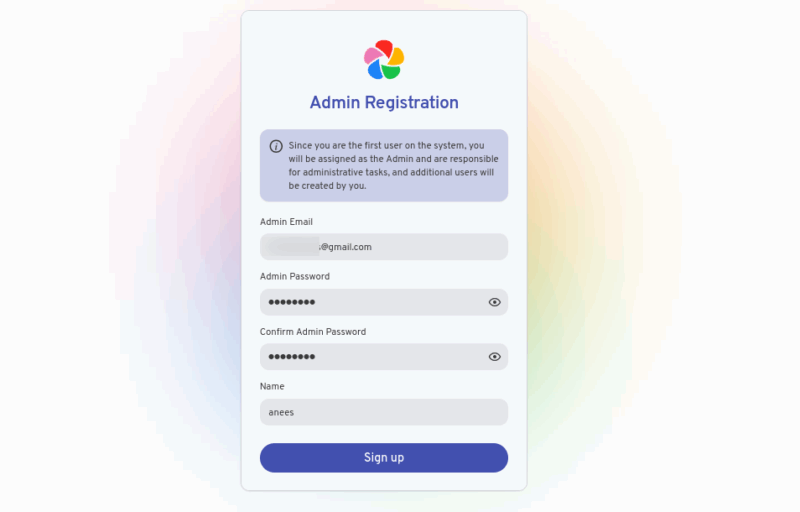
Create a new Immich account by clicking Sign Up and entering your admin/user email, password, and name:
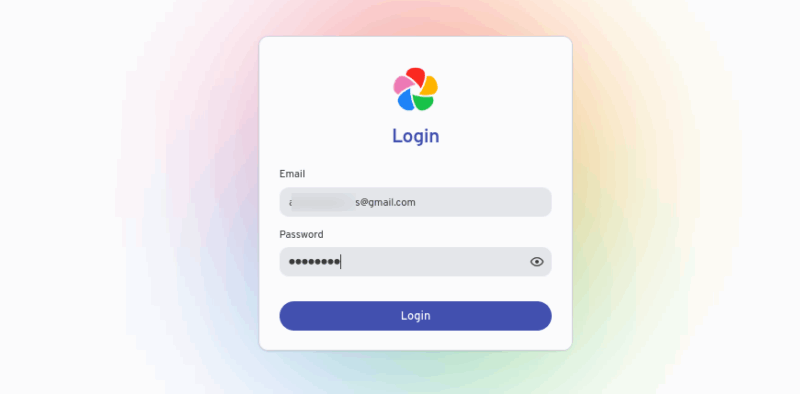
Log in with your credentials to enter the Immich dashboard:
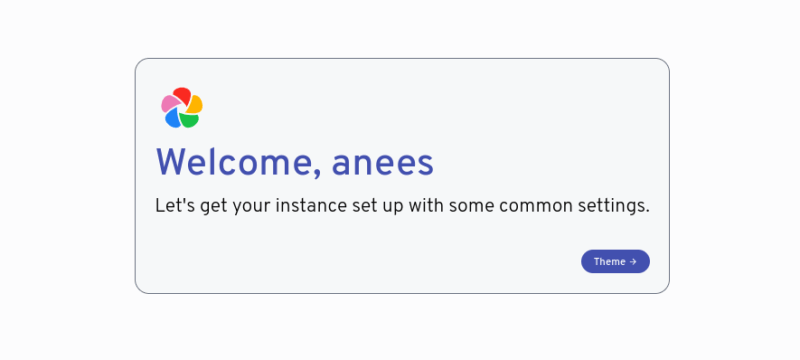
Complete the Initial Setup
Complete the initial setup by following the setup wizard titled “Let’s get your instance set up with some common settings”:
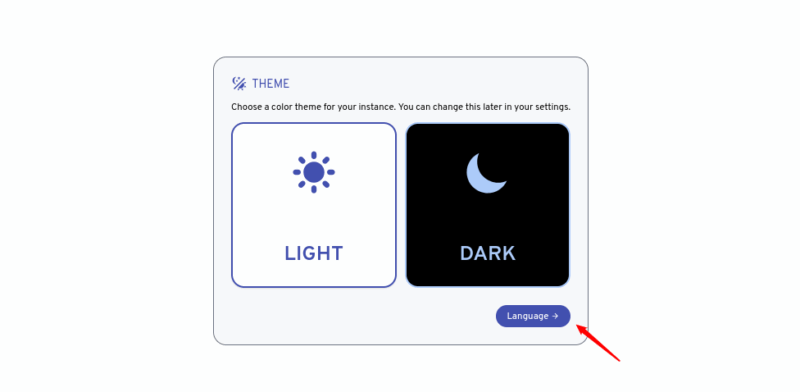
During this process, choose your preferred theme, either light or dark:
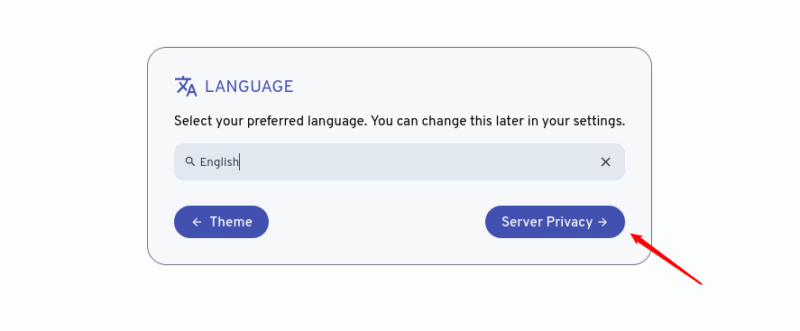
Then select your preferred language for Immich:
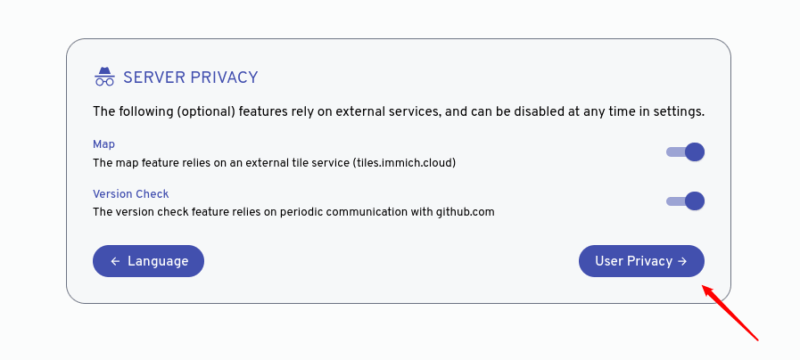
Configure the server privacy settings to control who can access your media:
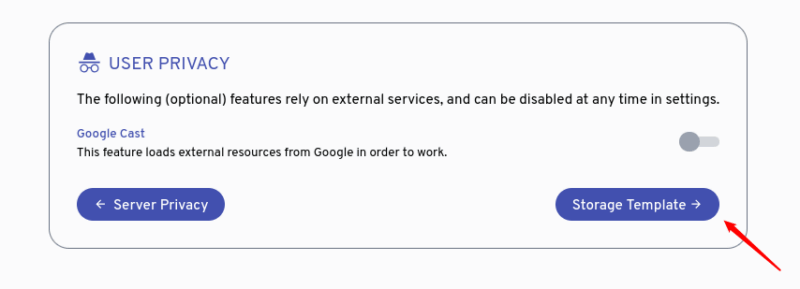
Set user privacy preferences according to your needs:
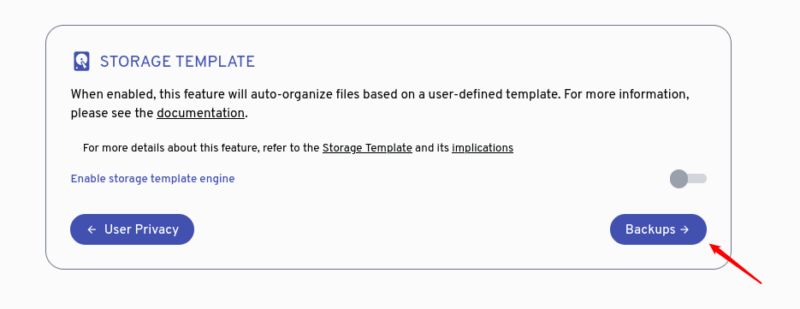
After this, you can enable or leave the storage template engine setting as it is:
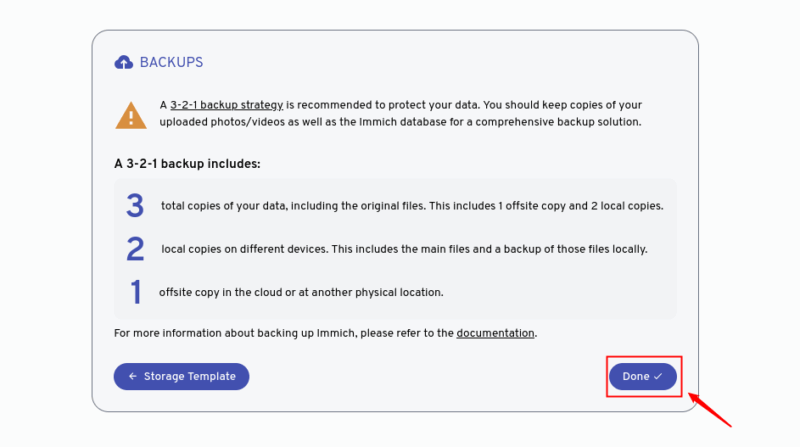
Finally, set up automatic backups to ensure your data is protected:
Manage Your Media with Immich
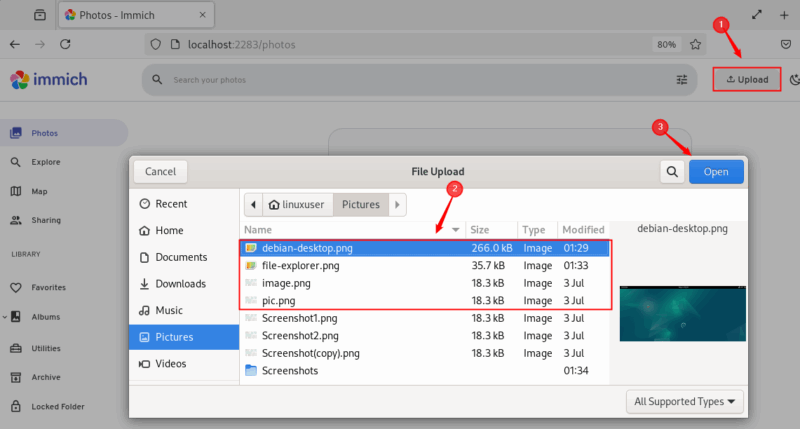
You can drag and drop photos and videos directly into the Immich web app, or click the Upload button to select files from your computer:
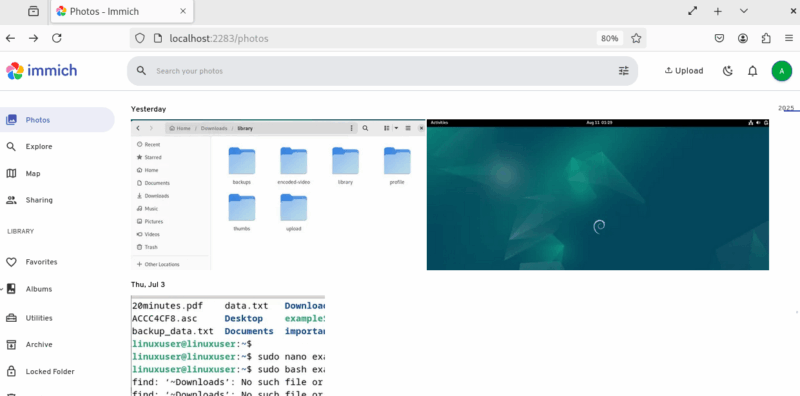
Refresh the Photos tab to ensure your media files have uploaded successfully:
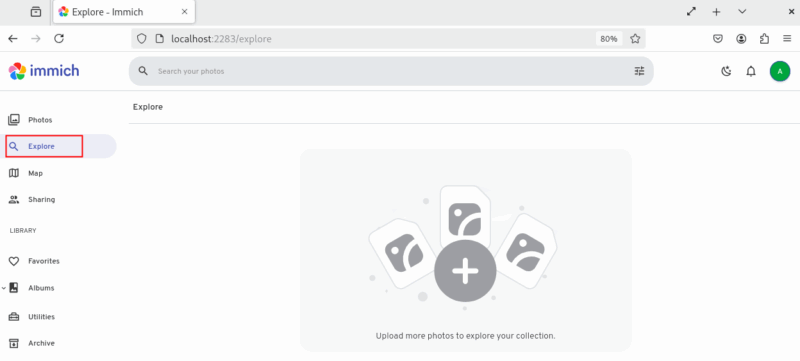
Now, you can navigate to the Explore tab to browse your media collection:
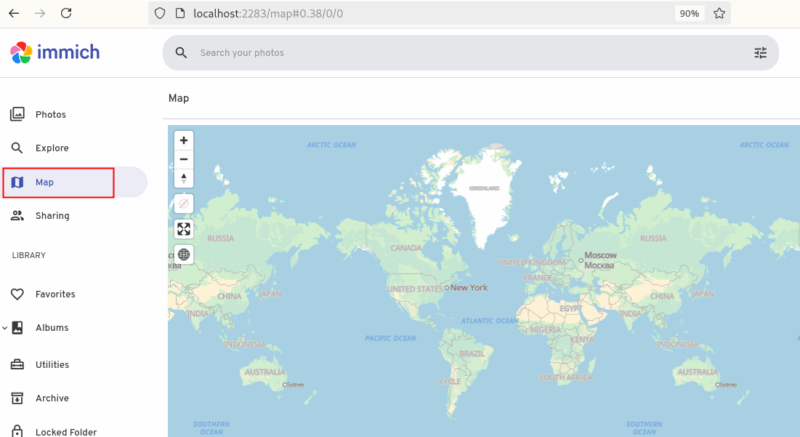
Access the Map tab to view photos organized by location based on embedded GPS data:
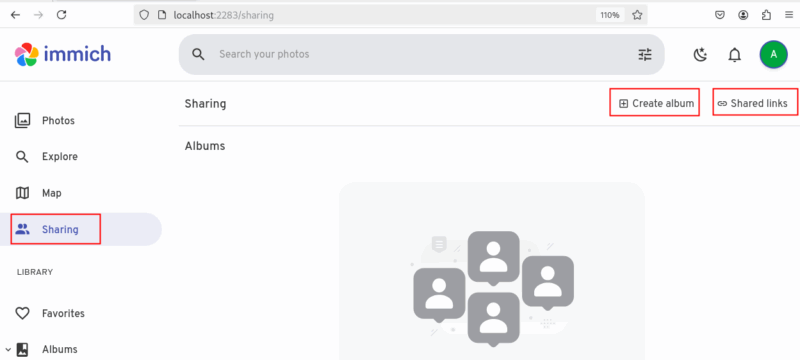
You can organize and share your media by creating albums and grouping photos in the Sharing section. Moreover, you can generate shared links to send specific media externally without giving full access to your library:
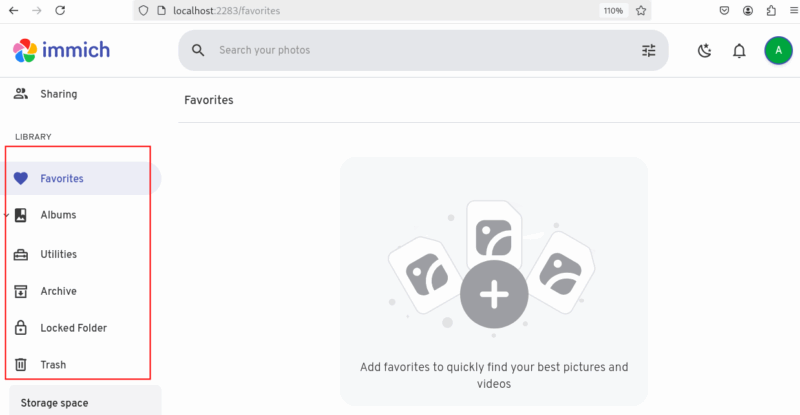
Apart from this, you can use the Library to manage your favorites, albums, archives, locked folders for private media, and the trash, keeping everything well organized and easy to access:
Personalize and Manage Your Account
You can toggle between light and dark themes anytime for comfortable viewing:
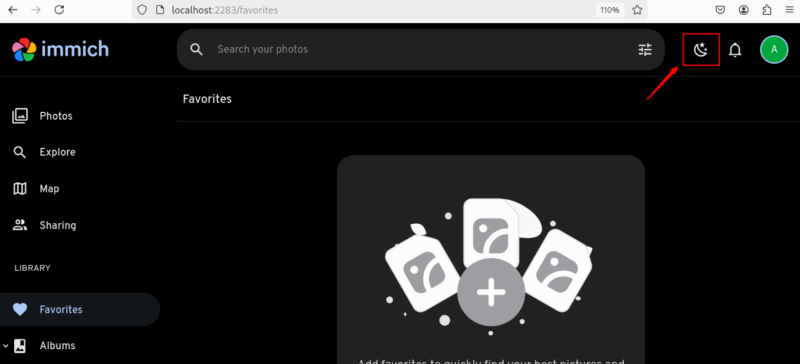
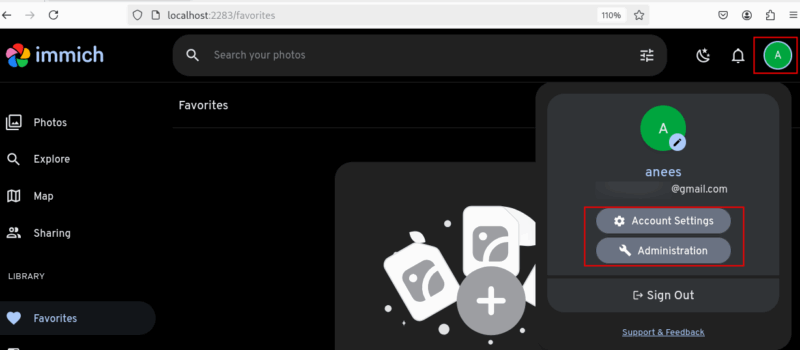
Also, you can click on your profile icon to access account settings, manage your profile, and perform administrative tasks:
Using Immich on Mobile Devices
Immich offers mobile apps for both Android and iOS, which allow you to manage and back up your photos and videos directly from your smartphone or tablet. For this purpose, visit the Google Play Store if you use Android, or the Apple App Store if you use iOS. Search for Immich and download the official app.

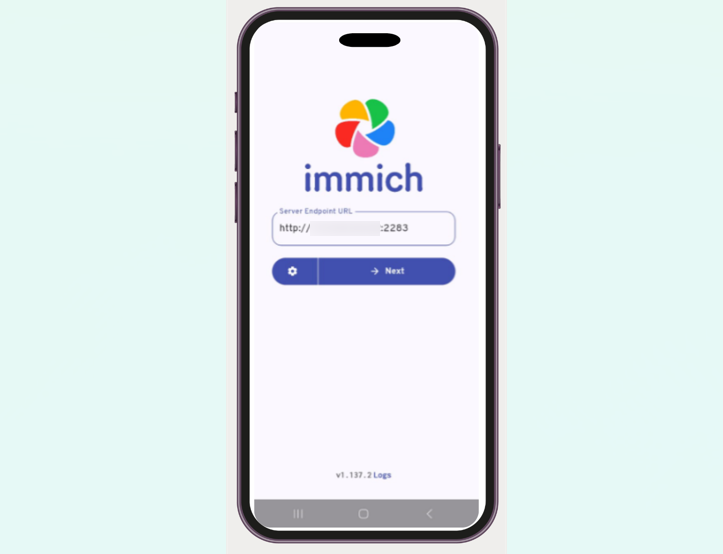
After installing the app, open it and enter the address of your Immich server. This will usually be the IP address or domain name followed by the port number (e.g., http://your-server-ip:2283):
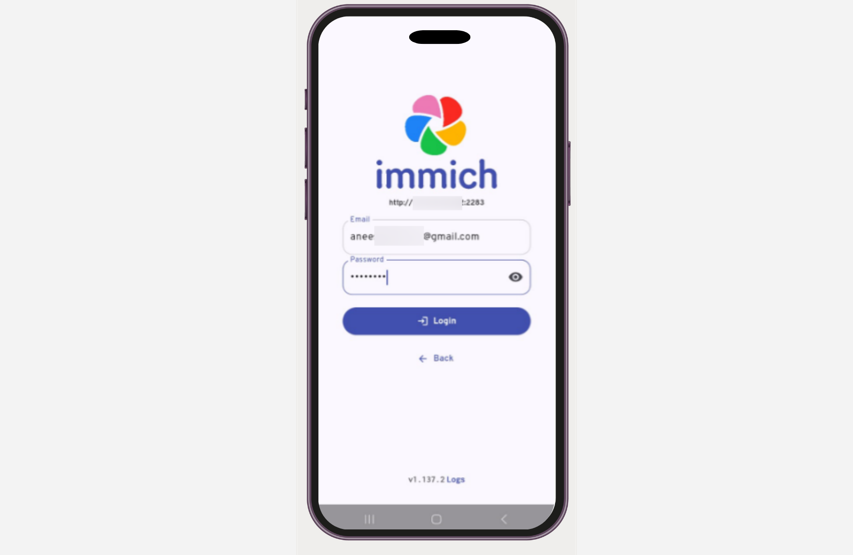
Now, it will ask you to enter the username and password you created during the web setup to log in. As a result, your mobile device will be linked to your self-hosted Immich instance.
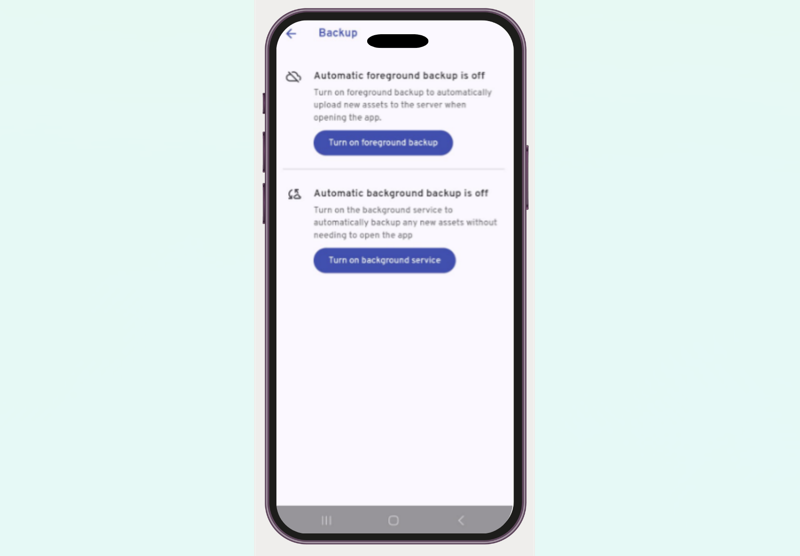
After that, go to the app’s settings and enable Auto-Upload to automatically back up new photos and videos from your device to your Immich server. You can choose between two upload modes: Foreground Upload and Background Upload.
Use Foreground Upload to upload only when the app is open and active. However, if you want uploads to continue even when the app is running in the background or closed, select the Background Upload option:
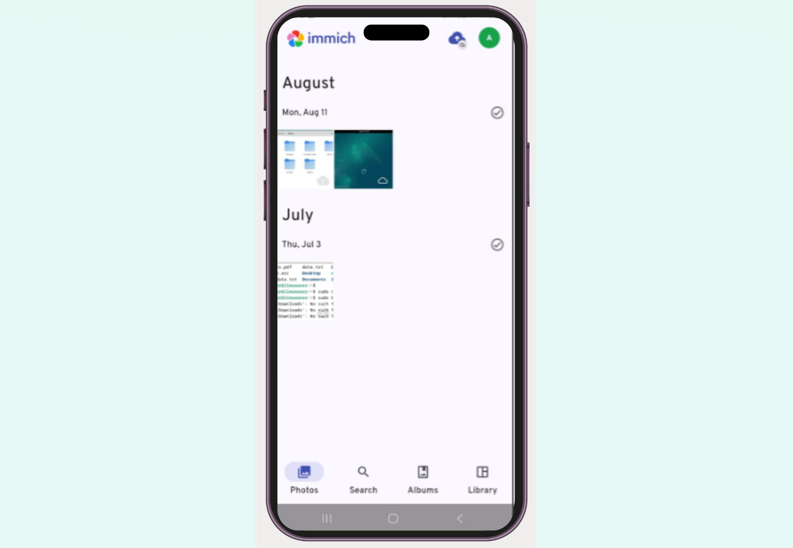
Finally, you can use the mobile app to browse and search your entire media library on your Immich server, view photos by albums, dates, or locations, share photos or albums via shared links, and manage favorites or delete unwanted photos directly from your phone:
Wrapping Up
Self-hosting Immich might feel a bit challenging at the start and takes some setup effort. But once you have it running, the control, privacy, and freedom you get over your photos and videos are well worth it. If, however, you are not a fan of Immich, you can also check out other self-hosted Photo Management solutions you can use to replace Google Photos.