
Instead of running Python scripts manually for routine tasks, why not automate them to run on their own, and at the time you want? Windows Task Scheduler lets you schedule tasks to run automatically at specific times or intervals, why not use it to schedule Python scripts too?
Good to Know How to Run a Python Script on Mac
Schedule Python Script Directly in Task Scheduler
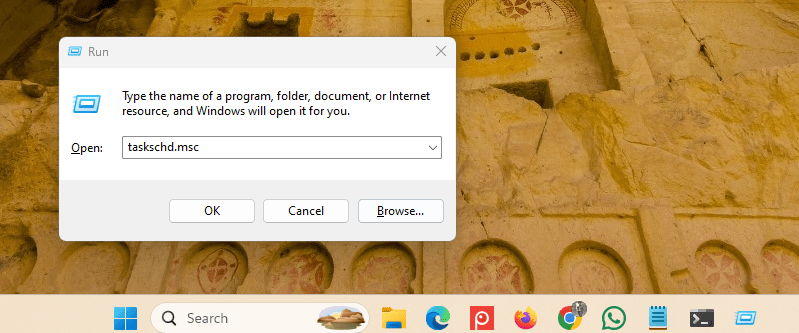
Windows Task Scheduler lets you run your Python script daily, weekly, or on a custom schedule. To do that, press Win + R, type taskschd.msc, and hit Enter to open Task Scheduler.
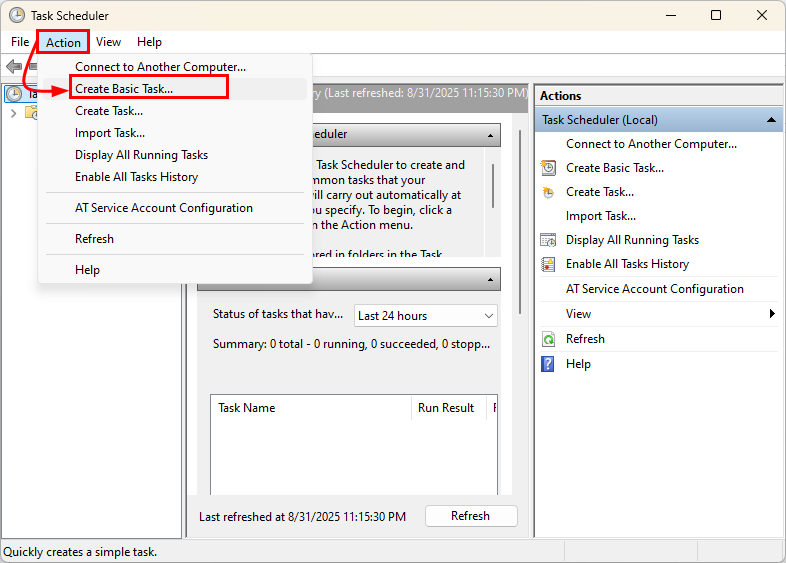
Navigate to the Actions tab, and click Create Basic Task… to create a task to schedule.
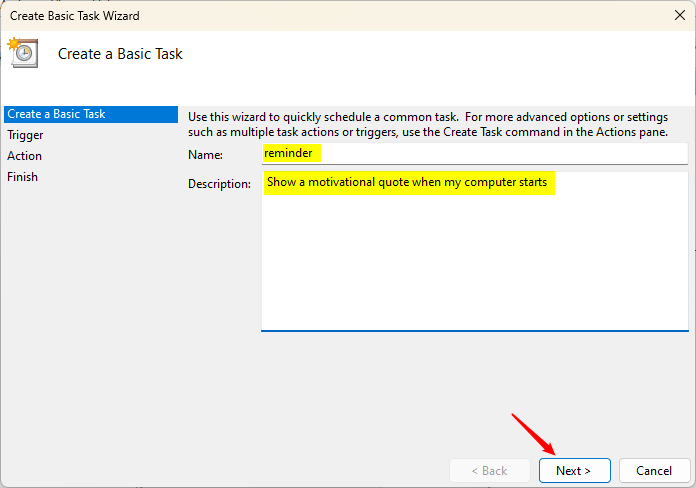
Give your task a name, provide a description, and then click Next.
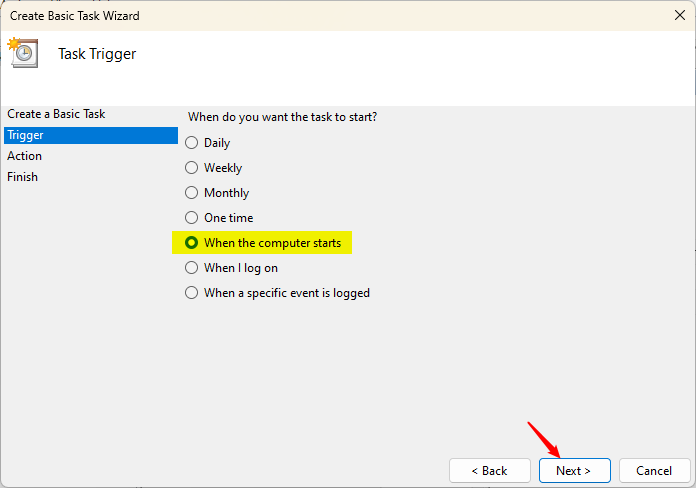
Choose when you want the task to start, such as Daily, Weekly, One time, etc., and click Next.
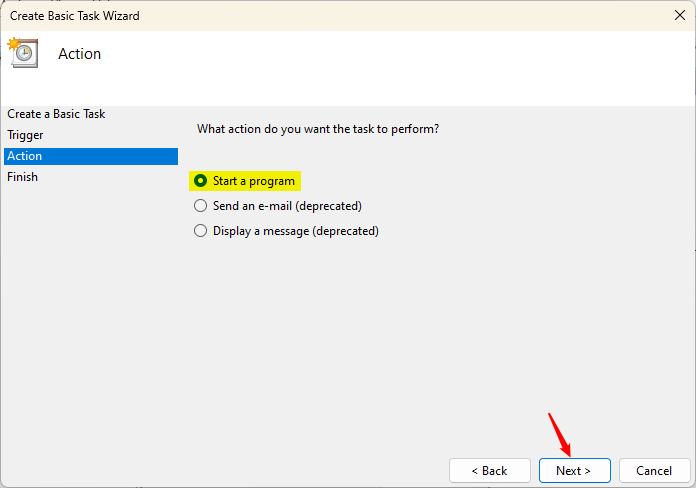
Set the start date and time (if needed) for the task and proceed. Then, under the Action section, select the action to be performed, such as Start a program, and click Next.
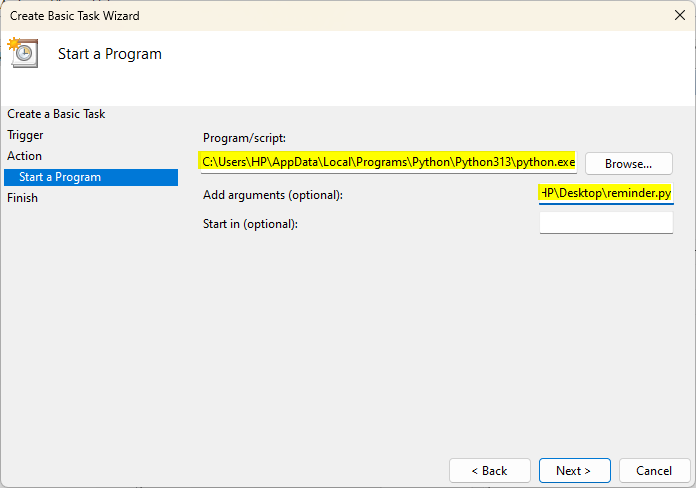
In the Program/script field, enter the path to your Python executable, and then in the Add arguments field, provide the full path to your Python script.
Click Next to review the settings and then click Finish to create the task.
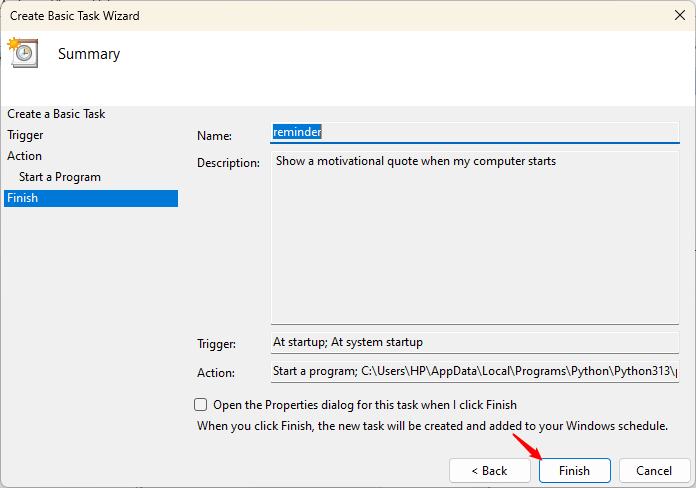
Your Python script is now scheduled to run automatically at the specified time.
Alternative Method: Schedule Python Script Using a Batch File
While you can schedule your script directly, many users prefer creating a batch file. A batch file makes it easier to run Python scripts and helps avoid issues with Python paths. To do this, open Notepad and paste the following code:
@echo off
"C:\Path\to\python.exe" "C:\Path\to\your_script.py"
pause
Replace the first path with the location of your Python executable and the second with your script’s path. The pause command prevents the batch file from closing immediately and waits for us to press a key.
If you’re unsure about Python’s location, open Command Prompt and type the following command in it to find it:
where python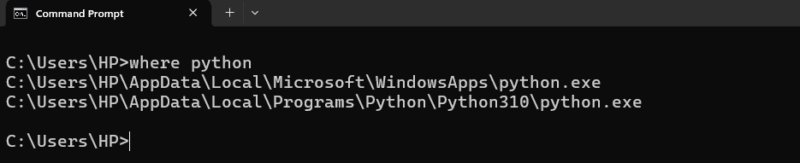
If multiple Python paths appear, you can pick any of them. Make sure to update the script path so it matches the location on your computer. Finally, save the file with a .bat extension.
After creating and saving the batch file, you can schedule it in Windows Task Scheduler.
Enable the Task to Run Automatically
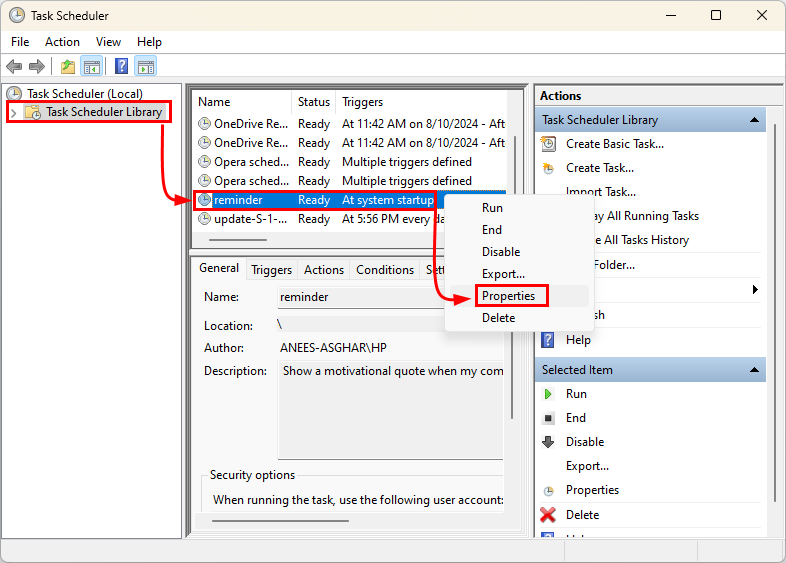
To ensure your scheduled script runs without interruptions, open Task Scheduler Library, right-click your task, and select Properties.
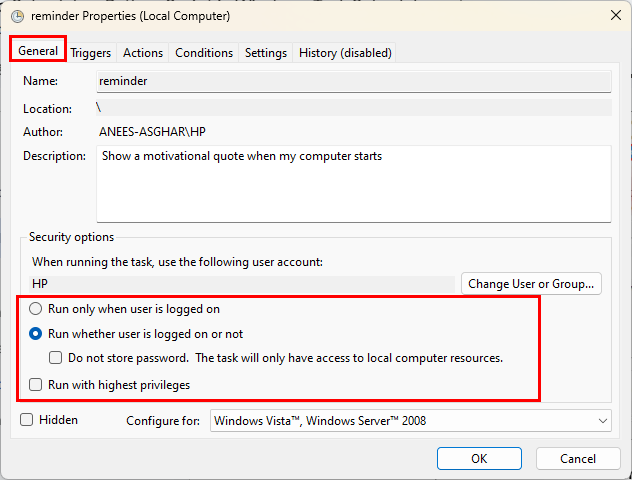
Under the General tab, select Run whether the user is logged on or not. Moreover, if your script requires administrative rights, check Run with highest privileges.
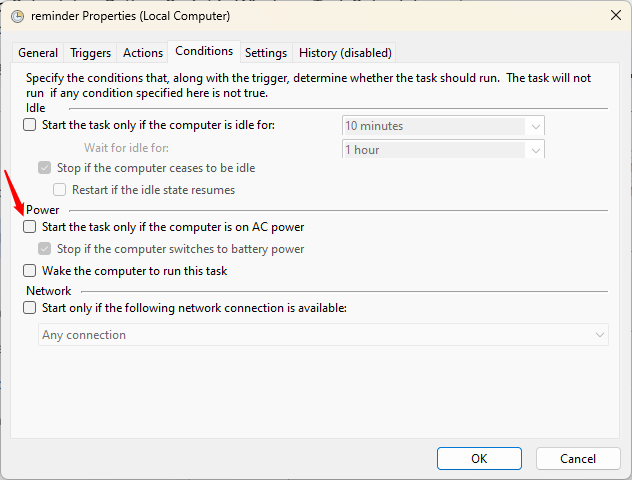
On the Conditions tab, uncheck Start the task only if the computer is on AC power if you’re using a laptop.
Finally, click OK to save the settings and make sure the task runs smoothly.
Verify Scheduled Python Script Execution
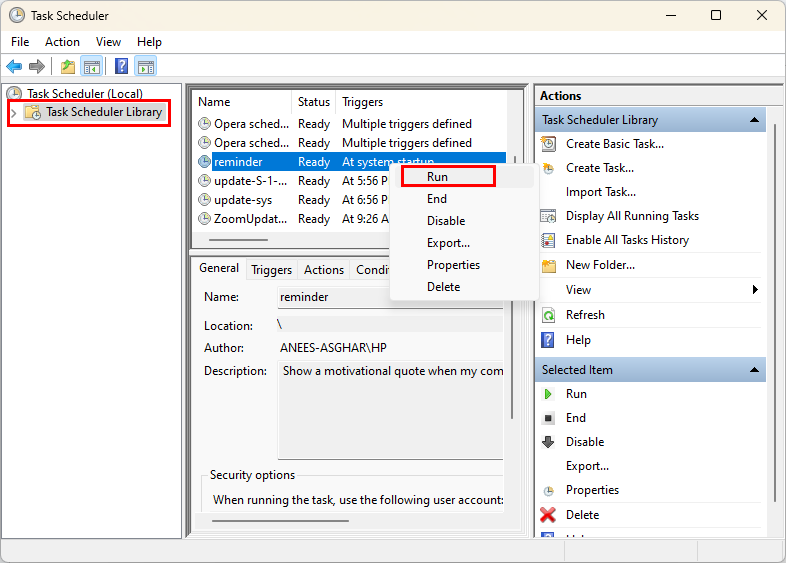
After setting up the task, test it to confirm it works. For this purpose, navigate to the Task Scheduler, right-click your task, and select Run:
Review any log files or outputs your script generates to verify it executed properly:
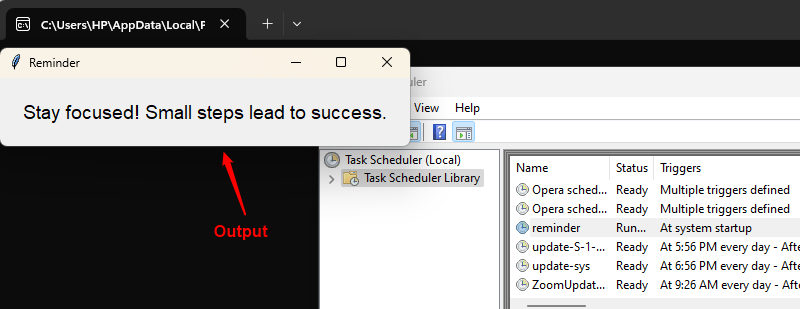
If it doesn’t run, double-check your Python path, script location, or permissions.
Wrapping up
Task Scheduler gives us a reliable way to automate Python scripts without needing third-party tools, since it comes built into Windows. Once you set it up, your scripts will run in the background without any extra effort, saving you time and keeping things consistent. If you prefer running scripts in a containerized setup, you can check out this guide on running Python scripts with Docker.


