I love using the terminal and am always on the lookout for command-line tools or utilities that help me perform multiple tasks directly from the terminal. Recently, Google introduced its open-source Gemini CLI AI agent, which brings powerful Gemini AI models right into your command line. Let’s dive in and see whether Gemini CLI is worth exploring.
Note: As with any language model, errors such as misunderstandings, misinterpretations, or ambiguous outputs can occur. Always check the output carefully, especially for important tasks, and make sure it’s correct before using it.
What Is Gemini CLI?
Gemini CLI is a free, open-source tool that integrates the Gemini AI model straight into your terminal. This agent helps you with a wide range of tasks, such as writing code, debugging errors, organizing files, or even generating documentation – all without leaving the terminal.
It’s built on Gemini 2.5 Pro, which features a huge 1-million-token context window. This means it can understand and process a large amount of information at once, making it ideal for complex tasks like analyzing large codebases or handling intricate workflows. Additionally, it uses a Reason and Act (ReAct) loop, allowing it not just to provide answers but also to take actions, such as editing files or running commands with your approval.
Because it’s open-source, you can review the code, customize it, or even make changes to its development on GitHub. Further, Gemini CLI is entirely free, with some limitations. For example, with your private Google account, you get access to Gemini 2.5 Pro with 60 requests per minute and 1,000 requests per day – pretty generous for most use cases. If you need more, you can explore paid plans with Google AI Studio or Vertex AI.
Key Features
- Suggests commands based on context and generates new code from existing files using AI.
- Creates shell scripts, browses directories, and understands your project context, tech stack, and recent actions.
- Supports plugins and extensions for Docker, Git, Node.js, Python, and more.
- Offers multimodal capabilities – you can provide text, images, and code snippets as input.
- It works on many systems, including Windows, macOS, and Linux.
- Seamless integration with your file manager allows you to perform operations like renaming, organizing, and more.
Giving an AI access to your local files might raise security concerns, and rightly so. That’s why Gemini CLI runs in a secure sandbox environment. It only accesses the files and directories you explicitly permit. You have granular control over what it can and cannot see, keeping your sensitive data private and secure.
Setting Up Gemini CLI
Whether you’re using Linux, macOS, or Windows, setting up Gemini CLI is simple. Since it’s distributed as a npm package, you need Node.js and npm installed. You can get both these packages from the official Node.js website.
For example, if you are running Linux, first download and install fnm (Fast Node Manager) using this:
curl -o- https://fnm.vercel.app/install | bashNext, use fnm to download and install Node.js:
fnm install 22That’s it! You have successfully downloaded and installed Node.js. To verify the version number, run:
node -v
npm -v
Once installed, use the npm (Node Package Manager) to install Gemini CLI globally:
npm install -g @google/generative-ai
The -g option installs the package globally, allowing the gemini command accessible from almost any location in your terminal.
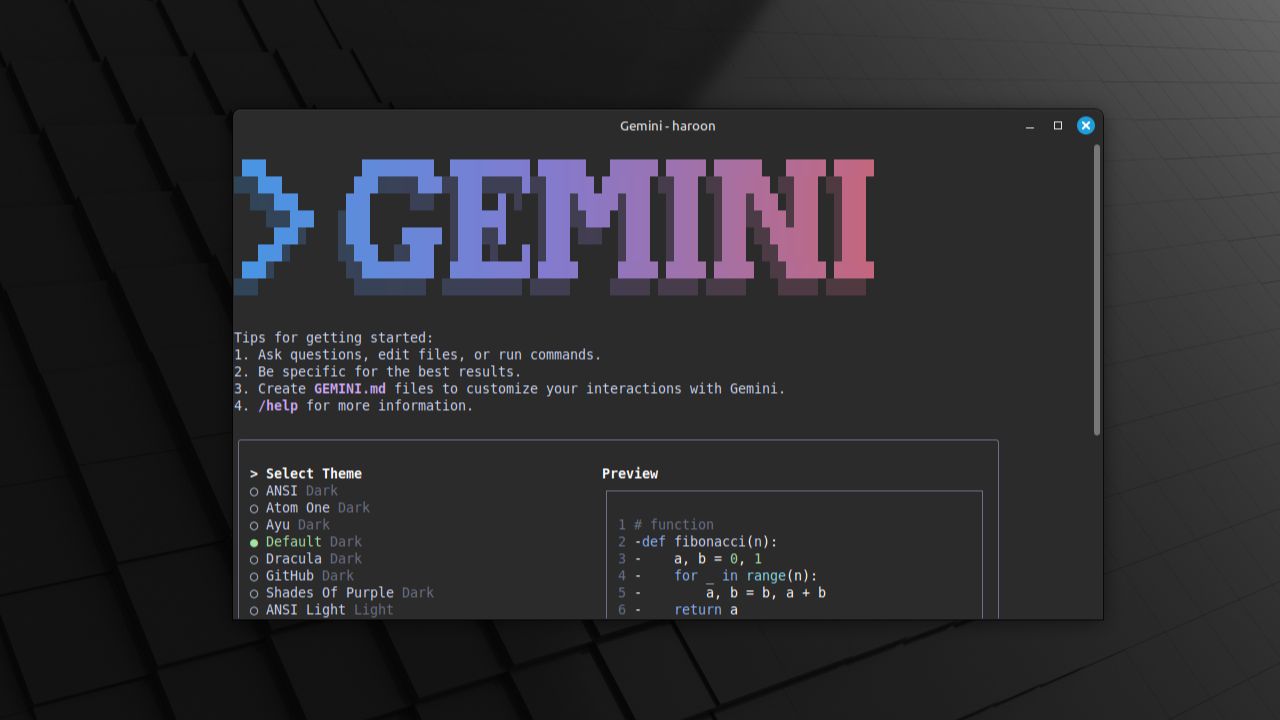
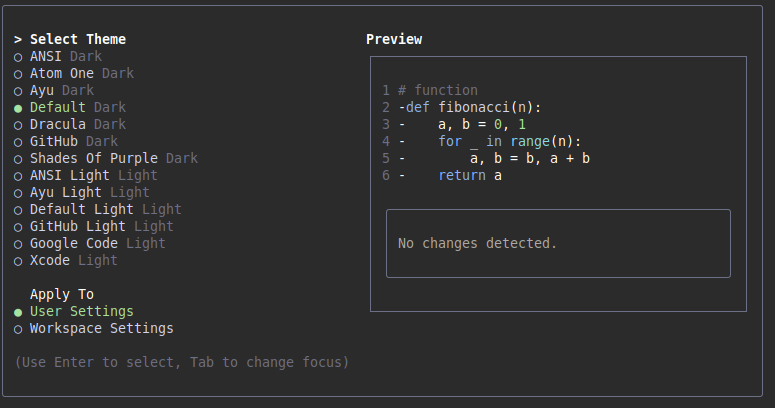
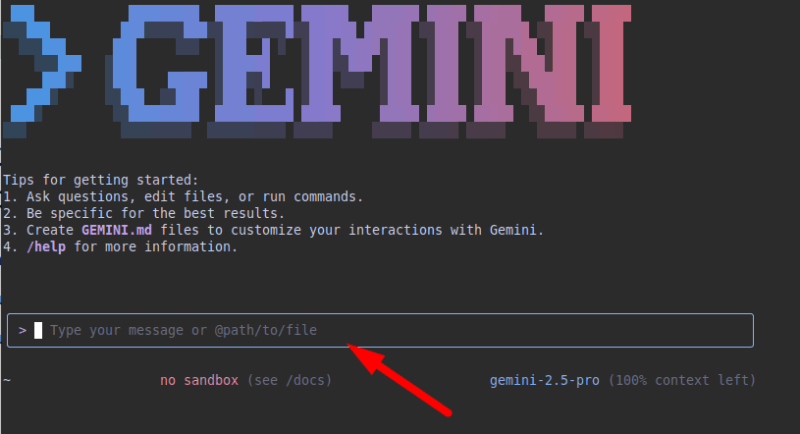
After installation, run the gemini command in the terminal to launch Gemini CLI. The first step is to choose your preferred theme for the interface.
Next, select your authentication method. Choose to log in with your Google account to gain access to the free tier, which is sufficient for most users. If you’re working on a larger project, you can upgrade to a paid plan for higher limits.
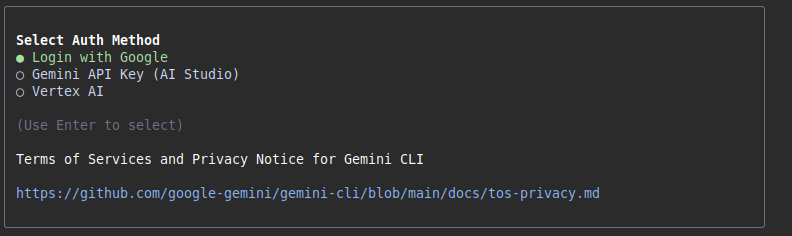
This will bring up a new browser window where you need to provide your Google account login details and also grant the necessary permissions to Gemini CLI. Once you’ve successfully authenticated, you’re all set to start using it!
Before jumping in, take a moment to explore the built-in help system. Type gemini --help in your terminal, and you’ll get a comprehensive list of available commands and options.
Using Gemini CLI: Practical Examples
You can do almost all the same things with the Gemini CLI that you can do with other chatbots. However, its key advantage is seamless integration with your system. This kind of integration makes it simple to carry out several tasks within your daily development workflow.
For example, with the Gemini CLI, you can get it to generate code and save it to a specified location, and perform various operations on it directly in your terminal. Additionally, you can use it to explain existing code. If you encounter a complex function you don’t understand, you can simply ask for an explanation. Simply open Gemini CLI and type:
gemini > Explain this Python code to me "path/to/your/file.py"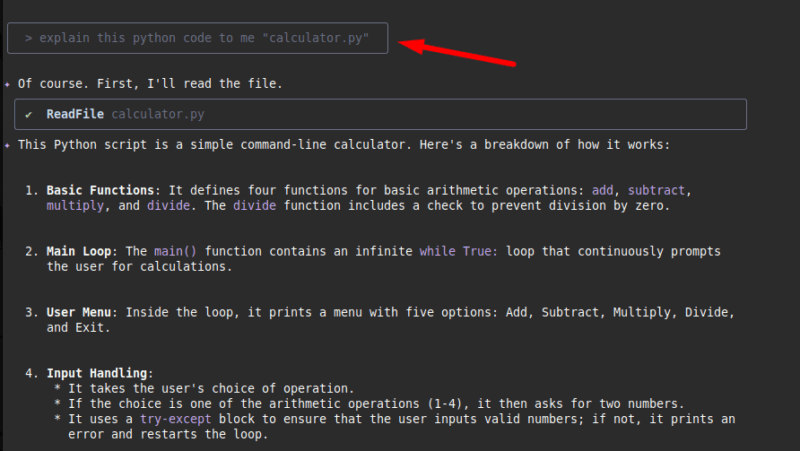
It will provide a clear and concise explanation of what the code does.
Let’s say you have a directory containing a collection of images that you intend to rename based on their creation dates. Instead of writing a script or doing it manually, try:
gemini > Rename all JPEG files in this directory to include their creation dateGemini CLI will analyze the files, extract their metadata, and rename them (e.g., photo.jpg becomes 2025-07-09_photo.jpg). It’s a huge time-saver for repetitive tasks.
Further, you can also get instant help with debugging using the Gemini CLI. Simply paste the error message, or you can also provide a screenshot of the error, and ask for an analysis and a potential solution.
gemini > I'm getting the following error in my JavaScript code: 'TypeError: Cannot read properties of undefined (reading 'map')'. What could be the cause and how can I fix it?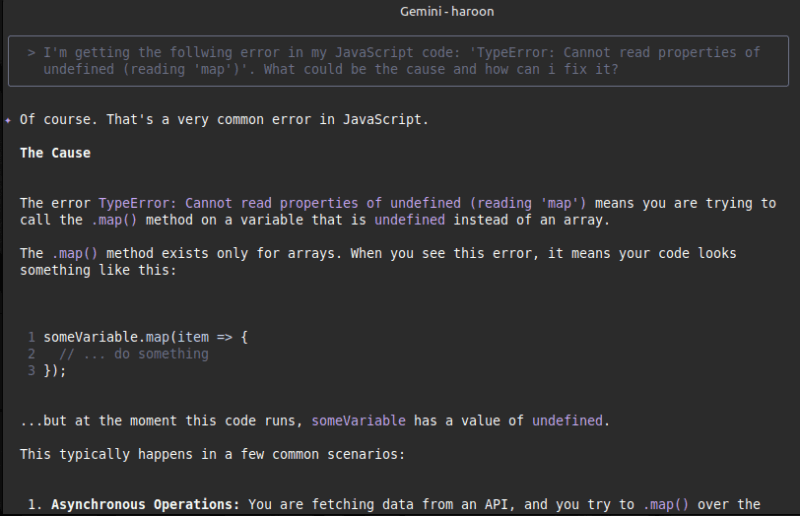
Gemini CLI will analyze the error and suggest common causes along with solutions, often with code examples.
Additionally, Gemini CLI can assist with Git operations. It can write commit messages, generate pull request descriptions, or summarize code changes – saving you time while maintaining a clean version history. These are just a few examples. You can explore even more uses, such as creating Bash scripts, generating documents, organizing files, and more.
Final Thoughts
As AI continues to evolve and improve, tools like Gemini CLI or Warp AI terminal will only become more capable and more integrated into our development workflows. Getting comfortable with these tools now means you’ll be ready to take the benefit of even more advanced capabilities as they become available.
So, if you haven’t already, I highly encourage you to give Gemini CLI a try. It’s easy to set up, free to use for most individual needs, and could very well become your new favorite development companion.