What we like
- Large LCD display
- Full-featured app
- Calibration options
- Doubles as alarm
- Display works plugged in or via batteries
What we don’t like
- Wi-Fi connection requires 2.4 GHz
- Sensor is not waterproof yet needs to be outside
- Not a touch screen
- Only the app has full information
No matter what climate you live in, the current weather and what is in the forecast are always important and of interest. You want to know whether you should take a jacket or umbrella, or even if you need sunscreen. The Sainlogic SA1 Weather Station presents another option.
Personal Weather
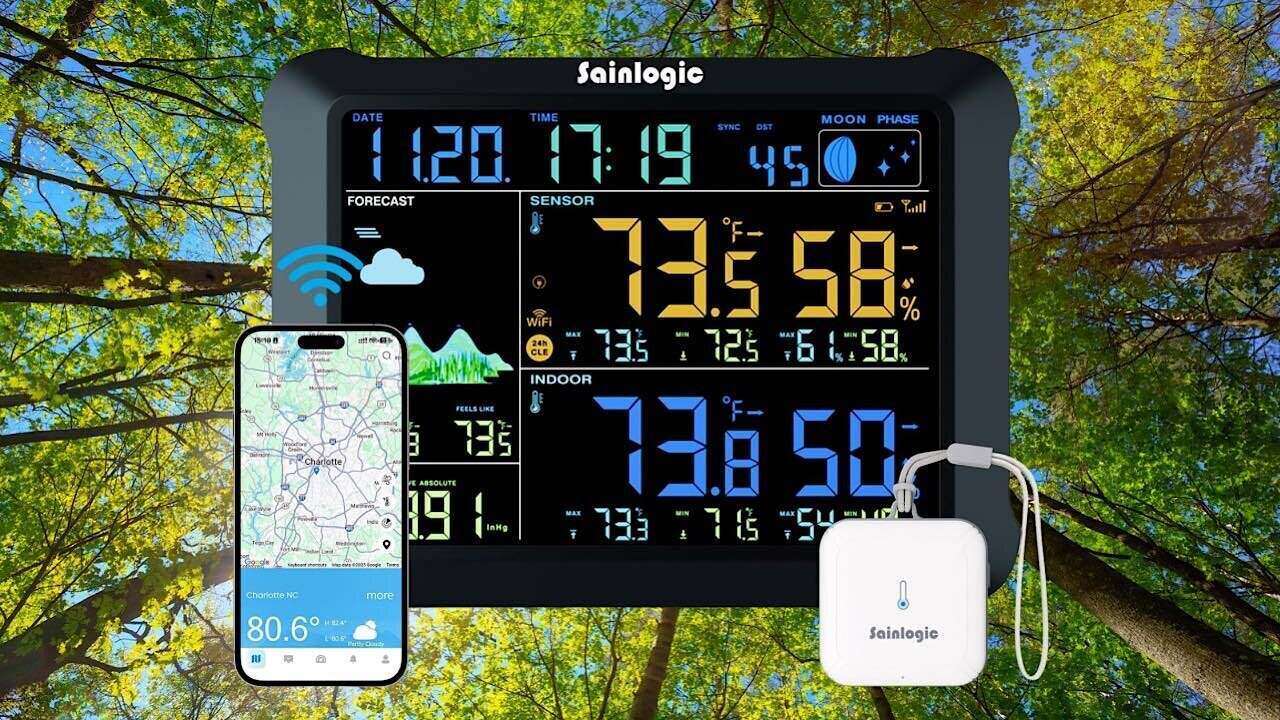
The Sainlogic SA1 Weather Station brings a solution to wanting to know the weather inside and outside your home, giving you a large color display showing AI-powered 24-hour and seven-day forecasts, outdoor temps, and indoor temps. It also shows humidity and the current phase of the moon. If you want even more information, you can get that from the dedicated app. It’s set up to be a one-stop weather information system.
There is a wireless sensor that has a 3300 foot wireless transmission range. The 8.15-inch HD color LCD display is easy to read. It syncs with Wi-Fi during the setup for time synchronization, and the outdoor data is updated every 16 seconds. The free Weatherseed app provides instant 24/7 weather alerts, while also offering email alerts. It also includes two years of data storage and export.
Setting Up the Sainlogic SA1 Weather Station
While it would seem that setting up the Sainlogic SA1 Weather Station would be a cinch to set up, there is a little more there than meets the eye. The directions were instructing me to do something that just wouldn’t be available to everyone, and for me, it would have been a big hassle. Eventually, I found a way around it.
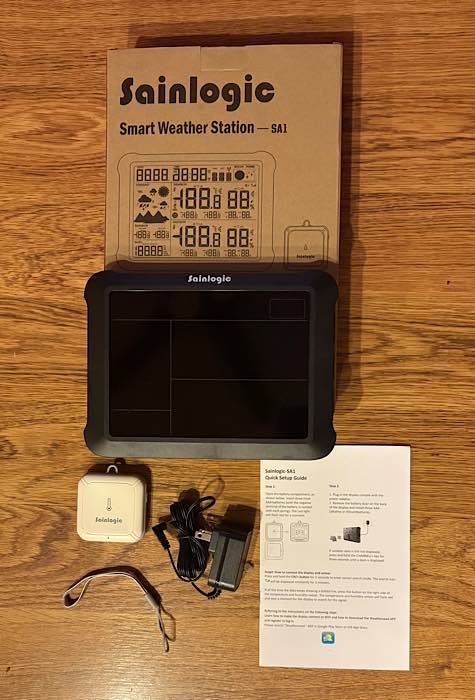
Along with the 8.15-inch display and wireless sensor, there are instructions on the various options to set up the weather station and sensor and how to use the Weatherseed app, a strap for the sensor, and the DC plug.
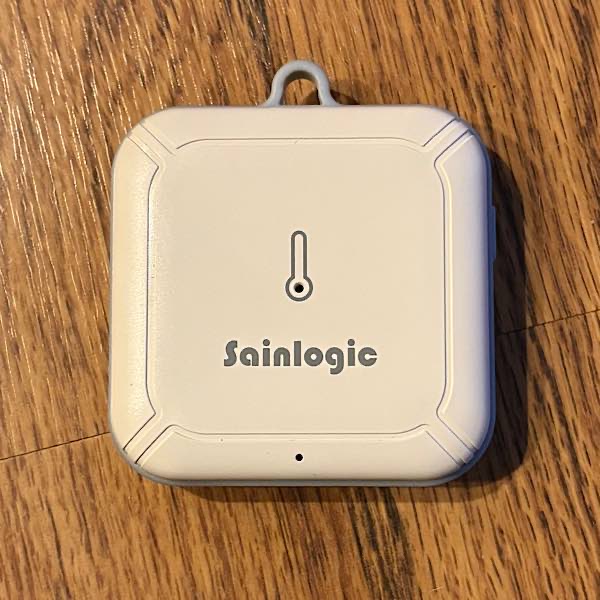
The first order of business is to install three AAA batteries into the small sensor, which is a matter of just pulling off the back, pkacing them inside, and replacing the back.
While the instructions say to mount the sensor outside, they also say to do so on the north side of the house so that it can be in the sun the most often and that it’s not waterproof, so you should find an area where it will be protected. I have no such space outside my house and didn’t want to permanently mount it, so I placed it on the railing of my deck on the east side of my home.
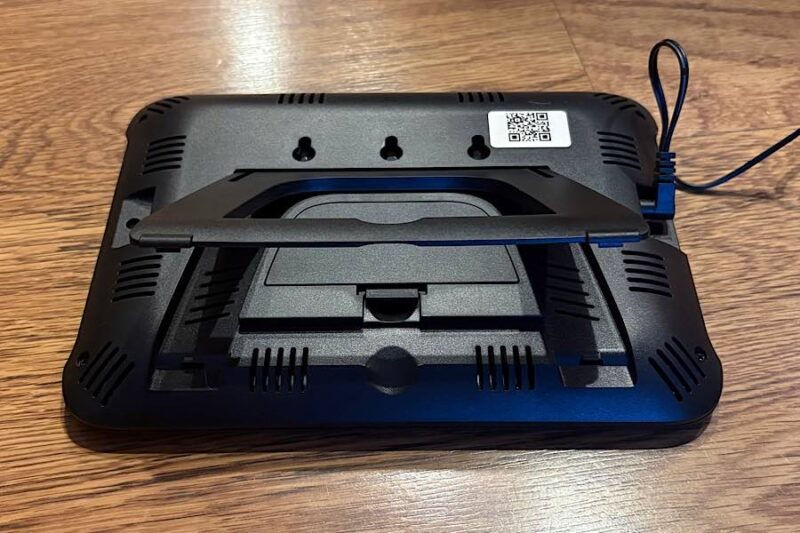
Next up, you can install three AAA batteries to the display as well. However, I chose to just use the DC electrical cord. The display will stand up on its own, thanks to the built-in stand. But you do need to plug in the DC electrical cord.
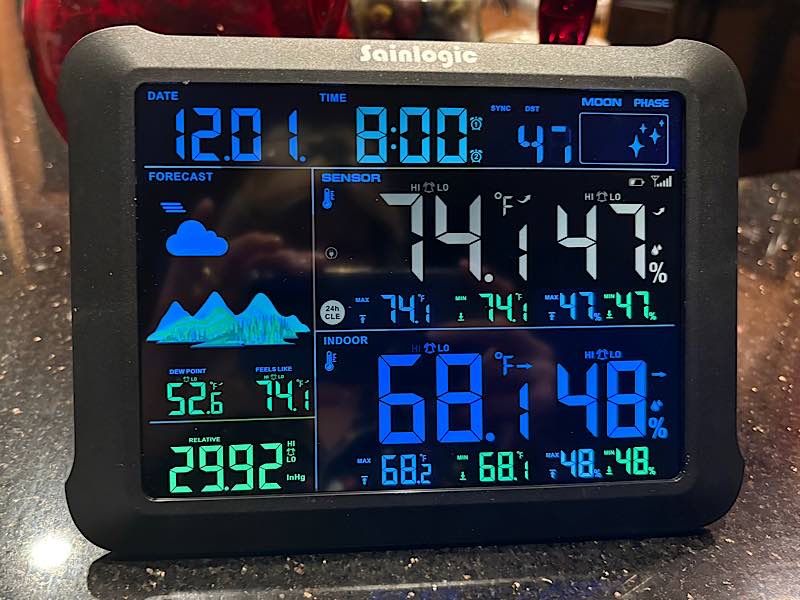
Once plugged in, the display lights up. As you can see, it has not connected to update yet. It still indicates that it’s December 1, and it says it’s 8:00. It has some mild temperatures showing, and those weren’t correct. I knew I needed to connect to Wi-Fi.
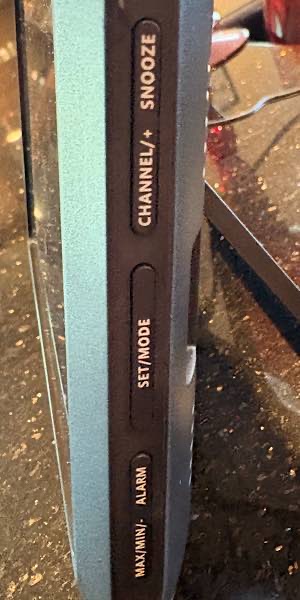
There are buttons along the side for Snooze, Channel/+, Set/Mode, Alarm, and Max/Min/-. For the most part, I didn’t find much use for these buttons. I was not using the weather station for an alarm, and the other modes are mostly for calibrating, which was not an option for me.
I did finally find how to turn off the beeping. It’s not an alarm, so possibly it’s calibrating itself or something else. Hold the Alarm button for three seconds to turn it on and off.
Connecting to Wi-Fi
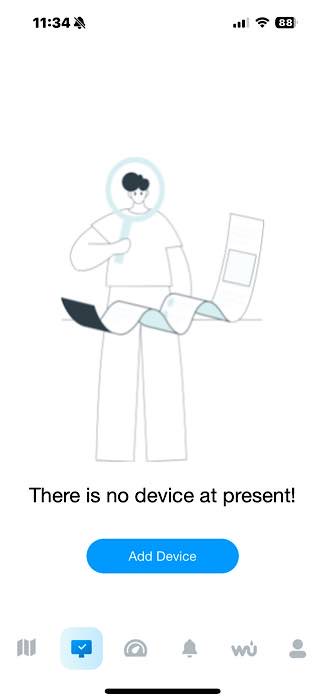
There is a Weatherseed app available for iOS and Android. You will want to download the app, as the weather station is too basic without it. You’ll need to register for an account and log in, then select the SA1 device before connecting to Wi-Fi.
There are instructions provided on how to connect to Wi-Fi, but they weren’t really suitable for me initially. I tried them anyway. The weather station only supports 2.4 GHz. I have dual-band Wi-Fi that chooses the fastest band available at that moment to connect. While I’ve had to isolate to 2.4 to connect to a few robot vacuums and a few smart light bulbs, I haven’t had to do that recently.
The directions went a step further, suggesting that I create a separate SSID for each of the two bands. Doing so, though, would require me to sign in again to every device in my household, and all the devices the three adults in my household have. I didn’t want to do that. Besides, what would people do who don’t have access to their Wi-Fi settings?
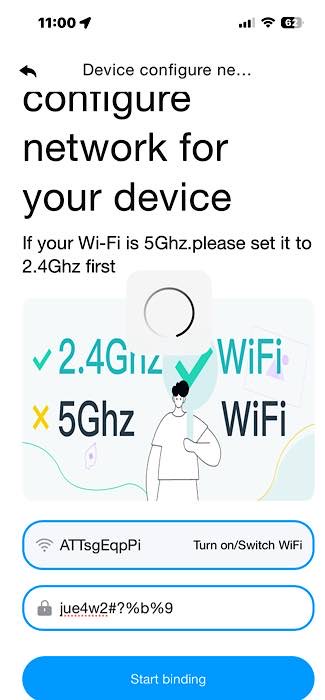
I tried my dual-band router as is, but it didn’t work. I scoured the Internet for other options. I did find that you could connect through Weather Underground, but when I inquired about that, Sainlogic said they were no longer working with WU. It was suggested that I create the two SSIDs or possibly turn off my 5 GHz band temporarily while I sign on, which is what I did for devices that required that more than a few years ago.
However, I decided to just try the dual-band one more time, and lo and behold, it worked. There are three modes, Bluetooth Distribution Network Mode, Wi-Fi Distribution Network Mode, and Web Page Distribution Network Mode. They are all very similar, requiring you to scan a QR code and hold a button or two, all with the sensor in proper proximity.
Using the Weather Station
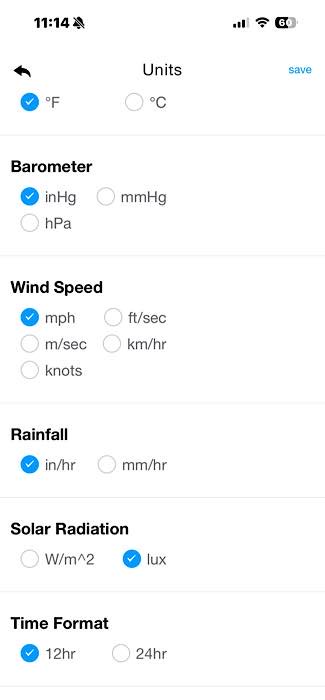
Once the Wi-Fi is set up for the Sainlogic SA1 Weather Station, change the parameters by clicking the gear-shaped Settings icon.
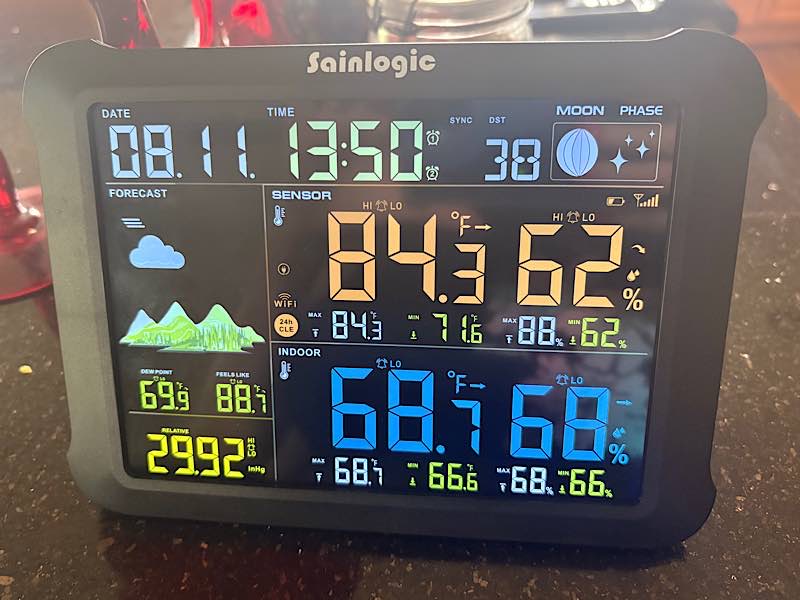
Looking at the device, it now shows the current date and time, moon phase, the outside temperature and humidity, the inside temperature and humidity, the weather conditions for the next 48 hours, and barometer reading.
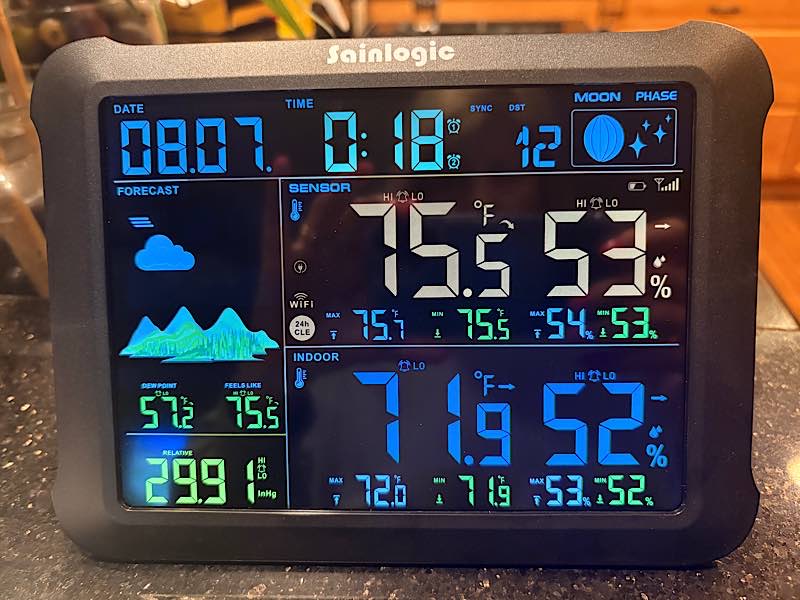
There were two problems with this: for one, the temperatures weren’t right. The indoor temperature was around 3 or more degrees off, and and the outdoor temperature was way off. Additionally, the 48-hour forecast doesn’t show times of day or one for each day – it’s just one set of conditions for 48 hours.
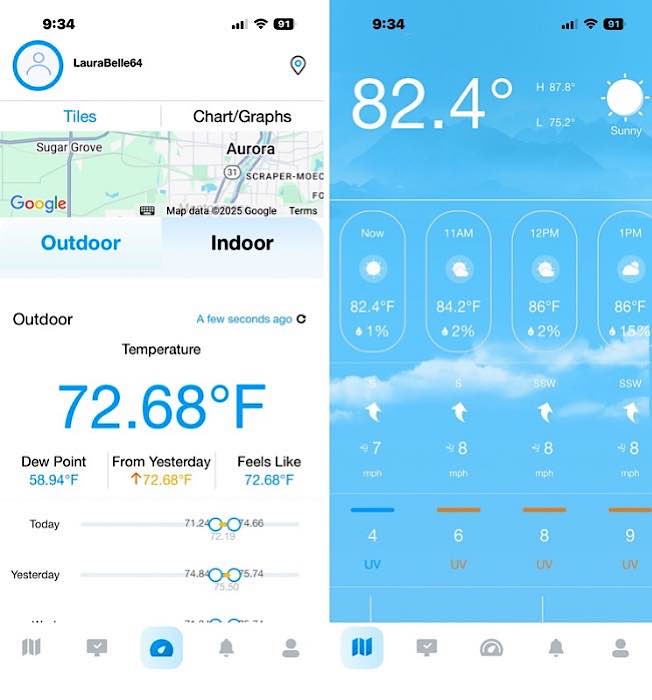
Confusing this even more, the app showed the same wrong outside temperatures in the device info, but once I clicked on location, it showed the right temperatures. Further, it showed a much more detailed forecast. It also showed wind speed and direction, UV, etc. Unless you want to know just the current temps and humidity and one combined image of the conditions over the next 48 hours, you need to check the app.
First, I had to deal with why I had the wrong outdoor temperature on the display. The indoor was off a few degrees as well, but it’s just a few degrees, not 10 or 15. We were having outdoor temps in the mid to upper 80s. But the device never showed anything other than 70s.
You can calibrate the temperature and humidity settings, but the directions say to not calibrate using information from sources such as the Internet, radio, television, or newspapers. Being that I don’t have another weather station, I’m unsure how to get that without the Internet in some form or another.
Once I started this review, I consulted the directions to make sure my memory was accurate. What I found was a piece of information that I didn’t see initially, that the sensor needs to be placed outdoors, under the conditions noted earlier.
I didn’t want to mount it, and I don’t have such a spot on the north side of my home. I don’t really have any place that would keep it protected from weather. So I placed it on the railing of my deck outside my sliding glass doors, and that worked. I make sure I bring it inside if it’s going to rain. I suppose I’ll have to do the same when it’s snowing.
Final Thoughts
It’s great to have a large display showing the weather in your home, but I was hoping the Sainlogic SA1 Weather Station would provide more information and that I wouldn’t need to depend on the app. I also think there are should be easier ways to connect to Wi-Fi.
A touch screen would have made a world of difference. If I could touch the one condition image for the next 48 hours and have it show more in-depth information, it would be more along the lines of what I was looking for. The same applies to the temps that are displayed.
But it’s great that you can use the display plugged in or via batteries, and the app has a lot of information in it for casual users and weather geeks alike. You can also dim the screen so that it doesn’t have to be so obtrusive in your home.
You can get the Sainlogic SA1 Weather Station for $59.99 on Amazon.
Subscribe to our newsletter!
Our latest tutorials delivered straight to your inbox