What we like
- Portable & easy to use
- Features a touchscreen
- Includes dual scanning technology
- Reproduces textures and details very well
- Users can edit scans on the scanner itself
- Free post-processing software available
What we don’t like
- Battery life runs out quickly
- Can be loud during processing
3D printing is a lot of fun, but creating custom 3D models from scratch takes a lot of work. The Einstar Vega 3D scanner offers a potential solution by enabling users to easily replicate the shape of any existing objects in their environment. I tested this Einstar Vega, a portable wireless 3D scanner, which boasts various features designed to streamline the creation of 3D printable models.
This is a sponsored article and was made possible by Einstar. The actual contents and opinions are the sole views of the author, who maintains editorial independence, even when a post is sponsored.
What’s in the Box?
The Einstar Vega 3D Scanner comes in a surprisingly premium carrying case, along with a number of additional accessories:
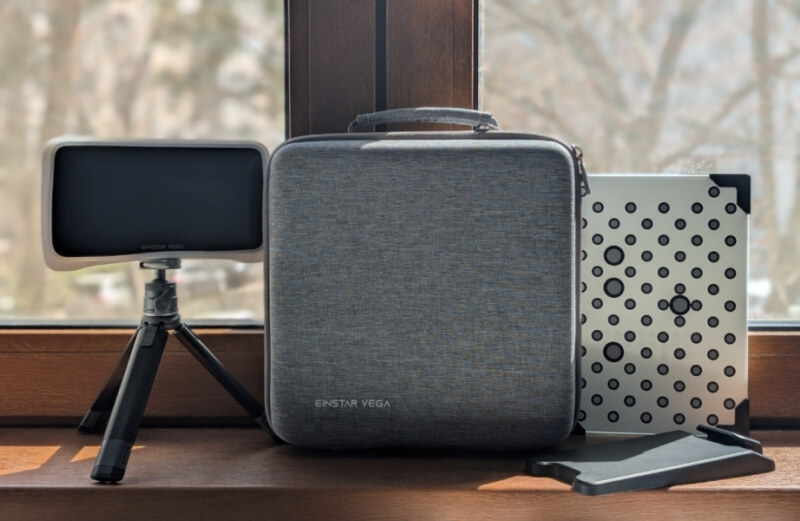
- Silicone case for the scanner
- Tripod
- Calibration board
- Board holder
- USB cable
- 100W USB-C power adapter
- Shoulder strap
- Wrist wrap
- Scanning markers
- Einstar’s mascot
Before trying the scanner for the first time, I gave it a full charge with the included adapter.
Specifications
I found the Einstar Vega 3D Scanner to be highly portable, and even though it’s not super light at just under 19 oz. (535g), it fit comfortably in my small hands.
The Vega offers a seamless user experience with a 6.4-inch 2K AMOLED touchscreen for intuitive operation. The Vega is a wireless device, meaning you can connect it to your local Wi-Fi and even project it to a second screen (such as a smart TV).
It’s equipped with 32 GB eMMC and a 512 GB SSD, ensuring ample storage for your scans. It also takes advantage of a 48MP RGB texture camera that enables full-color scans and helps with texture alignment.
Setting Up the Einstar Vega
Before you can start scanning, you’ll need to take care of a few things, including creating an Einstar account to transfer and access data in the cloud more easily (via Shining 3D’s Digital Cloud).
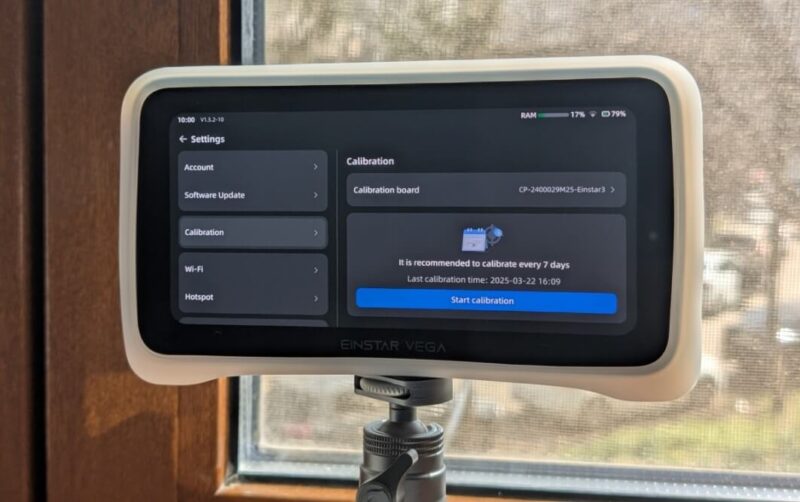
You also have to calibrate your scanner using the included calibration board. Once the process was initiated, I started lining the scanner up with the board to capture the dots, according to the instructions displayed on the screen. On my first try, the Vega threw up an error, but after I increased the brightness in HD mode and wiped the cameras on the back of the scanner, the calibration was successful! I have gone on to recalibrate the scanner at least four times so far (it’s recommended to do so weekly), and I had no additional issues whatsoever.
Scanning My First Object
The Einstar Vega has two scanning modes, HD and Fast Mode. The first one is ideal for smaller objects with many details, while the second is suited for medium-sized to large objects, including human beings.
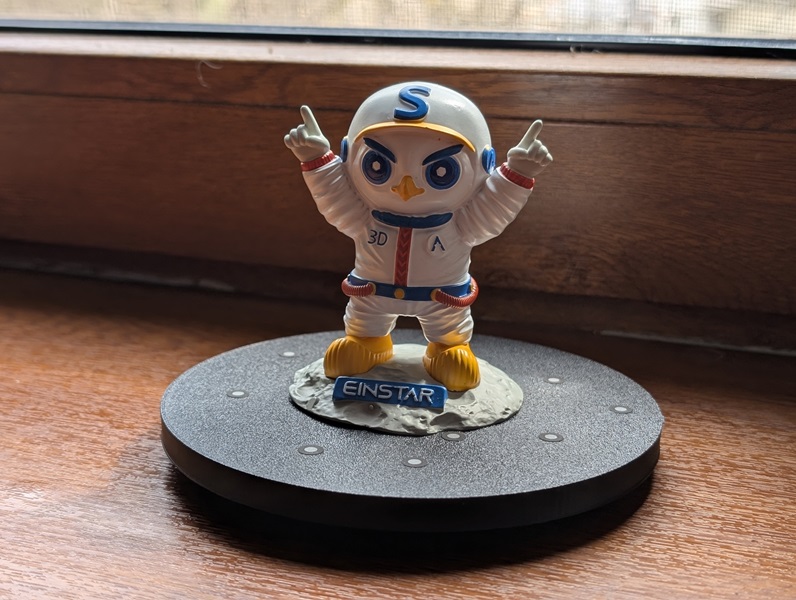
Since the Einstar Vega arrived with the Einstar mascot, I tried scanning this object first. As moving around the object wasn’t practical for me, I solved the issue by 3D printing a turntable. To improve the scanning process, I elevated the turntable using a cooking jar and rotated it manually while scanning, which turned out to be an effective solution.
Setting the parameters
I placed the figure on the turntable and, using the tripod, arranged the placement. Before I started scanning, I also tweaked a few settings. First, I enabled the Auto Detecting of Base Plane feature (from the menu on the left), which removes the base plane before and during the scan.
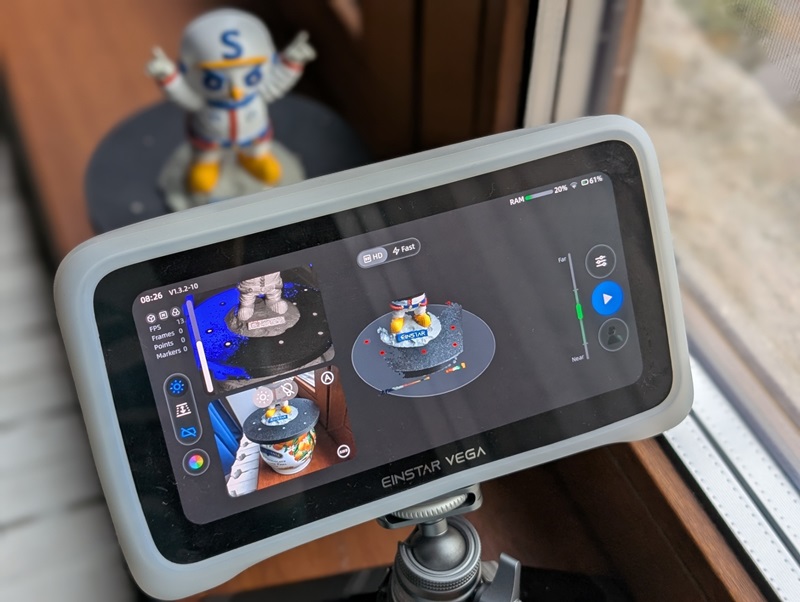
The scanner lets you adjust the exposure level. For optimal results, the image should appear slightly red (as shown in the upper part of the display). You can also adjust the brightness (as shown in the lower part of the display).
I also made sure that Feature Alignment from Advanced Settings on the right is on, though it should be on by default.
Finally, I pressed the color palette icon on the bottom left and opted to switch to Data Quality Indicator. This shows the parts that have completed the scanning process in green, while the ones that are not fully scanned will show up red.
Note: Fast Mode supports hybrid alignment choices. When scanning a big object with detailed shapes in some places and plain surfaces in others, you can try to enable both Feature and Marker Alignment. Just don’t forget to stick on those markers where the geometry is lacking.
Scanning process
The scanning process proved smooth enough, but you really need to have some patience and move the turntable slowly to allow the scanner to capture all the details. I occasionally ran into the “Tracking lost” error, which required me to revert to the previous position before continuing the scan – something that was done easily enough.
After a few tries, I managed to complete a satisfactory scan. You can immediately see the raw scan data under Points. Need to fix a scan? The Einstar Vega’s rewind function (the bar at the bottom) lets you easily delete any unwanted portions or resume scanning for a specific, already-scanned area.
The next step is to create the Mesh model. Press the magic wand button on the right and select either Fast Mode or HD Mode. In my case, I was scanning in HD Mode.
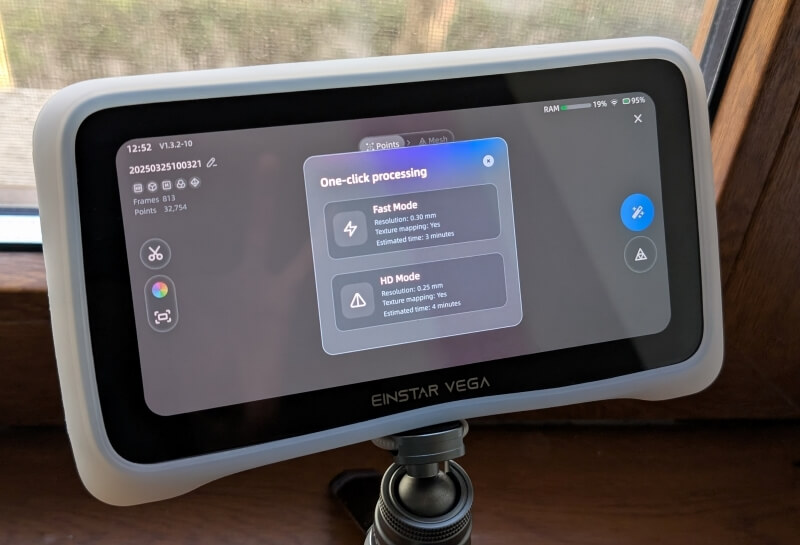
Generating the mesh model is resource-intensive and takes time – the scanner’s loud processing is proof of that. This likely contributes to the Einstar Vega’s fast battery drain. On the bright side, recharging is quick.
Using the Einstar StarVision
My first model turned out well, but certain obscured areas – like the space between the mascot’s legs – weren’t fully scanned, resulting in some holes in the model. While such issues can be fixed by importing the model into Blender and manually patching the holes, I opted for a different approach since I’m not too familiar with Blender.
I scanned the object in multiple positions to capture the hidden areas, ensuring previously obscured parts were now visible. After installing Einstar StarVision (Einstar’s post-processing software) on my laptop and importing the scans from the Vega, I aligned them to create one model.
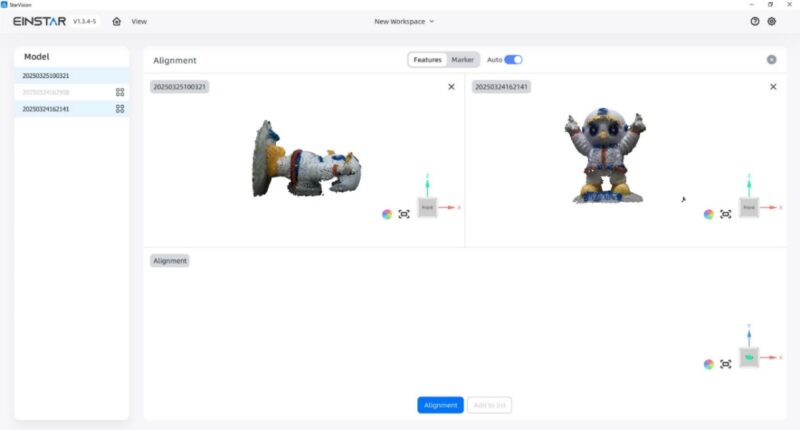
The results were significantly better, but I could still see a few holes here and there, so I used the option to Fill Holes to remedy the situation. Finally, I had an excellent model!
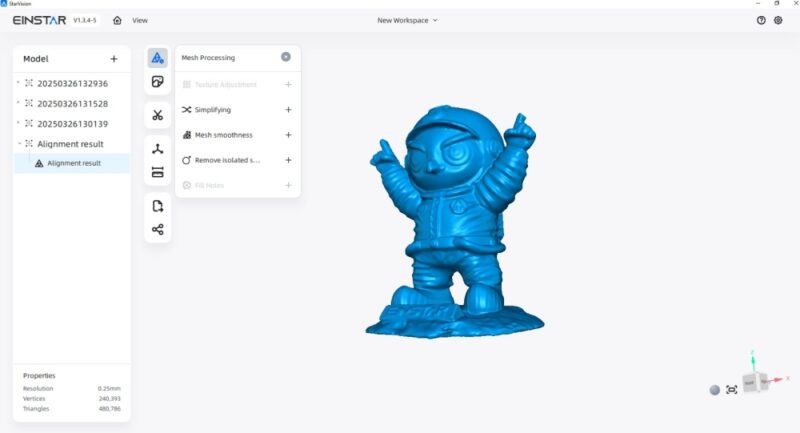
A key advantage of this method is that you only need to import the point clouds and not the full mesh models for all the scans. Once merged in StarVision, you can generate the mesh from there.
I suggest exploring StarVision’s other optimization features, but be aware that it demands a good amount of free space on your PC. But if you already have Blender, you may not need StarVision at all.
Scanning More Objects, Including Humans
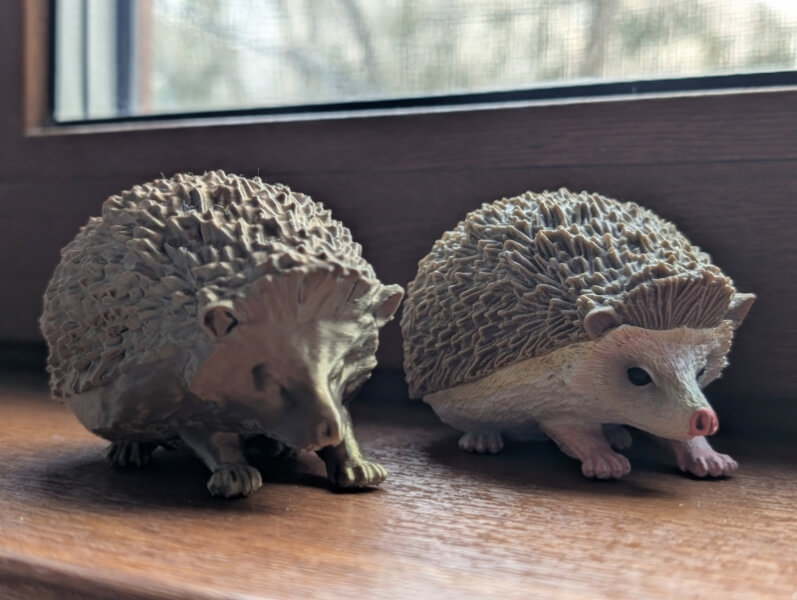
I had fun scanning various objects in my home, including a hedgehog figurine that I’m quite fond of. The scan turned out quite well, and I was able to print it quickly.
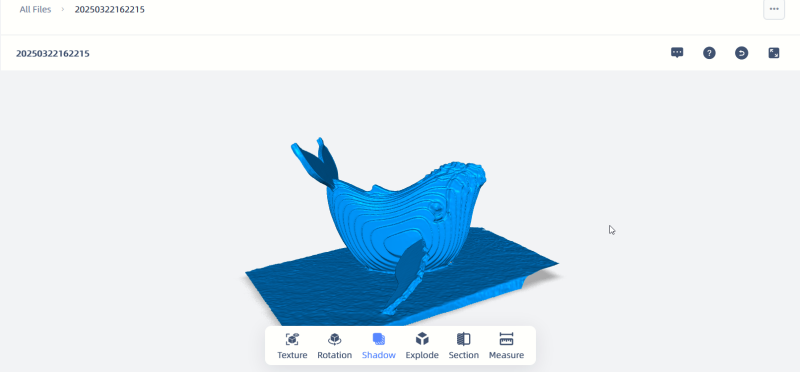
I also scanned a smaller whale model with some intricate little details, and the scanner managed to replicate them extremely well!
Note: you can edit directly from the scanner, such as cropping out parts you don’t need from scans.
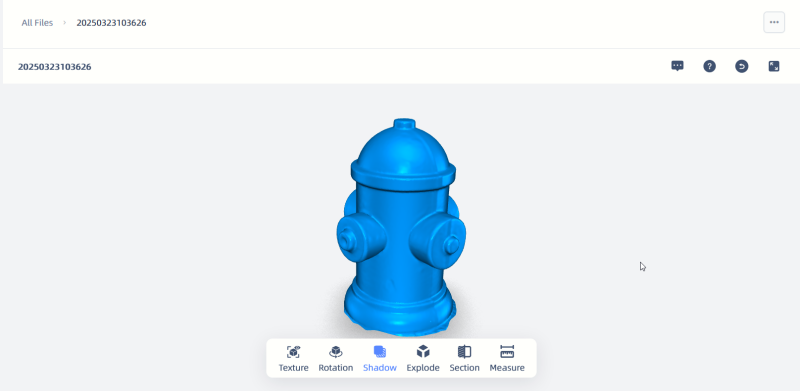
Next, I wanted to try scanning a perfume bottle with an interesting shape, but the Vega doesn’t pick up clear objects well. While a spray paint coating could fix this, I didn’t want to ruin my perfume bottle, so I skipped this item. In another case, where I was scanning a mini hydrant with a glossy texture, I relied on the included markers to scan it properly.
What about black objects? The Einstar Vega is equipped to handle these more challenging objects with ease. Its VCSEL projection system adapts well to low-reflective surfaces, giving you consistent, high-quality results. In my case, I used markers to scan a photo lens. The resulting scan required some post-processing.

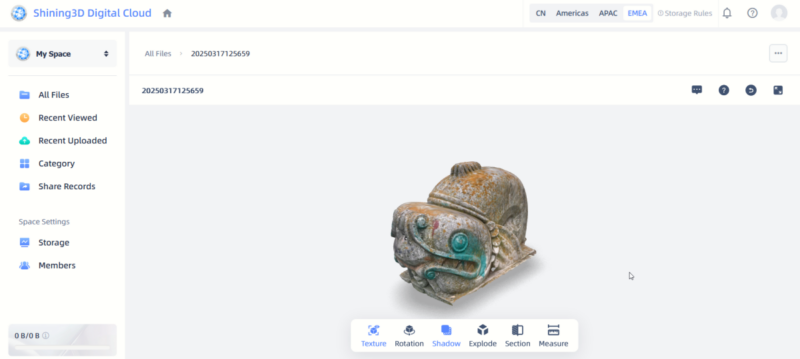
Since the Einstar Vega 3D Scanner can scan outdoors, I also wanted to see what it could do in this context. I picked a small statue of a mythical creature as my subject. Using the Fast Scan mode, I got to work. The process was a breeze: tracking barely dropped, and I was able to complete the scan in under 10 minutes. The results were nothing short of impressive!
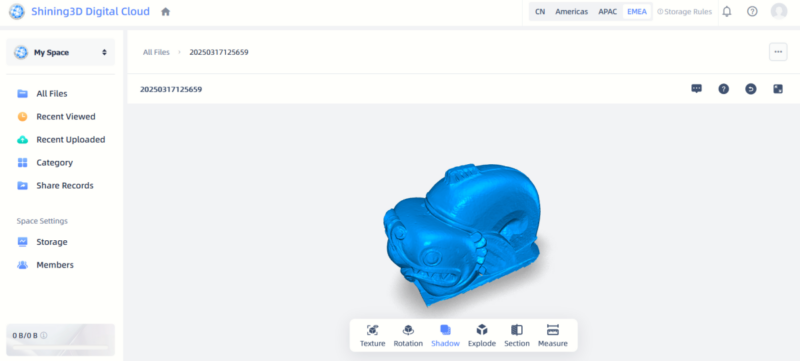
Here’s how the scan looks with texture. During scanning, the system projects a structured pattern of infrared VCSEL light onto the object. This pattern is then interpreted by stereo depth cameras to capture precise 3D data.
Human scanning? Oh, it was an adventure. Holding perfectly still as a model is no joke – blinking sabotaged more than a few scans, leaving me with some delightfully bizarre results. The lost tracking issue also appeared frequently during these scans. Finally, the results produced during my testing exhibited some inconsistencies, which I fortunately managed to patch up during post-processing.
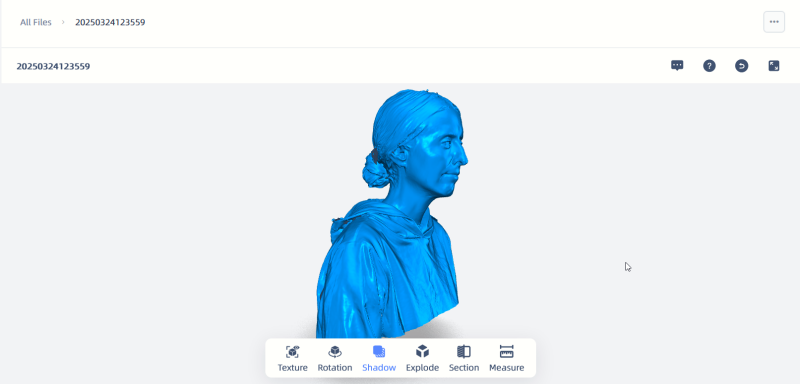
After comparing my indoor and outdoor scans, it seems the low light in my apartment might have affected the scanning process, particularly for human and smaller objects. A well-lit environment would very likely improve performance and results in less “tracking lost” errors.
Final Thoughts
The Einstar Vega is a fantastic addition for anyone looking to optimize their 3D printing workflow. Not only is the scanner highly portable and easy to carry, it also allows for fast sharing of scans and editing. I was particularly impressed by how well it handled outdoor scanning, producing detailed models quickly and efficiently. Scanning small objects does require a bit of patience, but the results are still quite good, making it a versatile option for a variety of applications.
You can purchase the Einstar Vega 3D Scanner at a discounted price of $1,799.
Subscribe to our newsletter!
Our latest tutorials delivered straight to your inbox