One thing I like most about Linux is its flexibility. I can change anything I want, even the distro itself if I don’t like it. I’ve recently been experimenting with customizing my desktop the way I want and had some success with Conky, but an even better experience with EWW. The next tool I have tried is Polybar, which is a status bar for Linux desktops. It allows me to keep essential information at my fingertips, and make better use of my screen space.
Good to know: 9 Hidden Customization Settings to Get the Most Out of Your Mac
What is Polybar?
Polybar is a highly customizable status bar for Linux desktops. It’s a tool that lets you create your own tailor-made panel at the top or bottom of your screen, showing whatever information you want. It’s fast, lightweight, and easy to configure, so you don’t need a “black belt” in shell scripting to use it.
Polybar’s purpose is to help you make an awesome-looking status bar that keeps essential info at your fingertips. This includes things like your workspaces, system resource usage, network status, battery level, music playback, date/time, and more.
The tool is especially useful for those who use tiling window managers like hyprland, i3, bspwm, or AwesomeWM, which often have minimal or no built-in status bars. In these setups, Polybar can replace or enhance the default bar to display system info such as CPU load, memory, temperature, and so on.
Polybar isn’t limited to tiling WMs. It’s actually window-manager agnostic and works on basically any X11-based Linux environment. Even if you’re using a full desktop environment like Xfce or KDE, you can run Polybar to elevate the look of your desktop or add an extra panel for additional functionality.
Setting Up and Installing Polybar
One of the best parts about Polybar is that it’s widely available and not too hard to set up. In fact, the tool is included in the official package repositories of most major Linux distributions. I was able to install it in Ubuntu just using the apt command:
sudo apt install polybarOn Debian Stable, Polybar might be in Backports. For example, on Debian 11, you can enable backports and run sudo apt -t bullseye-backports install polybar to get a newer version. This will pull in all necessary dependencies automatically.
In Arch, Polybar is available through the community repo, so you can install it with pacman.
sudo pacman -S polybarIf you want the absolute latest development version, you can also install the polybar-git package from the AUR.
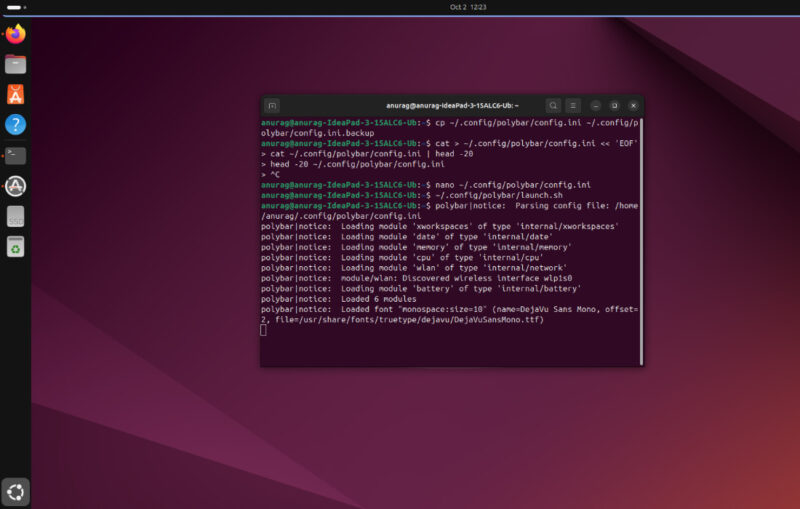
Once Polybar is installed, you can test it out right away. It comes with a default configuration, which means you can simply run the polybar command in a terminal and get a basic bar on your screen. The default config has a bar with a bunch of pre-configured modules, so you’ll see a sample bar appear with clock, workspaces, and more as a proof of concept.
After verifying that your custom Polybar works, you’ll probably want it to launch automatically every time you log in. How you do this depends on your setup. On a traditional desktop environment like GNOME or Xfce, you can add Polybar to your session’s startup applications so it runs as soon as you log in.
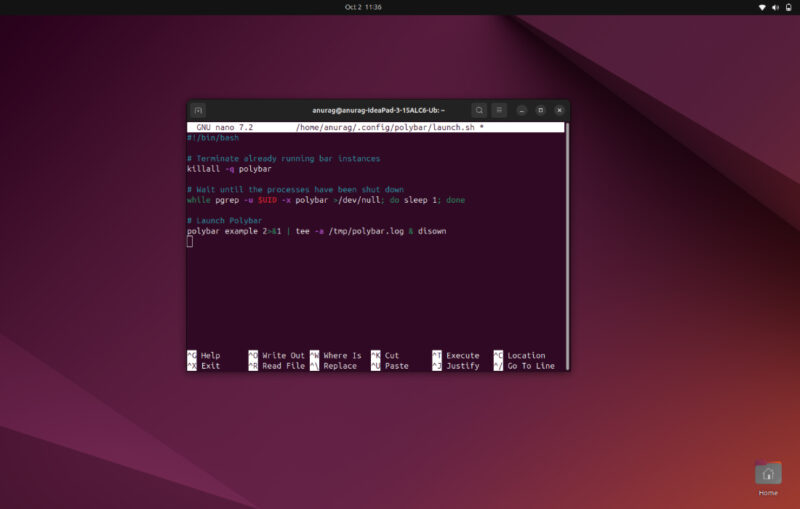
If you’re using a window manager such as i3, you can configure it to launch Polybar during startup by adding the launch command to your i3 configuration file. You can also choose to create a small launch script that stops any running Polybar instances and then starts the bar again.
Customizing Linux Using Polybar
Now we get to the fun part, which is making Polybar your own. It’s an extremely flexible tool, which can be themed and configured the way you want. You can select which modules it shows, and even extend it with custom scripts. Configuration is done through a single text file in INI format, which might look intimidating at first, but it’s quite logical once you understand the structure.
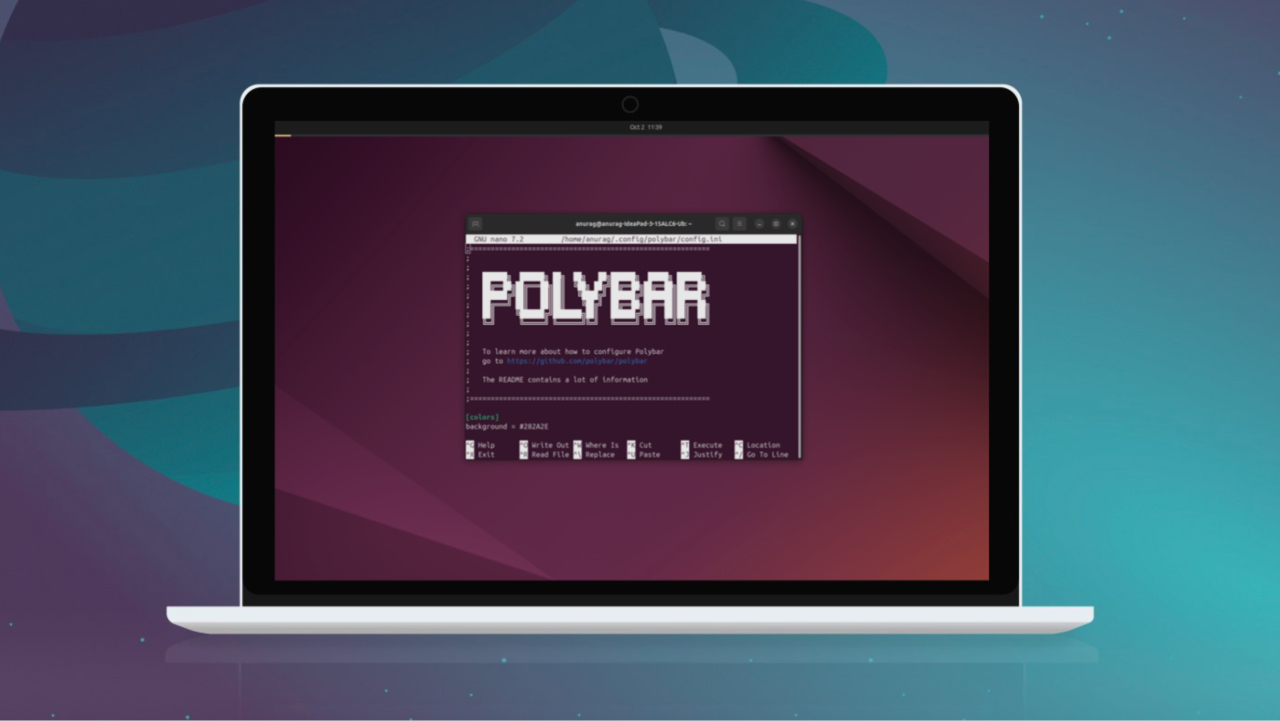
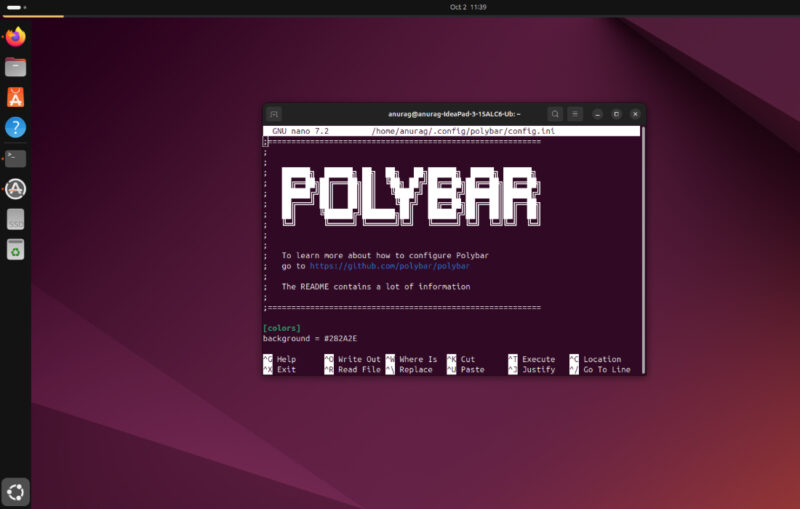
By default, Polybar comes with a system-wide configuration file, but it’s best not to edit that directly. Instead, create your own user configuration. You can start by copying the default config and customizing it to suit your setup.

The configuration file is divided into sections marked by square brackets. In a colors section, you define a palette of values such as background, foreground, and primary so you can easily change the bar’s appearance later. The bar section defines the panel itself and its properties like size, fonts, and which modules appear on different sides. A simple bar configuration might look like this:
[bar/mybar]

monitor = primary

width = 100%

height = 28

background = ${colors.background}

foreground = ${colors.foreground}

font-0 = "FiraCode Nerd Font:size=10"

modules-left = workspaces volume
Each module has its own section and represents a widget on the bar, such as a clock, battery indicator, or network status. A basic clock module, for example, updates every 60 seconds and displays the date and time in a chosen format:
[module/time]

type = internal/date

interval = 60

format = "📅 %Y-%m-%d %H:%M"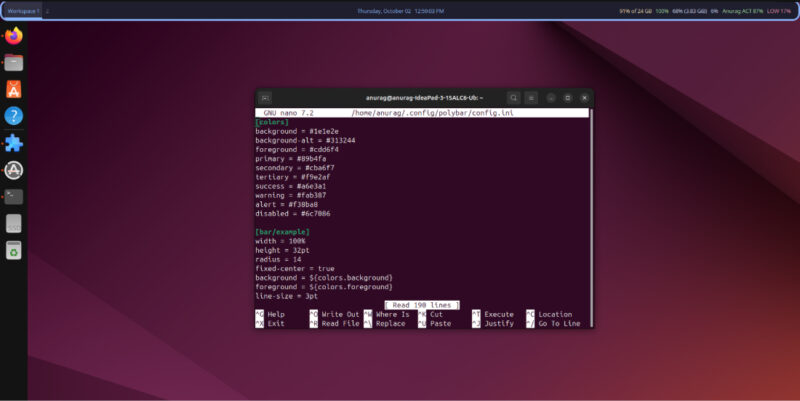
Polybar also supports custom modules that run external scripts and show their output directly in the bar. For example, you can create a script to check for system updates and run it periodically:
[module/pacupdate]

type = custom/script

exec = ~/scripts/check_updates.sh

interval = 300

label = %output%
You can use scripts for weather, stock prices, Spotify information, unread emails, and more. Theming is fully customizable too, giving you control over colors, fonts, spacing, transparency, and icons. Polybar also supports interactivity, allowing modules to respond to clicks and scrolls. Scrolling on the volume module can adjust sound, while clicking a custom module can launch an app.
You can customize almost anything on Linux, not just the status bar. For example, you can tweak how the terminal works to make it more functional. While you’re at it, you might also want to check out these five apps that let you customize the interface on Windows.


