Many Linux users switching from Windows often miss Paint.NET’s clean interface and straightforward tools that get the job done without complex options, menus, or settings. Fortunately, Pinta fills that gap perfectly. Pinta is a lightweight, open-source image editor that brings the simplicity and familiarity of the classic Paint.NET experience to Linux users.
Further, Pinta is cross-platform, meaning it works on macOS and Windows too. Let’s explore its key features, installation, and how to use it on Linux.
Key Features of Pinta
Before diving into installation, here are the standout features that make Pinta a great Paint.NET alternative on Linux:
- Pinta uses a stackable layer system for easy, non-destructive image compositing.
- It tracks your entire session so you can reverse any mistake easily.
- Comes with over 35 effects and adjustments, many ported directly from Paint.NET, including essential tools like brushes, shapes, pencils, and clone stamps.
- Offers precise control with lasso, rectangle, ellipse, and magic wand options.
- Allows you to apply filters like Gaussian Blur, Voronoi Diagram, or Outline Object with live previews.
- Provides lightweight performance and an intuitive layout designed for a nearly non-existent learning curve.
- Supports add-ins to extend capabilities beyond the core features.
- Available in over 55 languages for global accessibility.
- Supports OpenRaster (ORA), ensuring better interoperability with other open-source editors.
- Includes a dedicated screenshot tool fine-tuned to integrate with various desktop environments.
Installation and Setup
The most recommended approaches for a simple and reliable setup are Snap or Flatpak. These methods ensure you receive the latest version regardless of your Linux distribution’s default repositories.
For example, if you have Snap enabled, you can install Pinta using this:
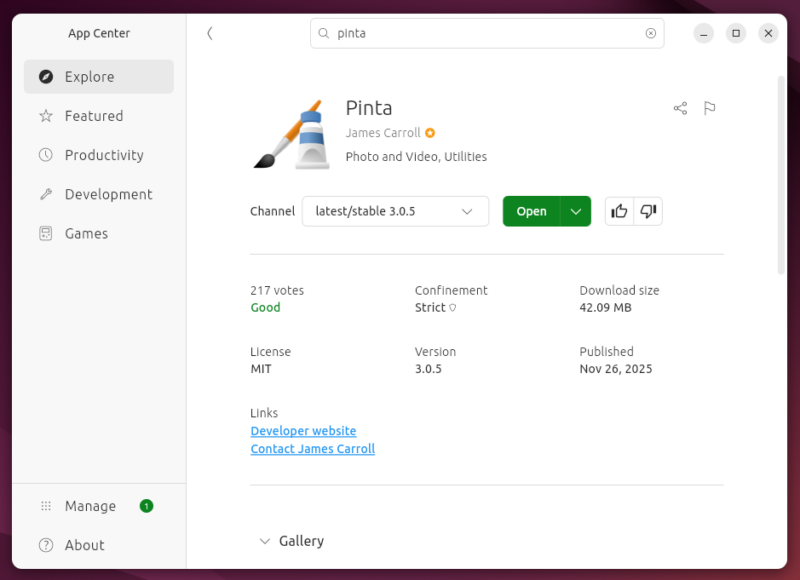
sudo snap install pintaAlternatively, you can also install Pinta via the App Center.
Furthermore, if you have Flatpak installed and enabled, then you can also install Pinta via this:
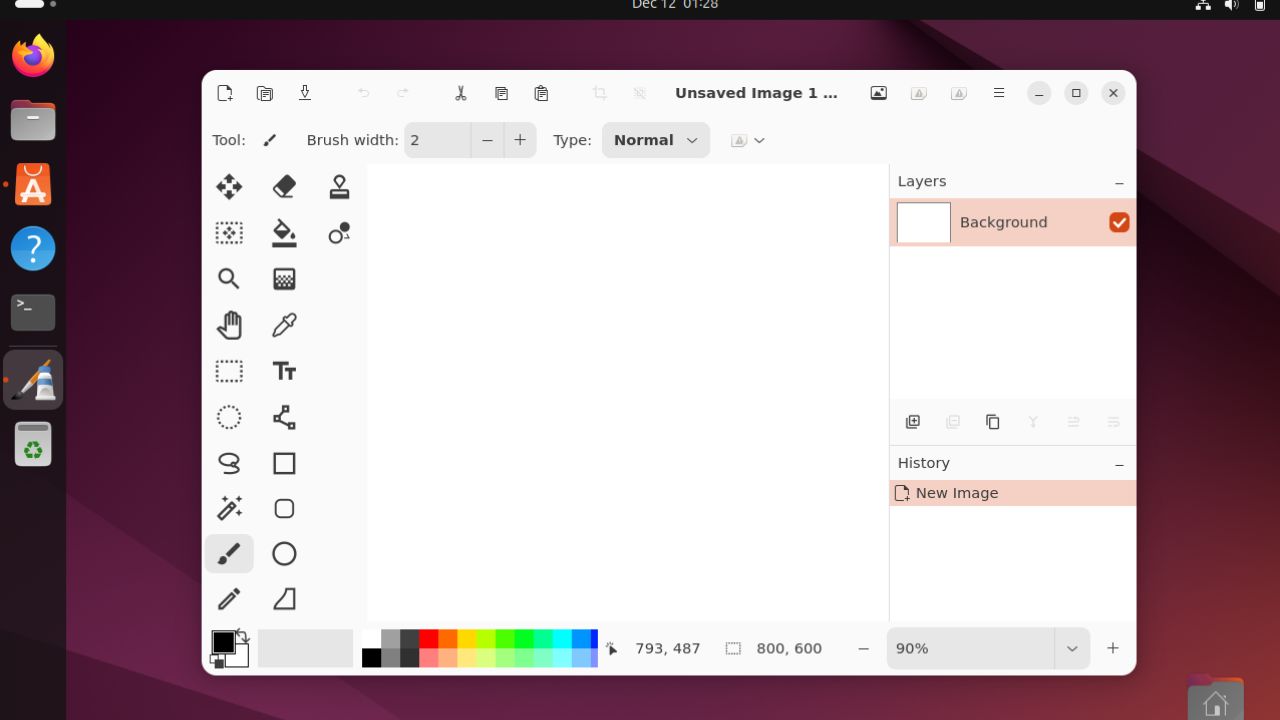
flatpak install flathub com.github.PintaProject.PintaOnce installed, launch it from your app menu. When you first open Pinta, you’ll see a clean, uncluttered interface with the toolbar on the left, the layers panel on the right, and your canvas in the center.
Also, the default settings are solid right out of the box. You can explore the preferences to adjust things like default image size or autosave frequency, but honestly, you can start editing immediately.
How to Use Pinta
Pinta is built around its layer system, which is the key to simple, safe editing. Your original photo is on the first, or base, layer. Before you draw anything, add text, or paste a new image, you must select Add New Layer by clicking the hamburger menu, then Layers -> Add New Layer (Alternatively, press Shift + Ctrl + N).
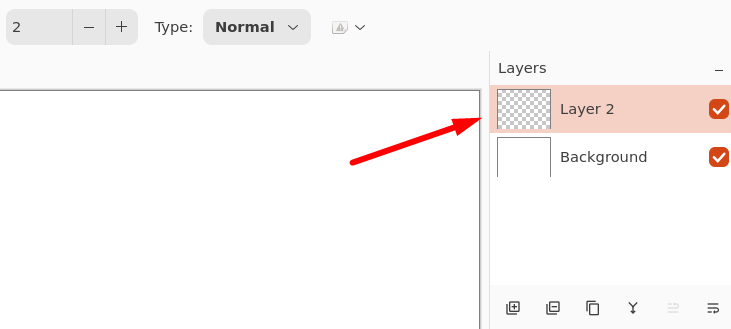
This creates a new, separate editing space. Any changes you make, like drawing a circle or blurring the background, will only affect the layer you are currently working on. This separation means you can easily delete an unwanted annotation or move a pasted image without messing up your original photo underneath.
To actually edit, you use the tools on the left side. For example, to quickly remove a plain background, use the Magic Wand tool from the toolbar, click the color you want to remove, and press the Delete key.

If you need to fix lighting or add flair, check the Effect’s menu at the top. You can pick Brightness/Contrast or Sharpen to apply a change instantly.
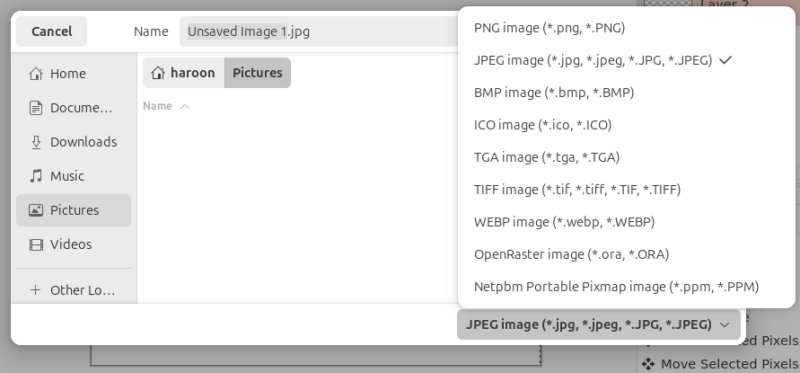
For saving, you can save your image in various formats, like PNG or JPG. Also, if you want to keep all those layers separate and editable so you can work on the file again later, you must save it as a Pinta project file (ORA).
If you take a lot of screenshots for tutorials or for any reason, Pinta makes annotating them painless. You can paste the screenshot directly or press Ctrl + V to create a new image. After pasting, you can use the rectangle or ellipse tools to highlight areas, and add arrows with the line tool.
Pinta vs. Other Alternatives
When compared to other alternatives, Pinta is simpler and faster. For example, a professional tool like GIMP is designed for deep photo manipulation, but it comes with a steep learning curve and a complex interface that is often excessive for a simple crop or a quick annotation. Pinta by contrast is lightweight and intuitive. It offers the essential layer-based editing features needed for tasks like editing screenshots, resizing images, and applying basic effects.
Similarly, Pinta differs from specialized alternatives like Krita, which is optimized entirely for digital painting and illustration. Its advanced brushes and art tools make it complex for simple photo work. Therefore, you should choose Pinta when you prioritize speed, simplicity, and a low learning curve for general image editing. However, if your work requires professional-grade features, complex masking, advanced color grading, or specialized drawing tools, you should move up to GIMP or Krita.
Final Thoughts
Pinta successfully translates the speed and layer functionality of Paint.NET into the Linux environment. For the vast majority of daily editing tasks, Pinta is just perfect and the most efficient choice. Furthermore, if you want to know which free Photoshop alternative is best on Linux, check this guide.


