Apple continues to lead the way in digital inclusion, offering powerful Accessibility features that make technology more usable for everyone. One standout is Live Speech, which enables individuals with speech impairments to type messages and have them spoken aloud during phone calls. It can also be a smart solution for anyone needing to communicate in a loud environment. Here’s how to activate and use it on your iPhone or iPad.
Good to know: check these voice control features on your iPhone for hands-free use.
Who Can Use Live Speech
Live Speech is available on the following devices:
- iPhone XS or later
- iPad Air (5th generation)
- iPad Pro 11-inch (3rd generation) or later
- iPad Pro 12.9-inch (5th generation) or later
- Mac with Apple silicon
- Apple Watch Series 3 or later
Live Speech also requires your device to run the following software:
- iOS 17 and up
- iPadOS 17 and up
- macOS Sonoma and up (14.0)
- watchOS 10 or later
Enable Live Speech on Your Device
To use Live Speech during calls, you’ll first have to enable it on your device.
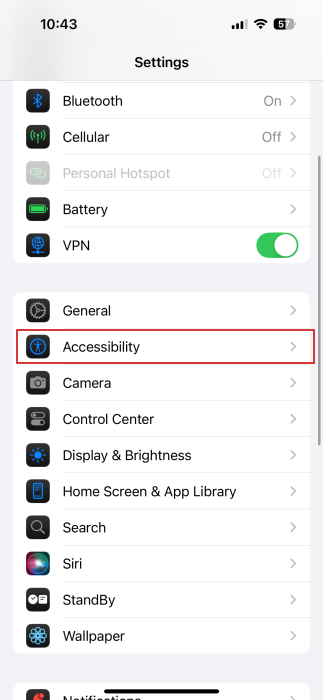
Open the Settings app on your iPhone or iPad. Navigate to Accessibility and tap to open the menu.
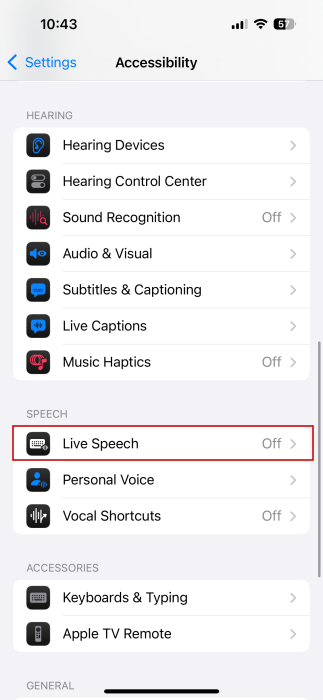
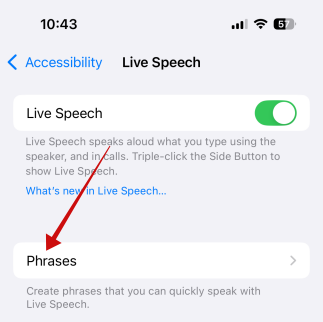
Find the Speech section and tap on Live Speech.
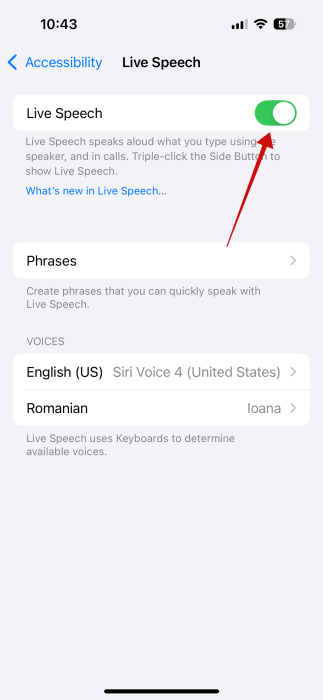
Toggle on the Live Speech option at the top.
In order to activate Live Speech easily during your calls, you might also want to enable a secondary feature called Guided Access.
For that, go back to the Accessibility menu and find the General section. Tap Guided Access.
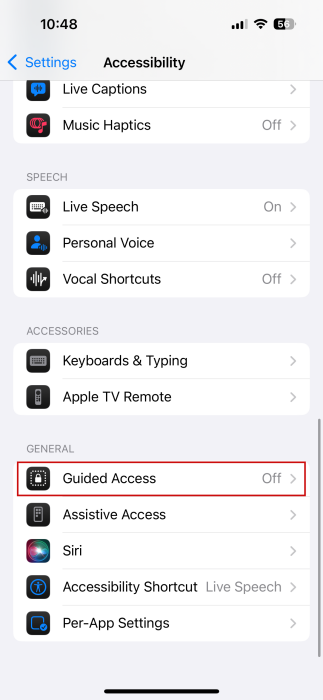
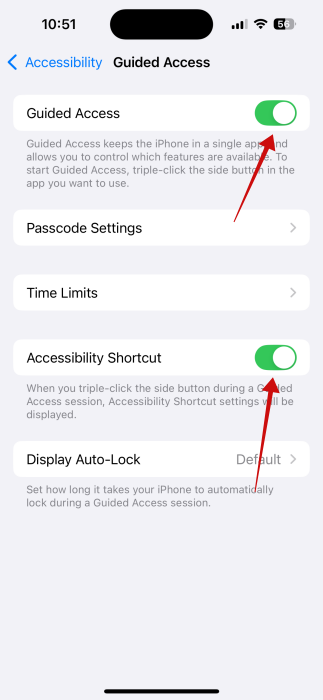
Enable the Guided Access option at the top. Doing this will enable a few other features to appear, including Accessibility Shortcut, which should be on.
Tip: learn how to fix cellular data not working on iPhone and iPad.
Activate Live Speech During Calls
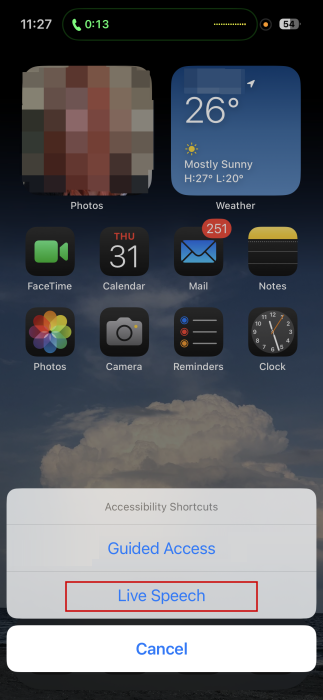
You can activate Live Speech whether you’re in a regular call or on FaceTime. To access the Live Speech UI, press three times on the side/home button on your iPhone.
When you do that, a menu will pop up from the bottom. Select Live Speech.
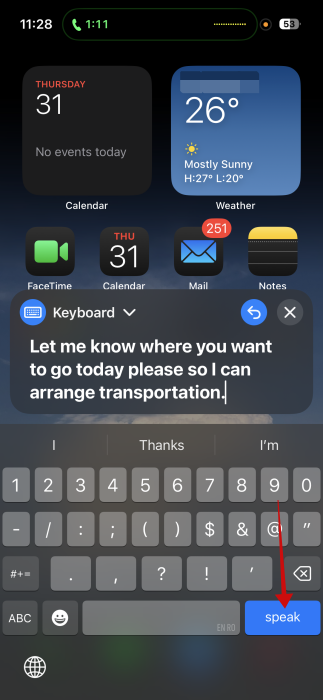
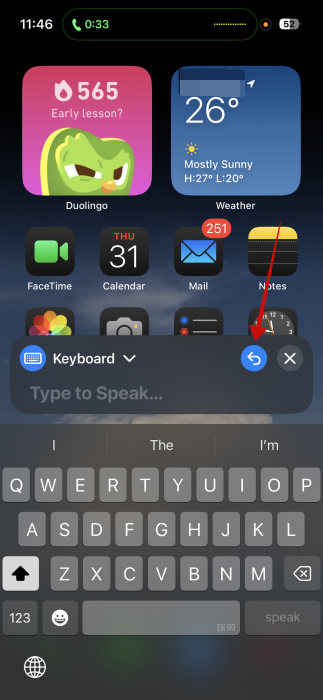
Now the Live Speech box is available. Type in your phrase. When you’re done, press the Speak button to have your iPhone speak the text out for you during a call.
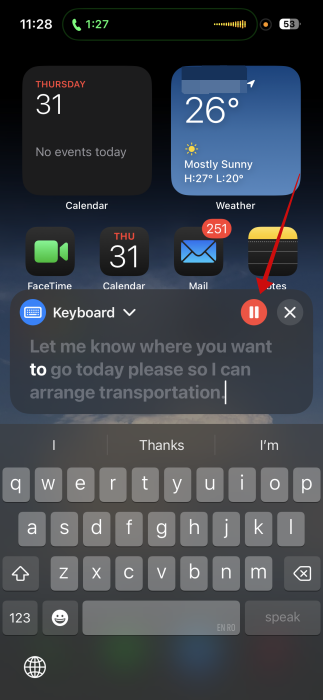
If you want to replay the same message, you can do so by pressing the Redo button after the initial reading is over.
Alternatively, you can press the Stop button to have your iPhone cease speaking.
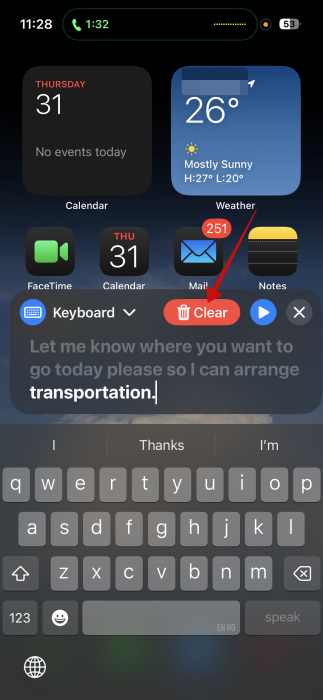
You can immediately delete the text by pressing the trash can icon and quickly writing another phrase.
Changing Voice & Language for Live Speech
If you need to change the language in which Live Speech speaks out, you can do so by navigating to Settings -> Accessibility -> Live Speech.
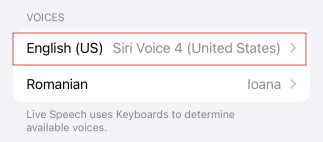
Look at the Voices section and select one in your preferred language.
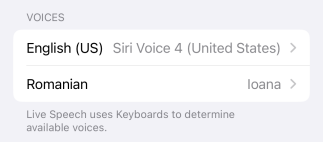
Note: you need to have previously added a keyboard in another language to have access to voices in said language. Go to Settings -> General -> Keyboard and press Add New Keyboard from there.
To change the voice in which Live Speech speaks during calls, tap on your default voice option (in this case, it’s Siri Voice 4).
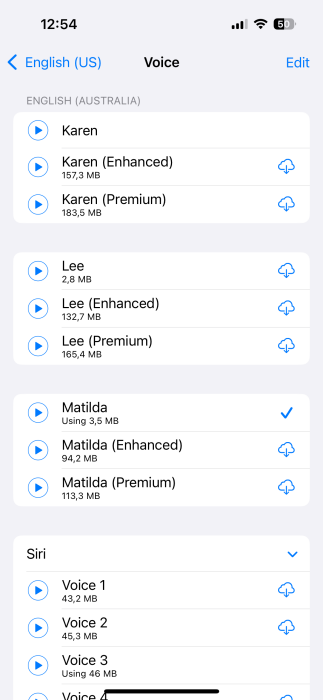
Browse through all the voice options. Tap on the Play icon to hear how a voice sound. If you find that you like one, press on the Download button to save it to your library.
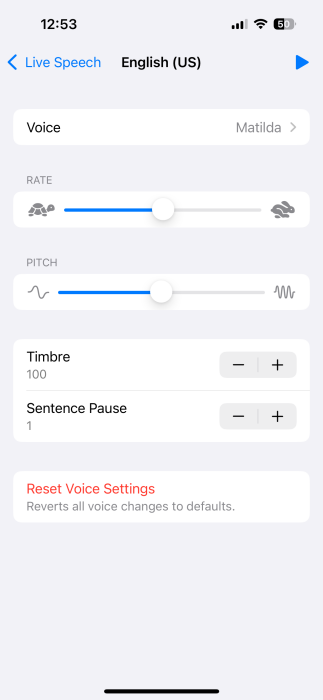
You can also modify the characteristics of some voices, including rate and pitch, as well as timbre and sentence pause (more options available on select voice).
FYI: need to exit a situation quickly? Here’s how to get rescued by a fake phone call.
Using Your Own Voice in Live Speech
If you found these voice options all too robotic, you should know that you have the option to use your own voice in Live Speech.
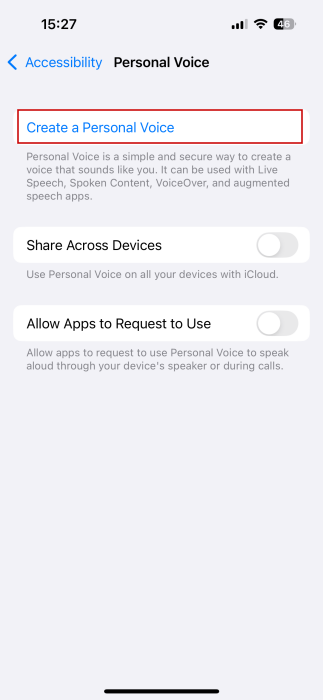
Navigate to Settings -> Accessiblity and look for Personal Voice in the Speech section.
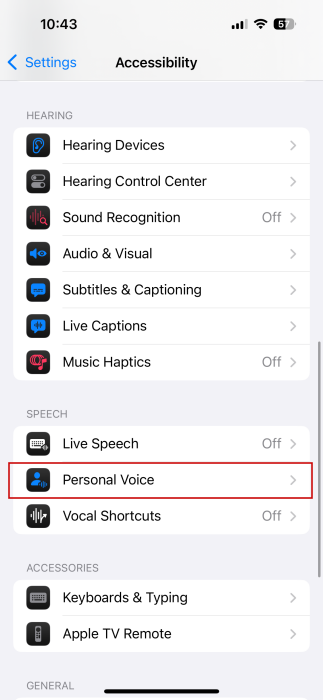
Tap on Create a Personal Voice at the top.
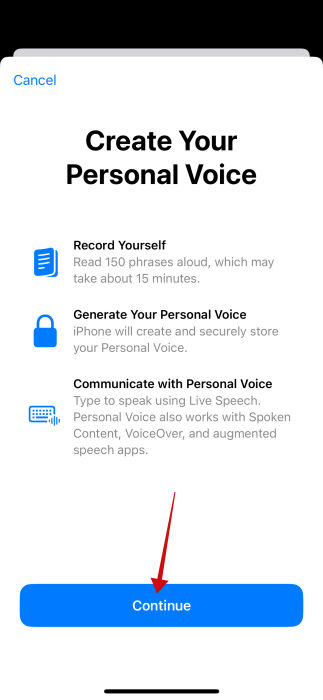
Press the Continue button on the next two screens to initiate the process of creating your personal voice.
Choose your language.

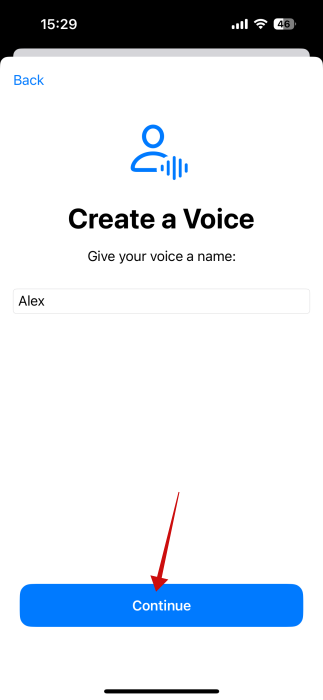
Name your voice and press Continue.
The iPhone will now scan your environment to make sure it’s low on background noise. If it finds that’s the case, you can start the process.
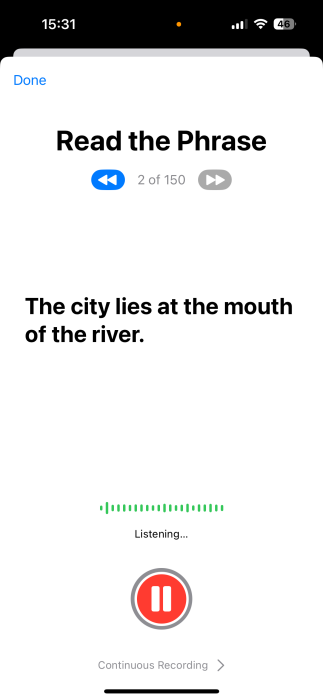
To set up a Personal Voice, you’ll need to speak out 150 phrases to train the model. This takes approximately 15 minutes. Apple suggests that you read these phrases in a natural tone as if you’re having a conversation.
Once you’ve accomplished this task, wait until your iPhone or iPad to finish the process. You need to have your device plugged in and charging for that.
When everything is ready, you’ll be able to find your voice under the Live Speech -> Voices.
Adding Phrases to Live Speech
If you frequently use various phrases or names in your communications, you might want to add them to your Live Speech library, so that you don’t have to type them out each time.
To add a new phrase, go to Settings -> Accesibility -> Live Speech and select Phrases.
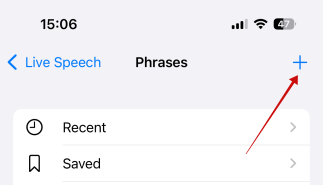
You can create a new phrase category by pressing the + button in the right corner.
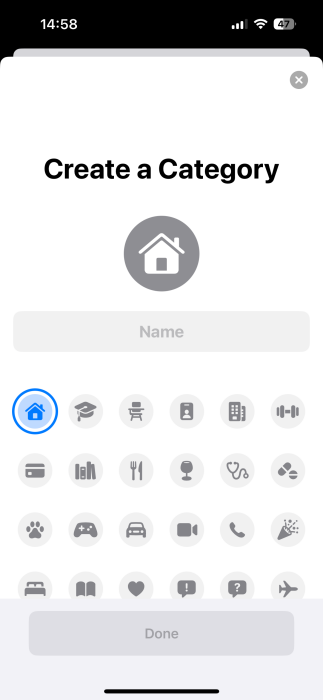
Name the category and choose an icon for it.
Back on the Phrases screen, tap on the new category (Saved is available by default).
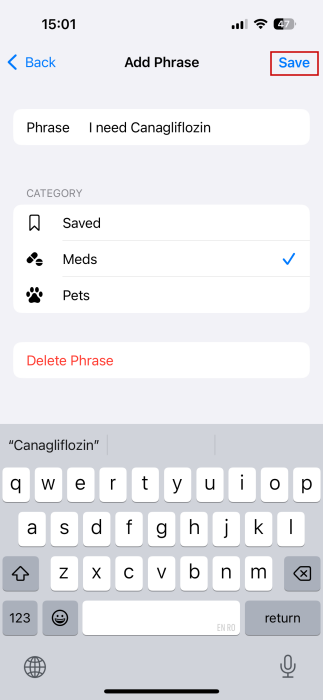
Press on the + button in the upper right corner.
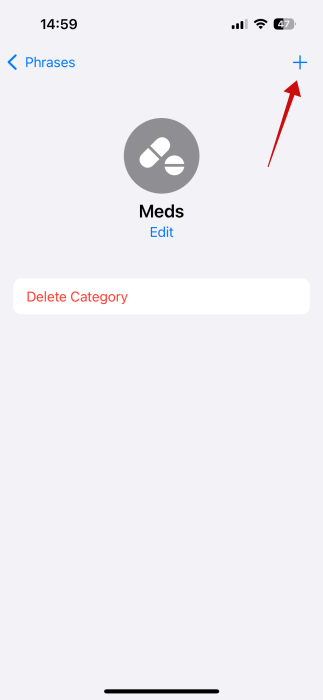
Type your phrase in the top field and then press Save.
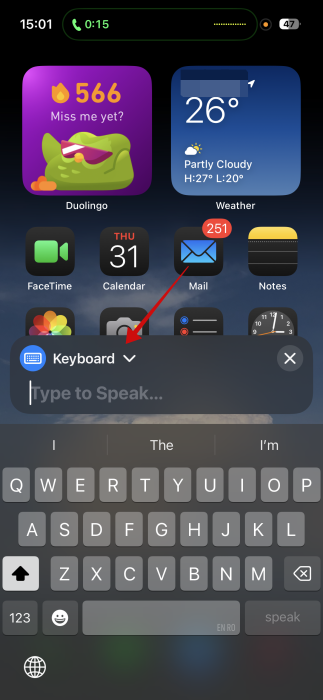
You can add phrases while you’re in a call too. Tap the little arrow next to Keyboard while you’re in the Live Speech UI.
You should see all your phrase categories now. Go to the one that contains the phrase you are seeking. Tap on it to have your iPhone speak it out.
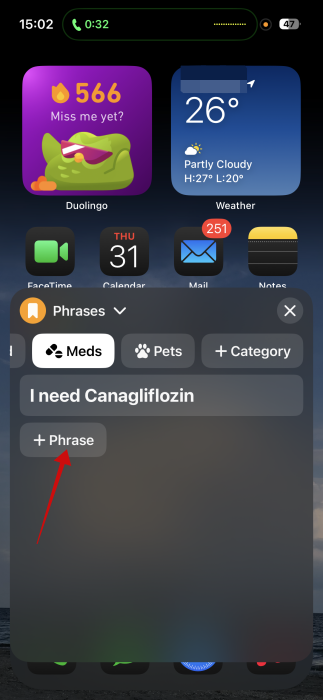
To add a new phrase in the same category, tap the +Phrase button underneath the existing items.
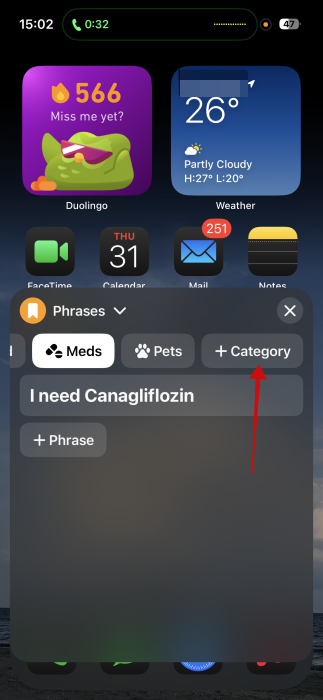
Alternatively, you can also add a category by pressing the +Category button (you’ll have to swipe to the right to find it) and adding more phrases from there.
Note: text shortcuts created with Text Replacement also work in the Live Speech UI (but for next, not emoji or other special characters).
If you want to further enhance how you communicate using your Apple device, then you might be interested in reading about how to record your calls and transcribe them on iPhone. Alternatively, check how to use emergency SOS on iPhone.