As someone who often captures and annotates screenshots on Linux, I’ve tried countless tools. Most feel either too basic or too clunky for daily work. That’s where Gradia shines: it offers a simple, polished workflow that turns everyday screenshots into clean, share‑ready visuals in seconds.
What Is Gradia
Gradia is a free, open-source Linux application that combines the simplicity of standard screenshot shortcuts with advanced styling and annotation features. Unlike heavy tools that slow down older systems, Gradia runs quickly and efficiently. It gives you full control over your screenshots, letting you add arrows, highlights, and text annotations in one place instead of relying on separate editors.
It works best with windowed application screenshots (typically PNG files), placing them on customizable backgrounds with padding, rounded borders, drop shadows, and more. While it supports most image formats, Gradia’s layout features optimize it for screenshot enhancement rather than general-purpose editing.
Installation of Gradia
You won’t find Gradia in most Linux distributions’ default repositories, but you can install it using Flatpak or Snap. Flatpak is a universal Linux package system that runs apps in isolated environments. You have to configure it on your system before you can use it.
After setting up Flatpak, install Gradia with:
flatpak install flathub be.alexandervanhee.gradiaAnd that’s it! Gradia will be installed and ready to use. Launch it from your app menu or by executing this:
flatpak run be.alexandervanhee.gradiaAnother great option is Snap, which is another universal packaging system developed by Canonical, the company behind Ubuntu. If you’re on Ubuntu, Snap is already set up for you.
You can install Gradia from the Snap Store with this:
sudo snap install gradiaAfter the installation is complete, you can launch Gradia from your application menu or by typing gradia in your terminal.
Gradia’s Screenshot Capture Options
Gradia works with your system’s screenshot tool to grab exactly what you need. You can trigger a full‑screen capture, take a snapshot of a single window, or interactively select a specific area using your desktop’s screenshot function. Once you capture your screen, you can open it in Gradia and start styling and annotating it.
You can make Gradia open automatically whenever you take a screenshot by creating a custom keyboard shortcut. To do that, simply open the Keyboard settings from the menu, head over to the Shortcuts tab, and find Custom Shortcuts.

Next, add a new custom shortcut and name it. Then, in the command field, use this:
flatpak run be.alexandervanhee.gradia --screenshot=INTERACTIVEAlternatively, if you prefer to capture all screens instantly, you can use --screenshot=FULL instead.
Finally, choose a key combination based on your preferences. From now on, pressing that shortcut captures a screenshot and opens it in Gradia, ready for you to style and annotate without any extra steps.
It Provides Smart Annotation and Styling
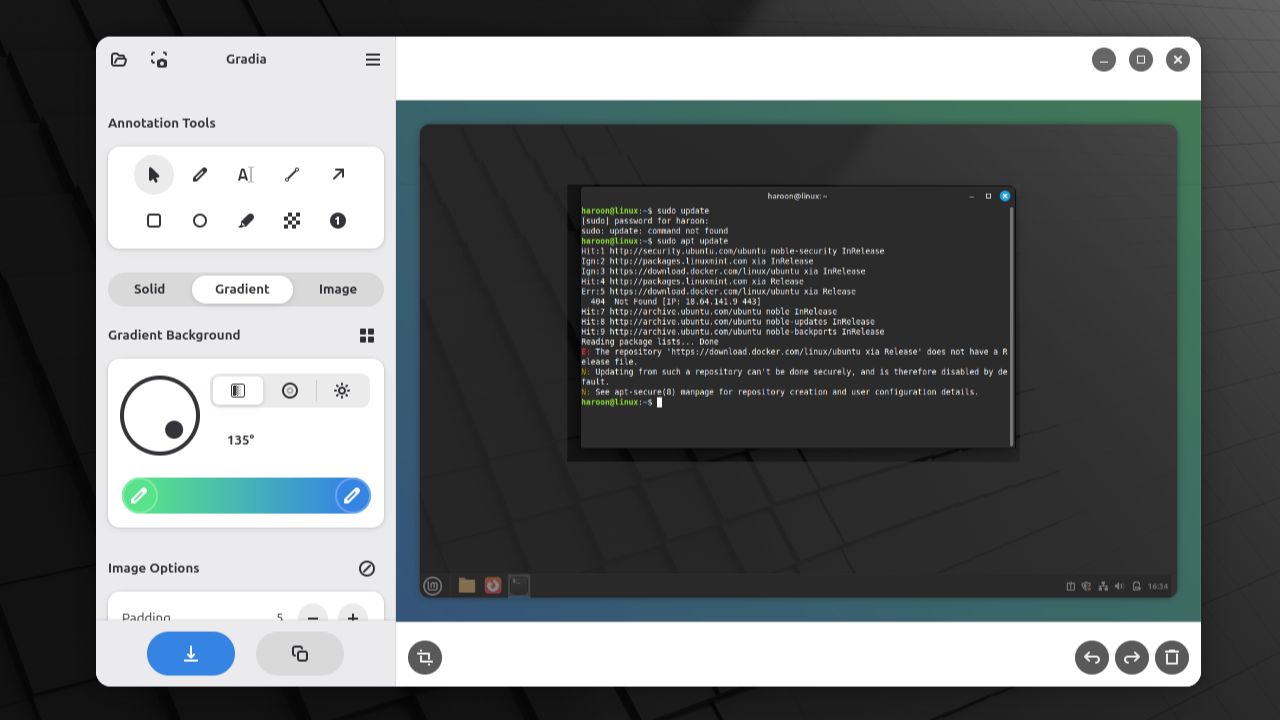
Gradia makes annotating your screenshots effortless and professional. As soon as you capture an image, the app takes you straight into its editing mode. From there, you get a focused set of tools that cover everything most users need for clear, useful markups.
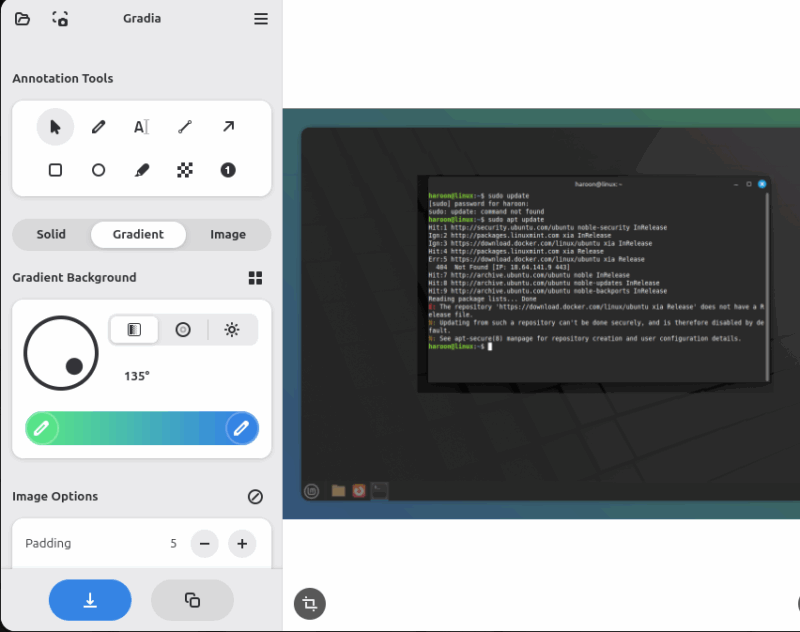
You can draw arrows and lines, or use rectangles and circles to highlight key areas on the screen. The text tool works perfectly for adding short instructions, labels, or titles, and you can easily adjust the font size and color for readability.
Further, the blur and pixelate tools let you quickly hide sensitive information like emails, usernames, or private data without leaving the app.
Quick Export and Easy Sharing
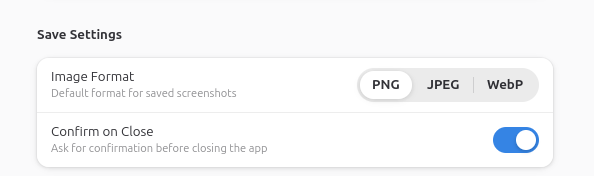
You can export your image in common formats like PNG, JPEG, or WebP, giving you the choice to balance quality and file size. It also lets you copy the final image straight to your clipboard, so you can paste it directly into an email, a chat app, or a document without creating extra files on your desktop.
In addition, Gradia keeps your original screenshot intact and saves the styled or annotated version as a new file. This way, you can go back to the original file if you need to make changes later.
Final Thoughts
If you only need to grab a screen quickly, you can keep using your default screenshot tool. But if you love editing your screenshots to make them look professional and polished, you should try Gradia. It focuses on the features that actually make screenshots useful, such as clean styling, practical annotations, and quick ways to save or share your work.


