I’ve tested and used many terminal emulators throughout my Linux journey, including Alacritty, Kitty, and Konsole. But the one I have spent the most time on is GNOME Terminal, the default terminal of Ubuntu. Recently, though, I decided to try out a new terminal called Ghostty. After spending some time with it, I couldn’t help but thinking that I should from GNOME Terminal to this modern alternative for good. Ghostty promises speed, native integration, and a feature set that feels refreshing compared to older terminals. Let’s take a closer look at what makes it stand out.
At its core, Ghostty is a modern cross-platform terminal emulator, which was officially released in December 2024. Since then, it has built a strong following among Linux and macOS users. It combines speed, features, and native integration in a way that most traditional terminals don’t.
For example, most terminals either run very fast but lack features, or they have lots of features but feel slow and heavy. Ghostty avoids that trade-off. It uses GPU acceleration to make scrolling and rendering super smooth. Plus, it integrates with GTK4 on Linux and SwiftUI on macOS so it looks and feels like a natural part of your desktop.
Further, it offers app-like functions such as native tabs, split views, and a drop-down terminal (Quake mode). It even supports modern features like the Kitty graphics protocol, truecolor, hyperlinking, and automatic light/dark mode switching.
Installing and Using Ghostty on Linux
Ghostty can be installed on Linux in several ways. Some distributions include it in their official repositories, while others require manual installation or community packages.
For example, if you are on Arch Linux, Ghostty is in the official [extra] repo, so you can install it with:
sudo pacman -S ghosttyGhostty is not yet available in Debian/Ubuntu or Fedora official repos. On these distros, you’ll need to either build it from source or use alternative packages such as unofficial DEB packages for Ubuntu/Debian or Snap community maintained.
The easiest way I recommend is to just use snap:
sudo snap install ghostty --classicOnce installed, you can launch Ghostty from your app menu or by typing ghostty in your terminal. By default, it runs like any other terminal emulator – clean, fast, and ready for use.
Further, if you want a portable option, you can use the AppImage build. Download the AppImage file from the releases page.
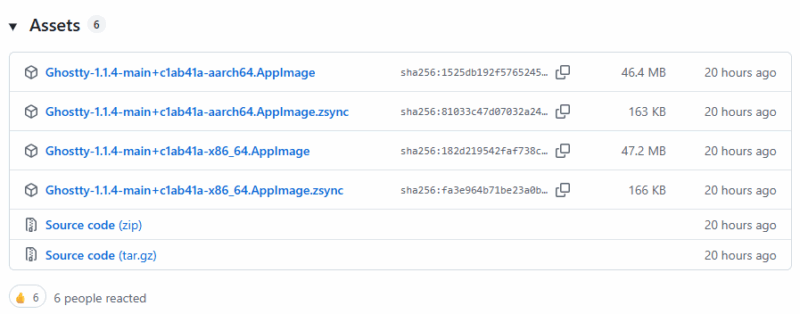
After that, make it executable with this:
chmod +x Ghostty-x86_64.AppImageThen, you run it:
./Ghostty-x86_64.AppImageIf none of these work for you, Ghostty can always be built from source using zig build after installing the necessary dependencies (GTK4, libadwaita, etc.). Also, instructions for your distro are available on the official docs.
Key Features of Ghostty
Ghostty provides all those features that you actually use, like the tab management, which provides you to not only open multiple tabs but also get a full overview of them, which makes switching between sessions much easier. With Ghost built-in multiplexing, you don’t need separate tools such as tmux or screen to create panes, tabs, and sessions within a single terminal window.

Further, It includes all the standard features you’d expect from a modern terminal, such as 24-bit true color support, clickable URLs, and mouse reporting. It also supports hundreds of themes, advanced font features, and Multi-codepoint emoji such as flags, skin tones, etc. Also, thanks to the Kitty graphics protocol support, you can easily view images directly in your terminal.
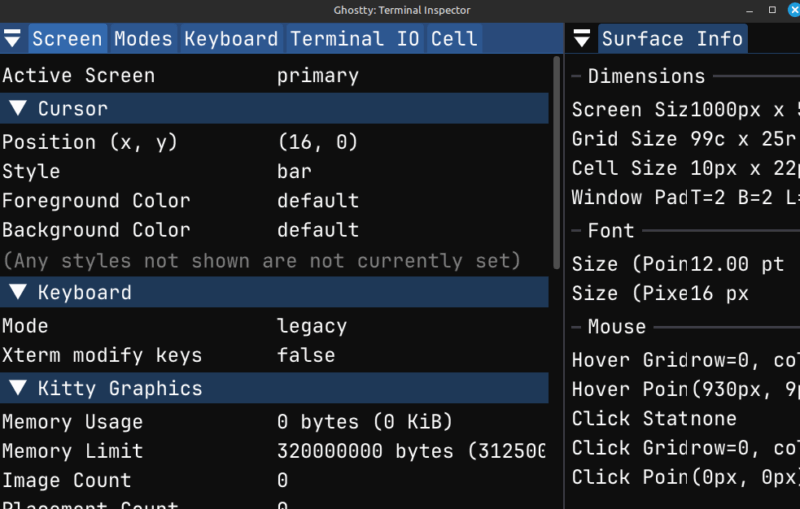
Finally, I was pleasantly surprised by the terminal inspector, which gives you a developer-tools-like view of what’s happening inside the terminal. It’s one of those features you don’t realize you need until you try it.
Ghostty Customization Options
If you’re a Linux terminal lover, chances are you don’t just use a terminal, you make it your own. Ghostty offers plenty of ways to tweak its appearance and behavior. It all happens in a single config file located at “~/.config/ghostty/config”. You can open this file with your favorite text editor like nano or vim:
nano ~/.config/ghostty/configAlternatively, you can also open this file by navigating to the hamburger menu and from there pressing Open Configuration.
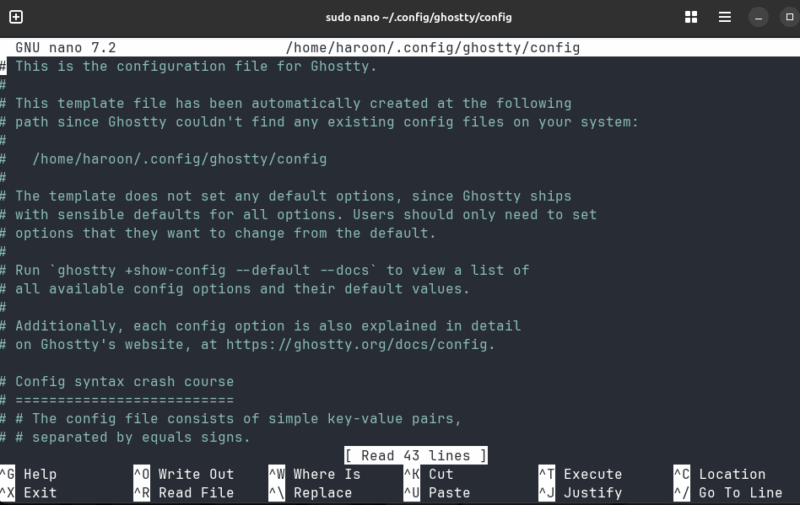
This file contains clean key-value pairs. You can change fonts, padding, window opacity, even override specific hex-based color values. And from the menu, click on Reload Configuration to instantly reload your look without restarting.
Ghostty’s theme comes bundled with hundreds of built-in themes that you can view it using this command:
ghostty +list-themesYou can apply any theme by going to the configuration file and replacing the theme name with the theme you selected from the available list, such as theme = catppuccin-frappe, and instantly see the change after a quick reload.
You can also separately specify the light and dark theme for day and night, such as:
theme = dark:catppuccin-frappe,light:catppuccin-latteBut customization isn’t just visual. Ghostty integrates intelligently with bash, zsh, and elvish, adding features like auto-resizing prompts, smarter selection, and preserving terminfo over sudo.
Note: While most settings reload smoothly, sometime the font size changes don’t always apply unless you restart the session.
Is It Worth Replacing Your Terminal?
While Ghostty brings a refreshing design and some genuinely useful features, it’s still very new. If you’re already on a modern terminal like Kitty or Alacritty, then the upgrade might feel more like a sideways move than a leap forward. But, if you’re on an older terminal or native terminal like GNOME’s default, the switch to Ghostty provides you more features with its native feel.
If you haven’t tried it yet, maybe it’s time to open Ghostly and see what all the excitement is about. Further, you can also explore the AI-powered warp terminal to use AI in your terminal.


