Microsoft continues to update Windows 11 File Explorer’s context menu with new features and the latest addition is AI Actions. This tool lets you edit photos or summarize documents with a quick right-click and makes File Explorer smarter. If you’re using the Windows Insider build, here’s how to enable AI actions in Windows 11 File Explorer.
What Are AI Actions in File Explorer
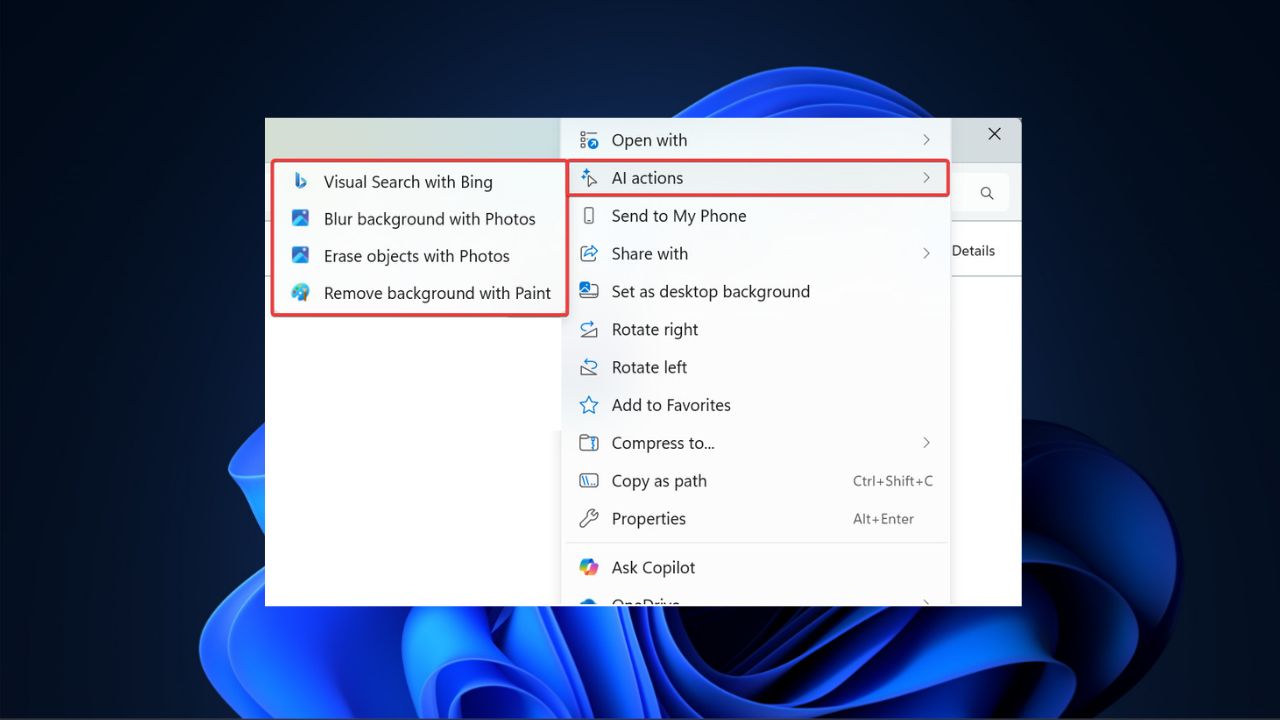
With AI Actions in Windows 11 File Explorer, it will add specific actions to the context menu when you right-click on certain files, such as JPGs, PNGs, or Office documents.
These shortcuts in the context menu allow you to blur or remove photo backgrounds and completely erase objects. You can also use Bing Visual Search to find similar images to what you’re editing online.
In addition, you can summarize the content of your Word and Excel files too, although you’ll need a Microsoft 365 Copilot subscription for this.
Note: It is currently not available for everyone, as it’s being tested in Windows Insider Dev and Beta Channels for Copilot+ PCs.
What You Need to Enable AI Actions
Before you enable AI Actions in Windows 11 File Explorer, make sure you have the following:
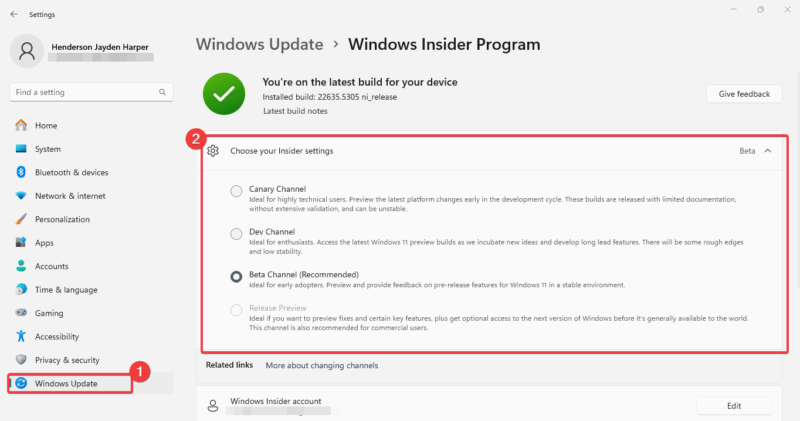
- You need to be in the Windows Insider Program. Either be enrolled in the Dev Channel (Build 26200.5603) or Beta Channel (Build 26120.4151).
- You need a Copilot+ PC with Snapdragon chips, though AMD and Intel support is coming soon. Check out our AI PC recommendations guide for more info.
- To summarize documents, you’ll need a Microsoft 365 Copilot subscription.
- Ensure your Windows 11 is updated to the latest Insider build.
Enable and Use AI Actions
To enable AI Actions in Windows 11 File Explorer, join the Windows Insider Program. Go to Settings -> Windows Update -> Windows Insider Program and sign up for Dev or Beta Channel.
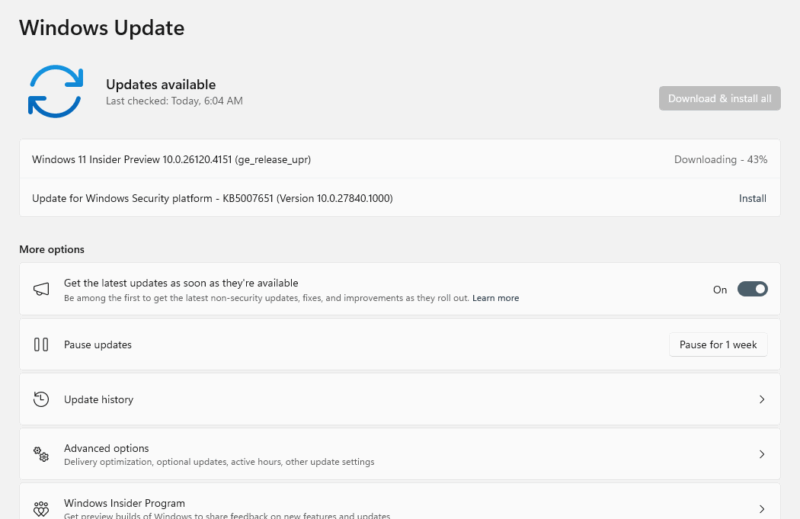
Go back and click Check for updates or Download and Install to install the latest Insider build for your PC.
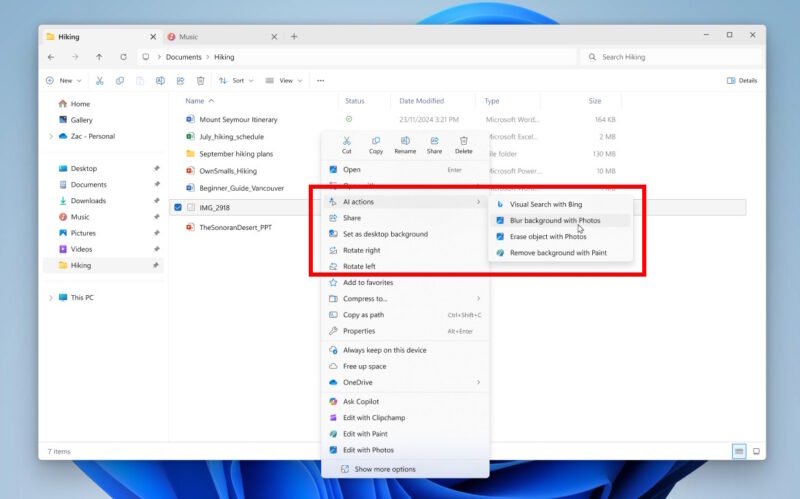
Open the File Explorer, navigate to a JPG, PNG, or Office doc file, and right-click the file to see the AI Actions sub-menu.
Now, choose an action from options like Blur Background, Erase Objects, or Remove background with Paint or Visual Search with Bing.
If you cannot see the menu yet, you can force enable it with these steps:
- Download ViveTool from GitHub and unpack the files into a new folder on the desktop.
- Copy the folder location path and launch Command Prompt as Administrator.
- Navigate to the folder location with the
cdcommand. - Type the following and press Enter:
vivetool /enable /id:54792954,55345819,48433719 - Restart your PC and go back to the File Explorer. Right-click to confirm the AI Actions in the menu.
Tips to Use AI Actions Effectively
To make the most of AI Actions in Windows 11 File Explorer, try to stick to only supported file types.
Also, use the Bing Visual Search often and blend it with Windows Photos’ new features for creative projects.
Ensure you have an active Microsoft 365 Copilot subscription if you plan to use the document summaries feature.
Always check for Windows updates since Microsoft is still expanding this feature. Not interested in anything AI on your PC? Then check out these simple ways to remove Copilot and more in Windows.
Enabling AI Actions in Windows 11 File Explorer is quite easy and makes your PC feel smarter with the quick edits. Join the Windows Insider Program, follow our steps, and start using this feature right now. Try it and tell us how it’s working for you in the comments below!