If you have not noticed, at the login screen of Ubuntu, anyone can select the “Guest Session” and login to your computer without password. Of course, the guest won’t be able to access your files and folders. What they will see is the default Ubuntu desktop and they won’t be able to store any file permanently as all saved files are deleted on reboot. The guest session is great if you are borrowing someone your laptop for a quick email check or web browsing. However, if you are the only user of your computer and you hate the “Guest Session” option cluttering up your login screen, here is how you can disable guest account in Ubuntu.
1. Login to your computer with your personal account. Open a terminal and type the following:
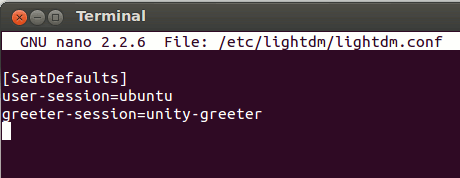
sudo nano /etc/lightdm/lightdm.conf
You should see the following:
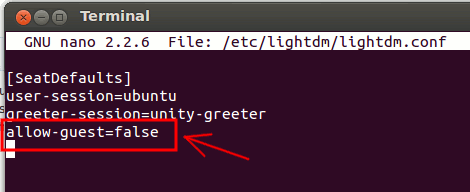
2. Move the cursor to a new line at the end and enter the following line:
allow-guest=false
3. Press “Ctrl +o” to save the changes and “Ctrl + x” to exit.
4. Restart Lightdm.
sudo restart lightdm
Alternatively, you can restart the computer. On the next login, the “Guest Session” mode will no longer show up in the login option.
More Configuration
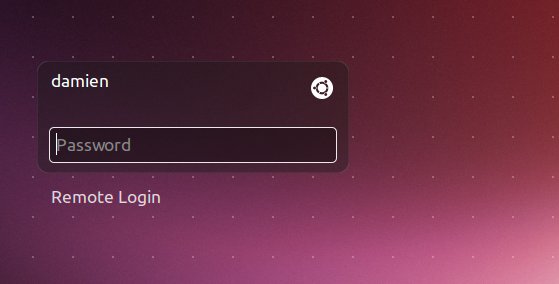
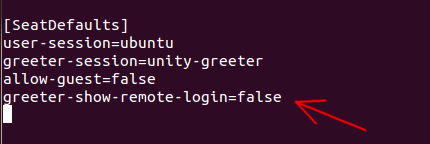
If you want to disable the “remote login” option as well, add the following line to the lightdm.conf file.
greeter-show-remote-login=false
Don’t forget to restart Lightdm
sudo restart lightdm
Restoration
To restore the login screen to the default state, simply undo the changes you have made. That means, remove the line “allow-guest=false” or “greeter-show-remote-login=false” from the lightdm.conf file.


