
In Linux, you will frequently come across a file in the .ISO format. Most Linux distributions provide their LiveCD downloads in ISO format, as it is easier to work with in Linux. However, there are times when you come across an IMG file and have no idea how to deal with it. In this article we will show you how you can easily convert an IMG file to ISO format.
Understanding IMG and ISO Files
Before starting the conversion process, let’s first understand what you’re working with. Think of IMG and ISO files as different kinds of digital containers. They often store similar data, like the contents of a CD or DVD, but the two formats aren’t always interchangeable.
An IMG file is usually a raw, bit-for-bit copy of a storage device. It captures everything from files and partitions to unused space, and can come from a CD, DVD, USB, or SD card. Since .img is a generic extension, the format can vary depending on how it was created.
An ISO file, on the other hand, is a standardized image format built for optical discs. It follows ISO 9660 or UDF standards, making it widely compatible with burning tools and virtual machines like VirtualBox or VMware.
Why Convert IMG to ISO?
The main reason to convert an IMG file to ISO is compatibility. While many Linux tools can handle IMG files just fine, the ISO format is far more widely supported. You’ll need it, for instance, if you plan to burn the image to a disc, use it in a virtual machine, or share it with others.
That said, not all IMG files are built the same. They generally fall into two main categories:
- Optical disc images (CDs or DVDs) often already use the ISO 9660 structure, you can usually just rename them to .iso.
- Drive or filesystem images (like Raspberry Pi SD cards) use formats such as ext4 or FAT32 and can’t be directly converted to a bootable ISO without rebuilding it.
Also keep in mind that If your IMG came from CloneCD or similar tools, it might have .ccd or .sub files. These contain extra track data that basic converters like ccd2iso ignore.
Converting IMG to ISO
If you’re comfortable with the command line, Linux offers several straightforward ways to convert IMG files to ISO format. Before converting, first check what type of image you have with this:
file image.imgIf the file output says something like ISO 9660 CD-ROM filesystem, your IMG file already follows the ISO structure. In that case, simply rename it, and you’re done. Simply, open your terminal, navigate to the file’s directory, and type:
mv input.img output.isoThat’s it! To confirm the conversion, try mounting or using the renamed file. If it mounts without any errors, you’ve got a valid ISO. This method works more often than you might expect because many disk imaging tools create ISO-compliant images but save them with the .img extension.
If the file output instead says data, x86 boot sector, or DOS/MBR, then you’re dealing with a raw disk image and will need to use one of the conversion methods below.
Method 1: Use the ccd2iso Tool
The primary tool for converting CloneCD-style images (IMG paired with CCD/SUB) to ISO format is ccd2iso. Although it’s a command-line tool, it’s pretty straightforward to use. To install ccd2iso on any Ubuntu-based distribution, use:
sudo apt install ccd2iso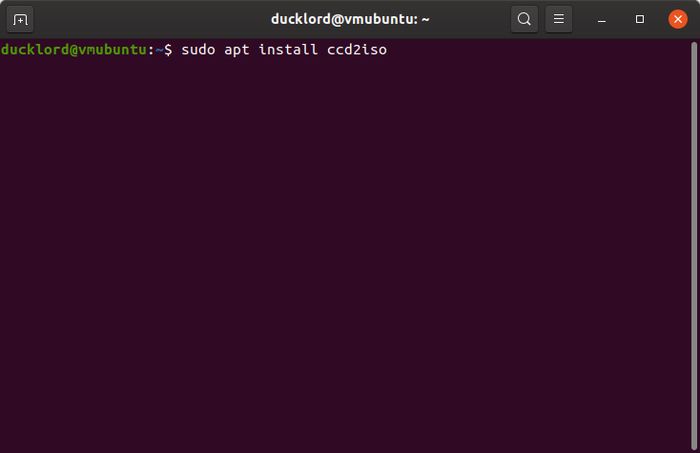
Afterward, to convert any IMG file to ISO format, use:
ccd2iso source_file.img destination_file.iso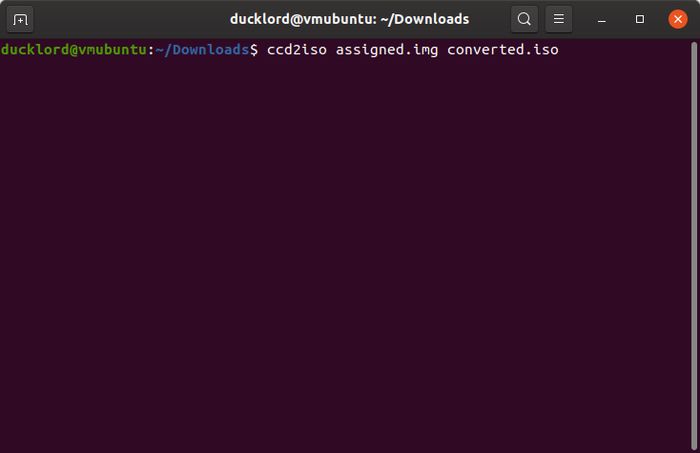
Yes, it is as simple as that.
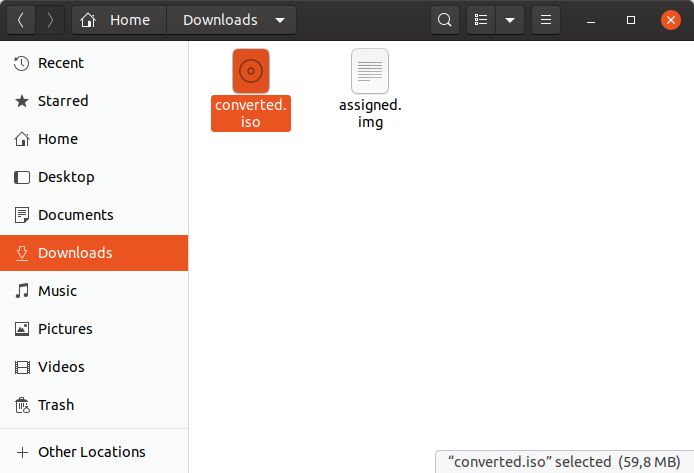
After a short time, you will find the converted ISO file next to your original IMG file.
Method 2: Converting With iat
A newer and more versatile tool, iat, can read IMG files and many more CD image formats and either convert them to ISO files or directly burn them to disk.
To install it, use:
sudo apt install iat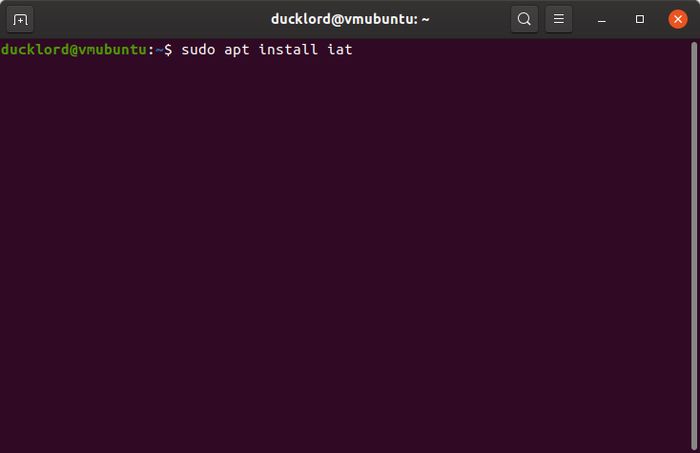
To initiate a conversion, use the following command:
iat input_file.img output_file.iso
Method 3: Using genisoimage Tool
If your .img file isn’t a simple disc clone, but a full filesystem image that you want to unpack, edit, and rebuild into a clean ISO, that’s where genisoimage (also known by its older name, mkisofs) comes in. Unlike simple rename or copy methods, this tool doesn’t just convert the image, it actually builds a brand-new ISO from scratch using the files and folders you provide.
You’ll usually use genisoimage when you want to create an ISO from a directory or from the contents of a mounted image. It’s perfect for .img files formatted with filesystems like ext4, FAT32, or other non-ISO types.
The process is pretty straightforward. First, mount the .img file so you can access what’s inside. Mounting basically makes the image behave like a connected drive:
sudo mkdir /mnt/img_contents
sudo mount -o loop /path/to/your_file.img /mnt/img_contents
If everything goes smoothly, you can open the “/mnt/img_contents” folder and browse the files from your image.
Before moving on, make sure you have genisoimage installed. On Debian or Ubuntu, use:
sudo apt install genisoimageOn Fedora, CentOS, or other Red Hat-based systems, run:
sudo dnf install genisoimageOnce it’s installed, it’s time to create your new ISO. The command below takes all the files from the mounted image and packages them neatly into a new .iso file:
genisoimage -o /path/to/new_image.iso -R -J /mnt/img_contentsHere, -o defines the output file name and location, -R adds Rock Ridge extensions, so Linux keeps its long filenames and permissions, and -J makes it compatible with Windows systems too. Using both gives you a flexible ISO that works across platforms.
After the ISO is created, it’s always a good idea to unmount the original .img to clean up:
sudo umount /mnt/img_contentsMethod 4: Using bchunk
Sometimes, your .img file is actually part of a BIN/CUE pair, where the .img serves the same role as the .bin file. In such cases, bchunk becomes incredibly handy. This tool specializes in converting BIN/CUE images into ISO format, and it can handle .img files structured in a similar way.
Install bchunk using your default package manager. On Ubuntu or Debian, run:
sudo apt install bchunkOnce installed, converting is straightforward with this:
bchunk input.img output.isoIf you have multiple .img files in the same directory, you can batch-convert them like this:
bchunk *.img output.isoAnd if your .img file comes with a corresponding .cue file, use both together for a more accurate conversion:
bchunk -v image.img image.cue output.isobchunk really shines for BIN/CUE conversions but adapts well when you work with certain .img files too, depending on how creators made them.
GUI Tool to Convert IMG to ISO
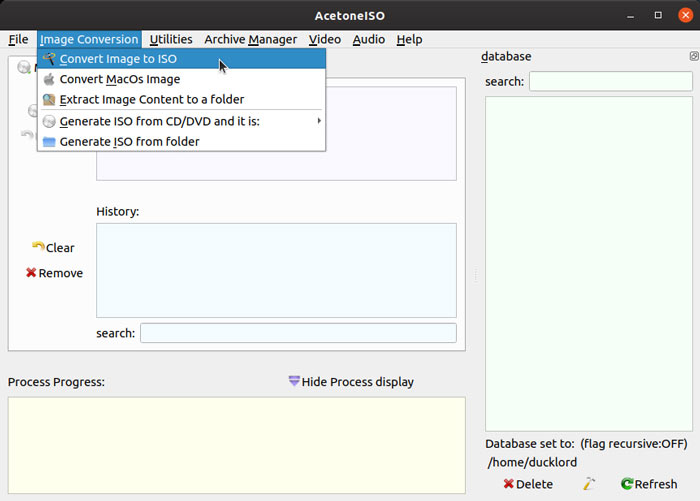
If you prefer a GUI, you should try acetoneiso. Install it with:
sudo apt install acetoneisoContinue by launching it and accepting the suggested settings. Don’t try to convert your IMG file to an ISO with it yet – it won’t work, and the program will suggest you visit PowerISO site and download the PowerISO Command Line Utility for Linux.
We downloaded the file to our default Downloads folder. If you save it elsewhere, remember to swap the path.
Open a terminal and move to the acetoneiso folder with:
cd ~/.acetoneisoExtract PowerISO from the file you downloaded with your equivalent of:
tar xvf /home/USERNAME/Downloads/poweriso-X.X.tar.gzReturn to AcetoneISO and from the Image Conversion menu, select Convert Image to ISO. Choose your original IMG file, enter a path and name for the converted file in the next step, and, after a short wait, your ISO will be available.
You can also give try to K3b disk utility. It’s a full-featured, user-friendly tool for creating and burning CDs, DVDs, and Blu-rays. It’s native to the KDE Plasma desktop but runs smoothly on virtually any Linux environment.
Finally, if everything you saw here failed, maybe you should consider the possibility of your IMG file not being a CD or DVD image. As we said at the very beginning, an IMG file can be many things, such as a hard disk and partition backups.
A good hint you’re dealing with that type of IMG file would be its size: if it’s much larger than 4.5GBs, it’s probably not an optical disc backup. Dual-layer DVDs that can hold double the amount of data of a standard DVD remains relatively rare for the whole optical media era. Hence, files close to or over that size are probably partition backups. And those are a wholly different story.


