Sharing files across devices should be simple, yet many available solutions are either clunky, platform-restricted, or simply slow. Fortunately, I recently came across a free app that eliminates the usual hurdles, making file transfer unbelievably fast and effortless. It’s called Blip, and here’s why it’s worth your attention.
Good to know: also learn how to easily transfer contacts from Android to iPhone.
Why You Should Give Blip a Try
There’s no shortage of file-sharing apps, so you might be wondering, what makes Blip worth your time? For one, it’s available on all major platforms, including Android, iOS, Windows, and macOS.
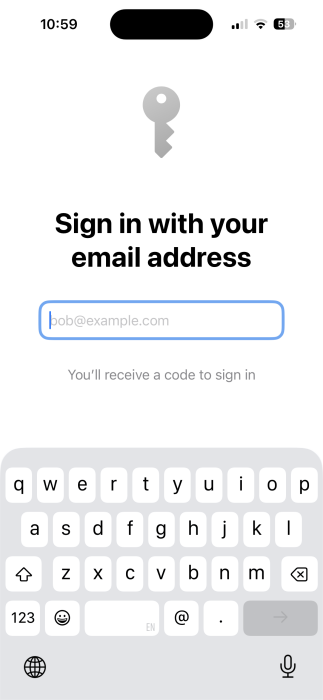
Cross-platform file sharing, notably between Android and Mac or Windows and iOS, has been needlessly complicated. However, Blip eliminates the headache with a streamlined setup on all operating systems. There’s no account to create or an extra password to remember. Just install the app, add your email, then create an ID, and you’re ready to go. It’s really simple.
A key advantage of Blip is that, unlike many existing solutions, it doesn’t require the devices to be on the same network or even in close proximity, a limitation that often proves impractical.
If you’re wondering about privacy, Blip protects your data using TLS 1.3 encryption, the same technology that keeps websites secure. This solution prevents third parties from intercepting or reading your data as it moves from one device to another.
Blip is genuinely one of the fastest file transfer solutions I’ve ever used. According to the developers, it can reach multi-gigabit speeds, even over long distances. That’s partly due to the fact that, unlike other file transfer services, Blip doesn’t upload your files to the web. Instead, it sends them in real time.
While transfer speeds naturally depend on the sender’s upload and recipient’s download speeds, devices using the same Wi-Fi network can deliver even faster results.
The final kicker is that Blip doesn’t impose any size limits on the files you can send. You can go ahead and send even the biggest files you have without worry.
Tip: also check some alternative ways of remotely transferring photos from Android phone to a computer.
Sending Files in a Flash
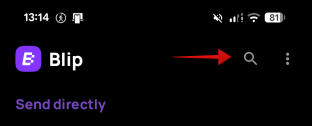
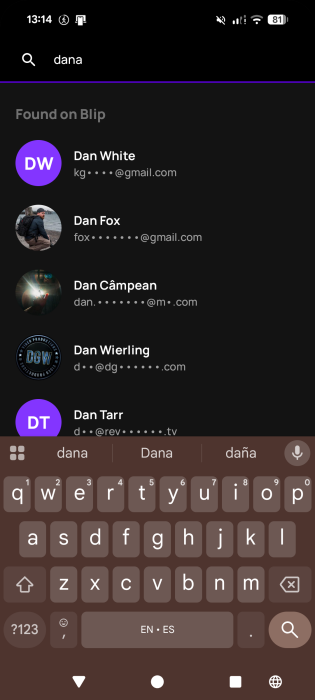
Once you have Blip installed on your device, you will need to know the ID or email address of the person you wish to send files to. Click the search bar on the right/top (PC/iOS) or upper-right corner (Android) to look for the person.
It’s easier to recognize someone by their profile picture, so I encourage you to add one yourself.
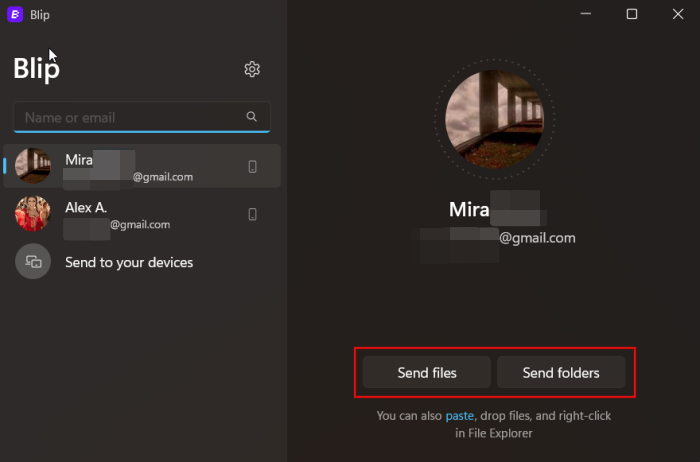
Once you’ve found the person, tap or click on them. On PC, you can send files as well as folders (no zipping required), just drag-and-drop them. Or you can use the Blip option in the context menu when you right-click a file.
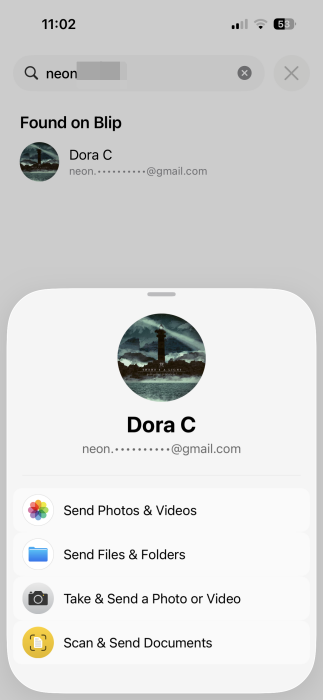
In the mobile apps, you have the option to send Photos and Videos from your device, Take & Send a Photo or Video using the camera, or Files & Folders. On iPhone, there’s the additional option to Scan & Send Documents, while on Android, you can instantly share Audio files.
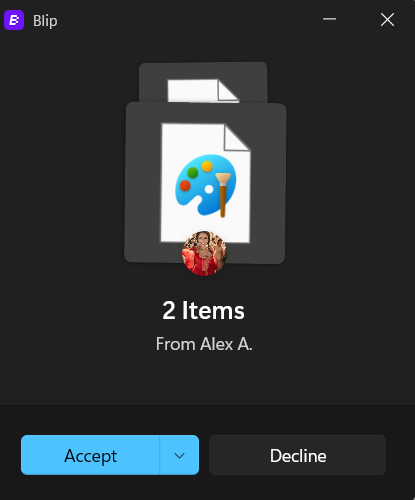
After you’ve selected the files, Blip will immediately send them on their way. On the receiving device, you’ll see either a pop-up (PC) or a notification (mobile) asking you whether you want to accept or decline the transfer. If you don’t recognize the sender, I strongly recommend that you decline the file exchange.
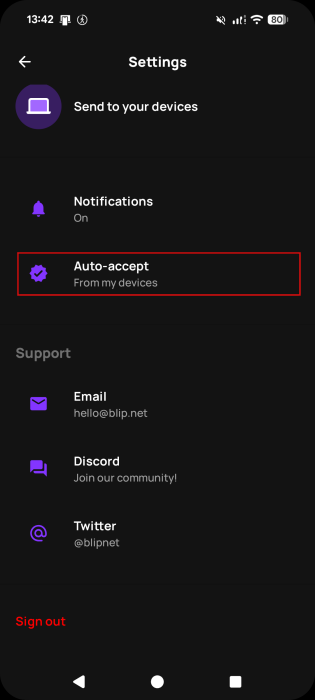
On the other hand, if you’re sharing between your own devices, you can opt to Auto-accept files via Settings, so no such pop-ups will appear.
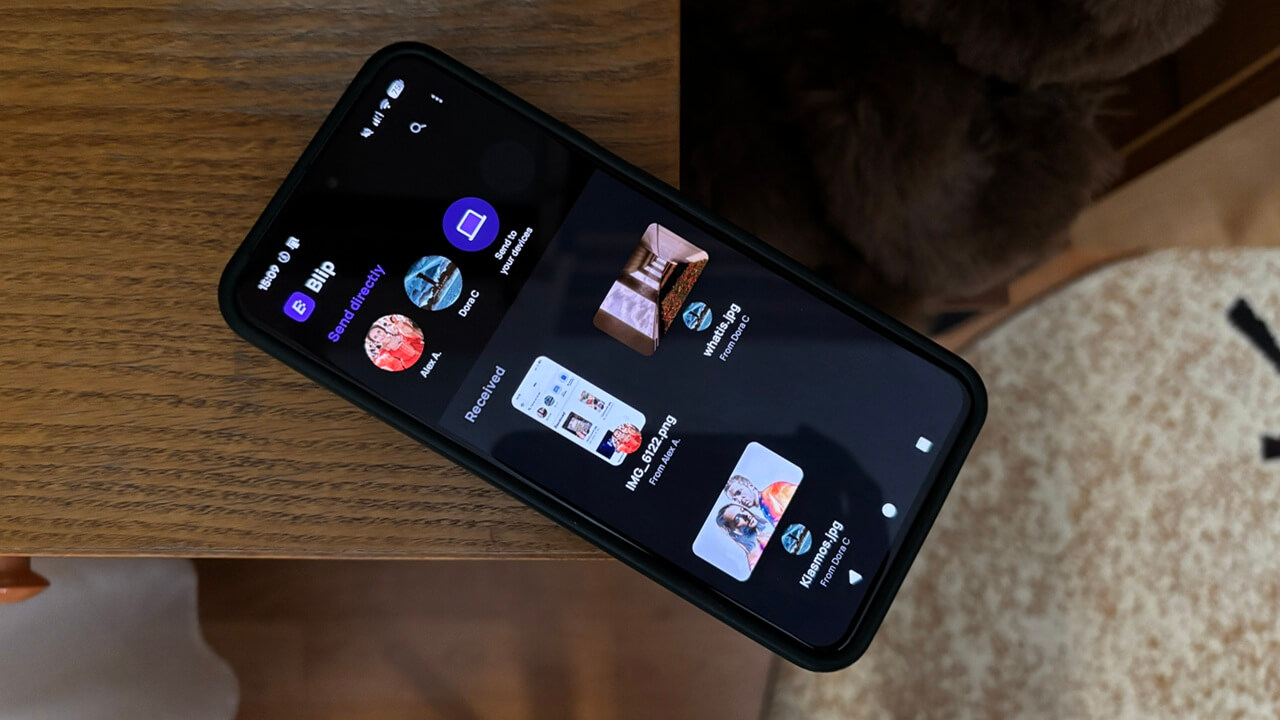
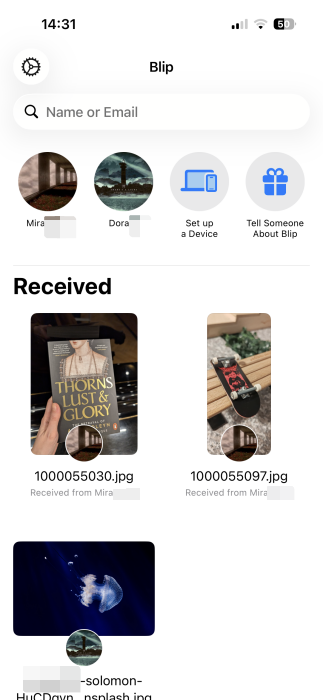
Once you’ve shared files with a device, it will show up in Blip, so you can share again without having to search again. In the mobile apps, you’ll see all the files you’ve received appear in the lower part of the screen.
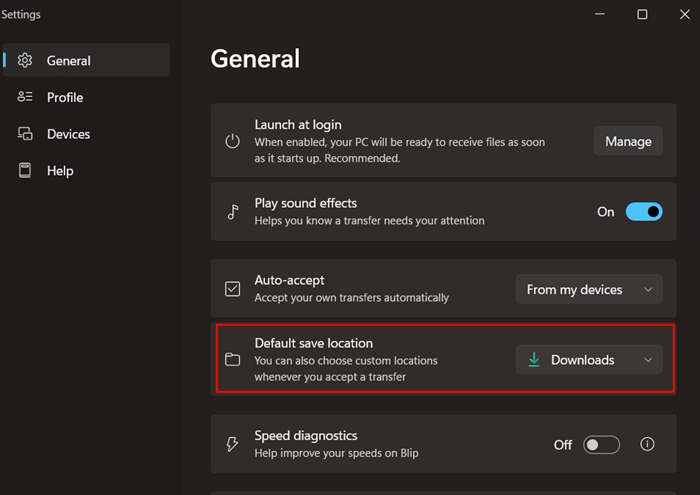
On PC, Blip automatically saves to the Downloads folder, but you can change that by going to Settings -> General -> Default Save Location and setting a different folder.
If your Wi-Fi fails or something happens unexpectedly while sending files, Blip will remember the transfer and will resume as soon as everything is back to normal.
The only drawback I’ve noticed with Blip is that it needs to be installed on your devices. If you only send files occasionally, a built-in solution like Quick Share might be more convenient. But for someone like me, who transfers files constantly, Blip is hands down the way to go.
Now that you know how to seamlessly transfer files, you might also be interested in learning how to transfer user profile data to another in Windows.