Most automation guides on Linux will point you to shell scripts and cron jobs. They’re powerful, but they require you to use the terminal most of the time. That’s where the Actiona Linux GUI automation tool comes in. This tool lets you automate mouse movements, keyboard strokes, window manipulations, and more, all through a visual interface.
With its drag-and-drop feature and intelligent image recognition, Actiona turns repetitive desktop tasks into automated efficiency. Let’s dive in and explore its key features, along with how to install and use it on Linux.
Key Features of Actiona
Let’s take a look at the specific features that make Actiona such a useful tool.
- Actiona runs a visual workflow builder where you drag actions into a sequence, configure parameters, and reorder steps without writing any code.
- It works efficiently across Linux and Windows.
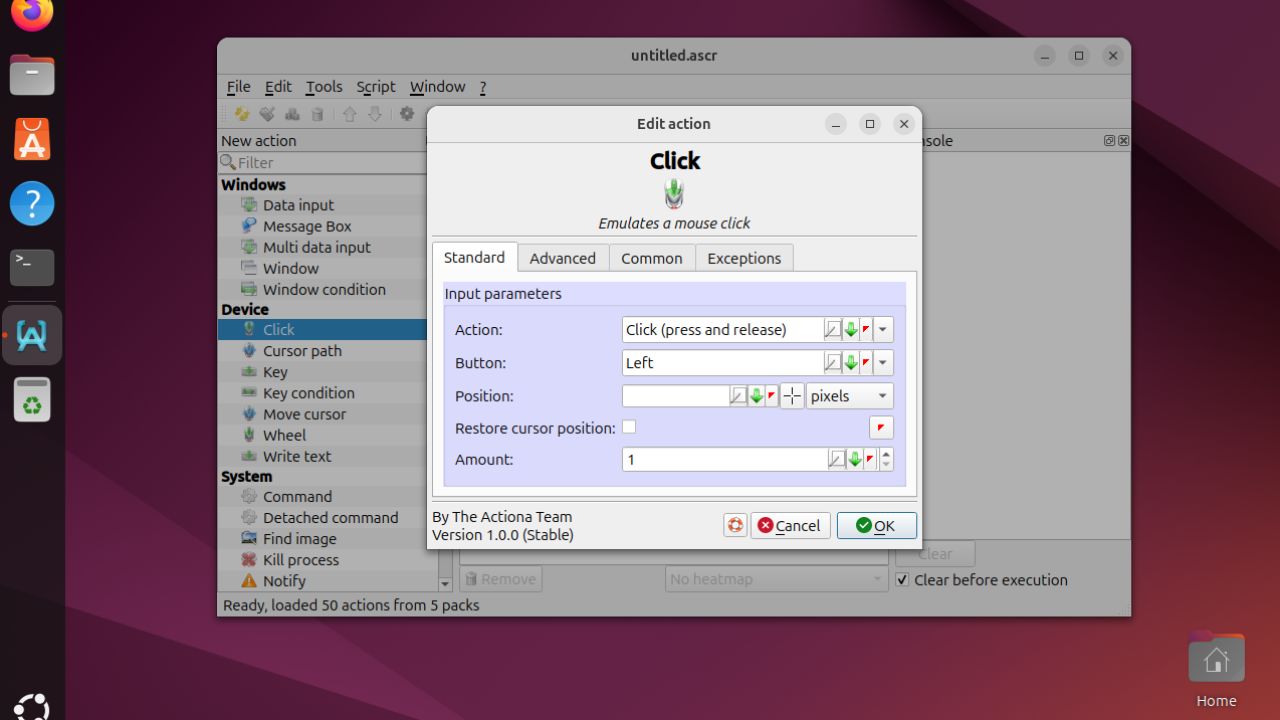
- Actiona handles mouse and keyboard automation at a system level, simulating clicks, double-clicks, drags, scrolls, and keystrokes at precise positions or relative to windows.
- It includes pre-built actions covering mouse control, keyboard input, file operations, window management, and conditional logic.
- Actiona lets you manage windows, run commands, control processes, and trigger scripts based on time or system events.
- It provides image recognition that detects UI elements from screenshots and uses them as click anchors, making scripts resilient when layouts shift or resolutions change.
- You can record manual actions in real time, then refine the captured workflow with variables, loops, and conditional branching for intelligent automation.
- It automatically manages variables, file operations, clipboard manipulation, and data flow between actions with smart background handling.
Installing Actiona
Actiona is available directly in the official repositories of Debian and Ubuntu, which means you can install it quickly without relying on external sources or community builds. This gives you a stable, well-integrated setup that works smoothly on any Debian-based distribution. To install Actiona, use this command:
sudo apt install actiona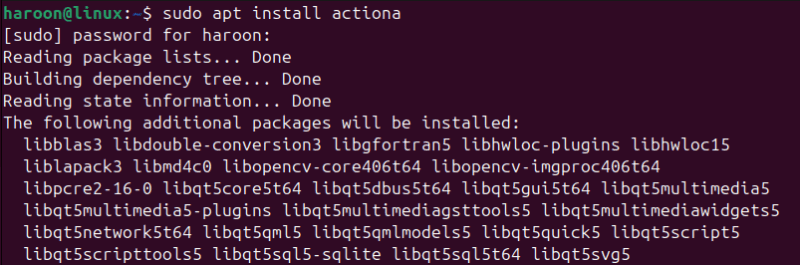
If you’re running a distribution that doesn’t provide Actiona in its repositories, such as Fedora, Arch, or other non-Debian systems, you can still install it by building from source. This also gives you access to the most recent upstream version of the tool.
After installing, launch Actiona from your Applications menu.
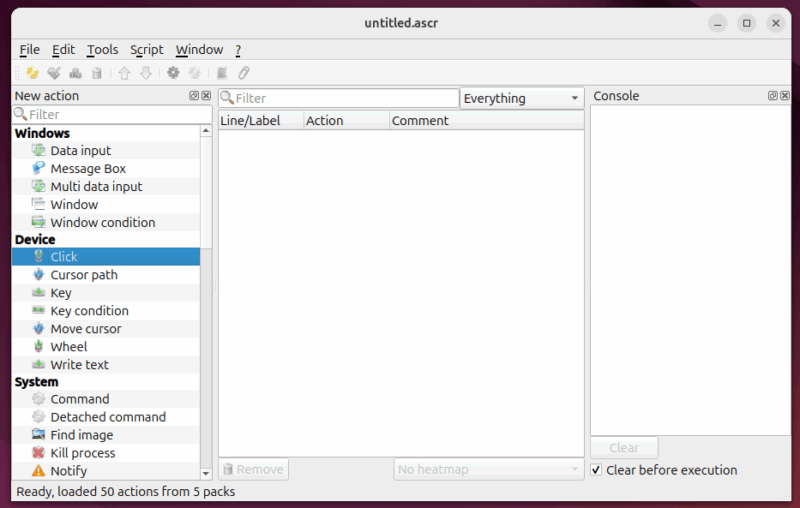
The interface opens with an empty project workspace and a toolbar full of action blocks to add. If everything loads properly, you’re ready to start automating.
However, if you are on Wayland, Actiona may sometimes fail to launch. The quickest fix is to bypass the Wayland-related issue by logging back in through an X11 session. Alternatively, you can force Actiona to run on Wayland using the XCB platform by launching it with this:
QT_QPA_PLATFORM=xcb actionaHow Actiona Automates GUI Tasks
Actiona works by following a simple list of instructions that you create to handle tasks on your Linux desktop. Instead of requiring you to learn code or use the terminal, the Actiona tool lets you build a script by stacking different actions together, one after another. Each block in your list handles a small part of the job, like clicking a specific button, typing out a sentence, or waiting for a window to appear. When you run the script, the software performs these steps exactly as you defined them, allowing you to complete repetitive work without distraction.
Creating your first automation script
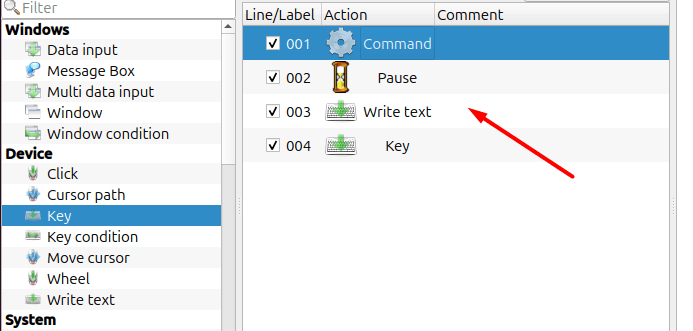
Ready to try it yourself? Let’s create a simple script that opens a text editor, types a message, and saves the file. After opening Actiona, you’ll see the main window with the Script Editor (sequence of actions) on the left and Action Details on the right.
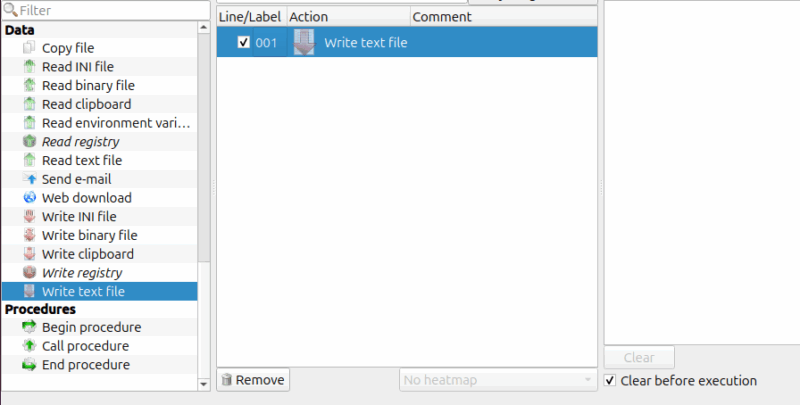
Click New Script to start fresh. From the actions panel, add a Run Command action to the script area and set it to launch gedit (or your preferred editor). Next, add a Delay action for about one or two seconds (e.g., 1000-2000 milliseconds) to give the editor time to open. Then, add a Type Text action from the list and type your text. Finally, to save the file, add a Send Keys action and configure it to send the keyboard shortcut Ctrl + S.
If you want Actiona to ask for a filename, add a Show Dialog action, configure it to store the result in a variable (for example, $filename), and then use another Type Text action to type that variable into the Save dialog. In the last, add another Send Keys action with Enter to confirm the save. You can also save your script, so you can reuse it later.
Actiona Vs. Bash Scripting
So how does Actiona compare to Bash scripting? Both automate tasks, but they work in different ways. Bash scripts run on any Linux system without additional software. You can execute them remotely via SSH, schedule them with cron, and they consume minimal resources. For server automation or backend tasks, Bash remains unbeatable.
Actiona shines when GUI applications are involved. It bridges the gap between manual GUI interaction and automation. When your workflow involves desktop applications, mouse movements, or visual elements, Actiona delivers what Bash simply cannot. Its visual workflow builder also makes Actiona more accessible to those who aren’t comfortable with scripting syntax. You can see your entire process laid out graphically, making it easier to design, understand, and troubleshoot.
Final Thoughts
If you’ve been manually clicking through the same workflow several times, try automating it with Actiona. The setup might take a few minutes initially, but once configured, you’ll notice saving yourself valuable time.


